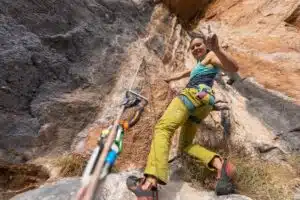
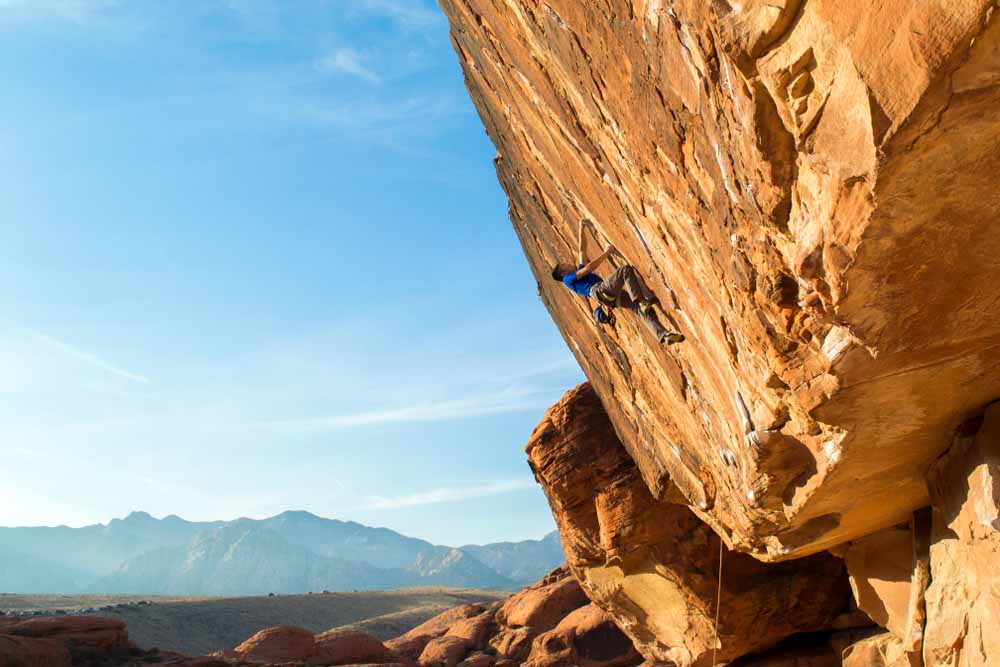
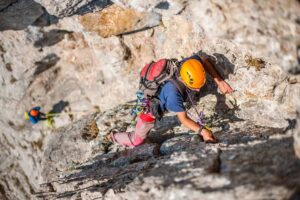
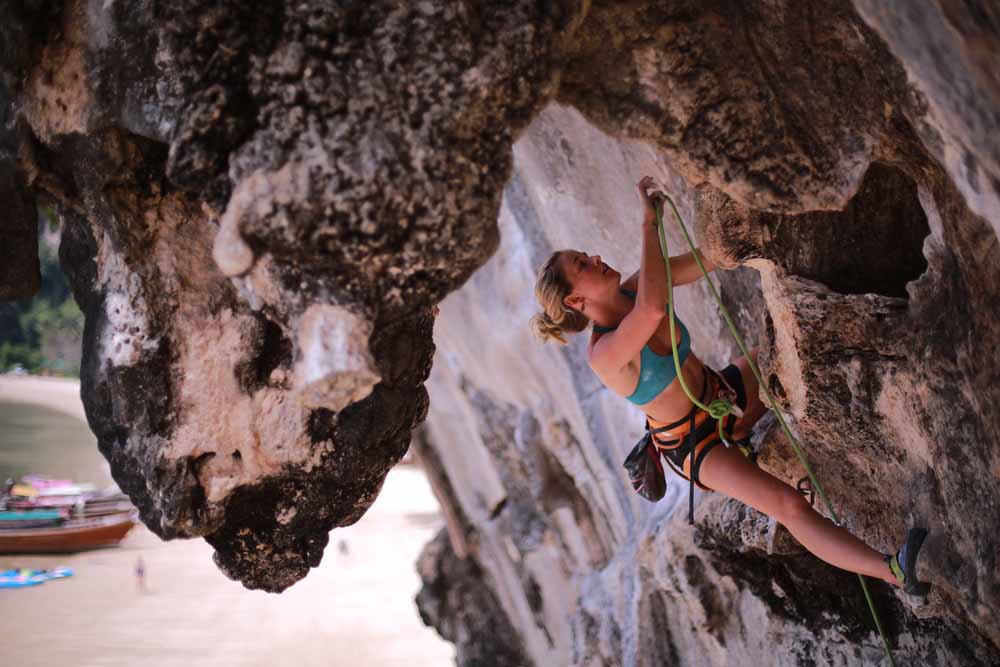
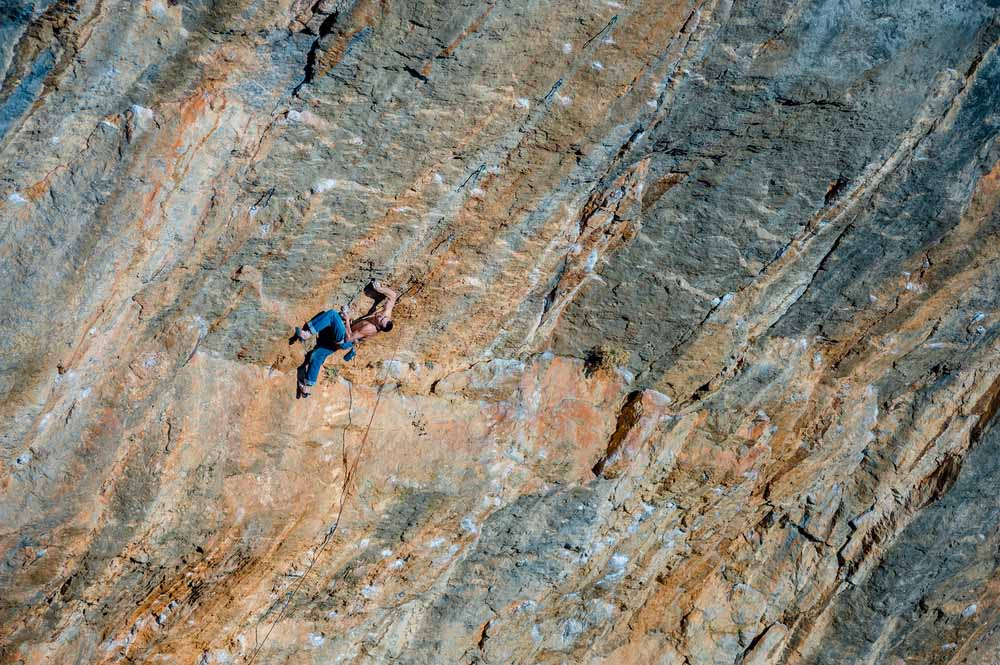
Of all the different types or styles of rock climbing, sport climbing is one of the most popular. That’s because sport climbing provides the adventurousness of climbing in an accessible and relatively safe (but never 100% safe) package.
In other words, sport climbing is popular because you don’t need a boatload of specialized equipment, super-human strength, and a knack for arduous adventures deep in the backcountry or high in the mountains. Instead, to get started sport climbing, you only need a local climbing gym.
Keep reading to learn about sport climbing– where it came from, how it’s changed over the years, and how you can get started.
What is Sport Climbing?
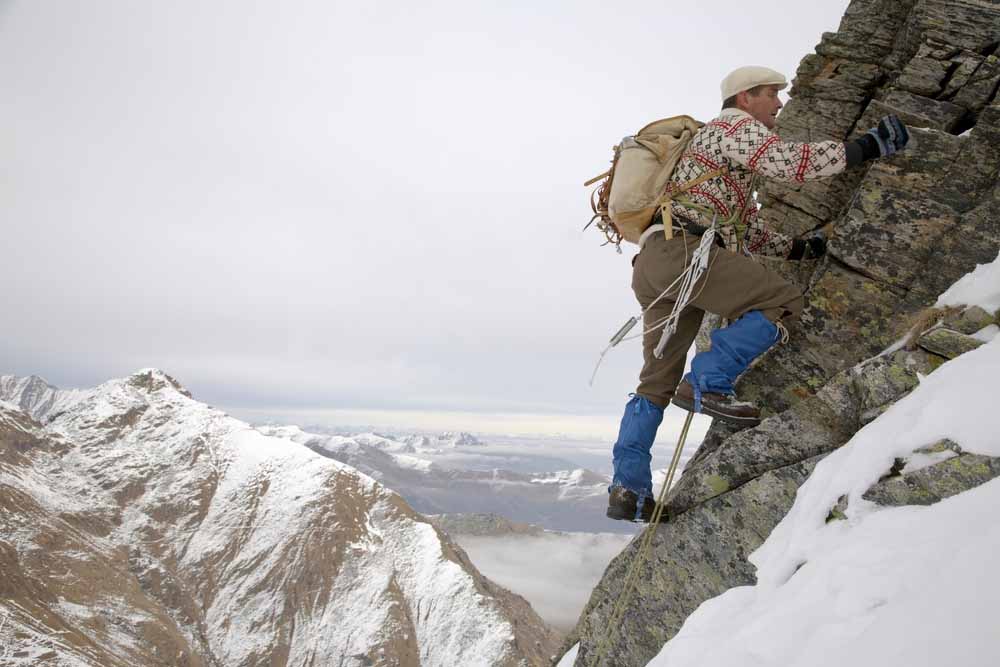
Sport climbing is a style of free climbing whereby the leader climber clips quickdraws and their rope into permanently installed (fixed) protection bolts they ascend. Then, after arriving at the top of the climb, the leader clips their rope into bolted anchors.
In the event of a fall, a knowledgeable and adequate belayer, the bolted protection and the climbing rope, work together to arrest the leader’s fall before they can hit the ground.
A Brief History of Sport Climbing
Sport climbing is a “younger” or “newer” discipline when compared to other styles of rock climbing, such as aid climbing, traditional climbing, bouldering or mountaineering.
Sport climbing began to become popular in the late 1970s and 1980s. In Europe, climbers in the Verdon Gorge of France began rappelling in and installing protection bolts on previously unclimbed cliff sections. Then, with the newly installed bolts and anchor stations, they began free climbing the walls from the “ground up”.
Similarly, bolted climbing became popular in North America in the 1980s. In particular, a climber named Alan Watts in Smith Rock State Park in Oregon began rap-bolting routes that had not been climbed before.
At the time, the practice of bolting rock climbs on rappel was highly controversial. That’s because unwritten rules argued that a ground-up climbing style was better. In addition, some climbers supported a traditional climbing ethic regarding placing protection and argued that the gear you place should be removable and not permanent.
Furthermore, the idea of hanging on the rope, or “hang-dogging” a sport climb, to rehearse the moves was frowned upon.
However, despite the bolt wars between route developers and their adversaries, arguments, and debates over climbing ethics, all the previously “deplorable” tactics sport climbers utilized have gone on to shape the modern version of sport climbing we all love, and that has become an Olympic sport.
The Evolution of Sport Climbing Bolts and Anchors
 In the beginning, many of the bolts climbers installed on sport climbs were called displacement bolts. At the time, there were two common types of displacement bolts– nail drive and self-drilling bolts.
Displacement Bolts
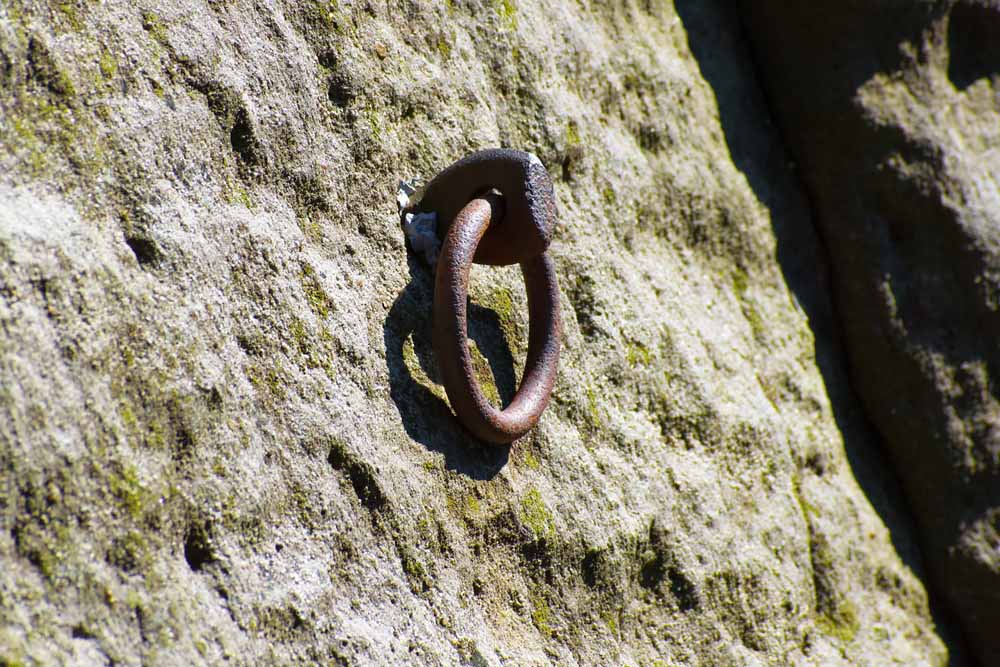
Nail-drive bolts required a pre-drilled hole in the rock. This was accomplished with a hand drill and hammer. Then, a bolt with a hammering pin was hammered into the bolt hole, expanding (displacing) the bolt shaft into the bolt hole.
In the case of “self-drilling” bolts, a serrated sleeve on the bolt created a hole to accommodate the bolt. Then, a spreader cone was inserted into the back of the hole upon which the bolt was hammered. This displaced the shift of the bolt into the rock.
Expansion Bolts
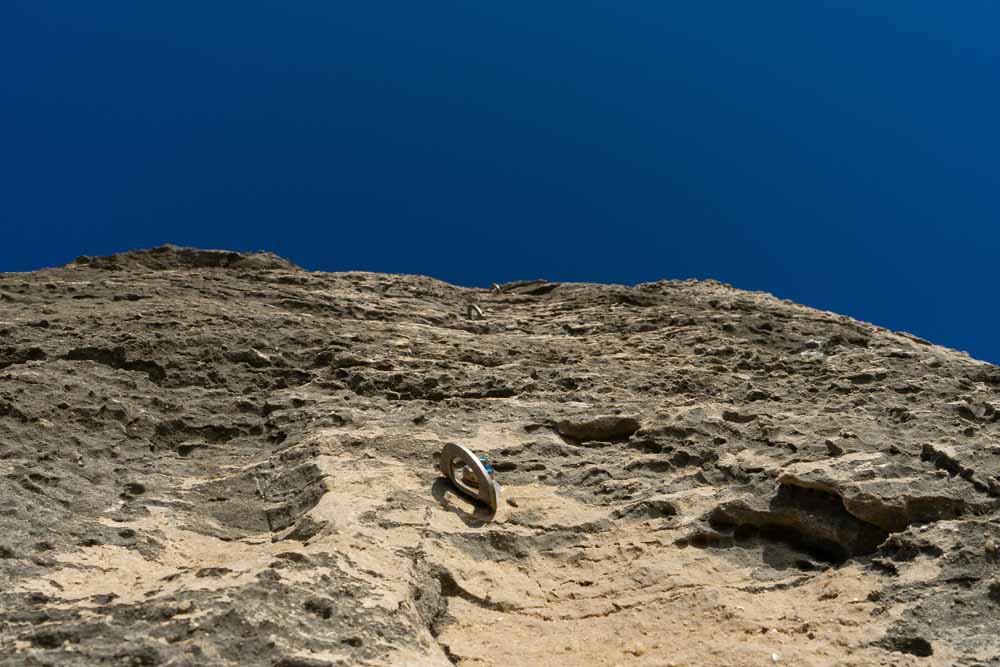
Eventually, expansion bolts replaced displacement bolts. That’s because expansion bolts were bigger, stronger, and easier to install. There are two types of expansion bolts– wedge bolts and sleeve bolts.
Wedge bolts have a threaded bolt shaft and a cone-shaped end wrapped in a sleeve. After drilling a hole and placing a wedge bolt, you place a bolt hanger over the exposed end of the bolt and finish it off with a washer and nut.
On the other hand, sleeve bolts consist of the bolt itself, an integrated nut and washer, a sleeve, a plastic blue bushing, and a threaded cone. After drilling a hole, you hammer in the expansion bolt so the sleeve expands into the interior walls of the bolt hole.
Glue In Bolts

More recently, glue-in bolts have become more popular at sport climbing cliffs. Many of the old displacement and expansion bolts are being replaced (“retro-bolted”) with glue-in bolts.
In addition, at newly developed crags, especially those with softer rock (i.e., sandstone), some route developers are skipping expansion bolts altogether and choosing to work with glue-ins as their preferred bolt type.
Glue-ins have no moving or mechanical parts that expand or displace. Instead, they rely on an adhesive that you insert into the bolt hole after drilling that cures and solidifies inside the hole. The adhesive, along with special features like grooves, twists, or waves in the bolt shaft, prevents the bolt from moving from its placement.
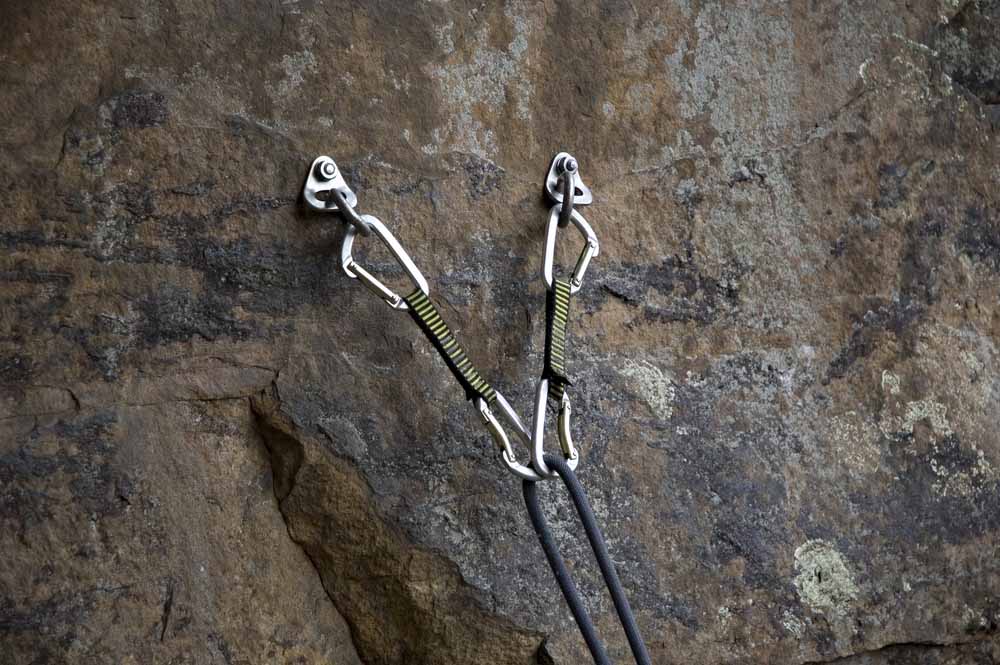
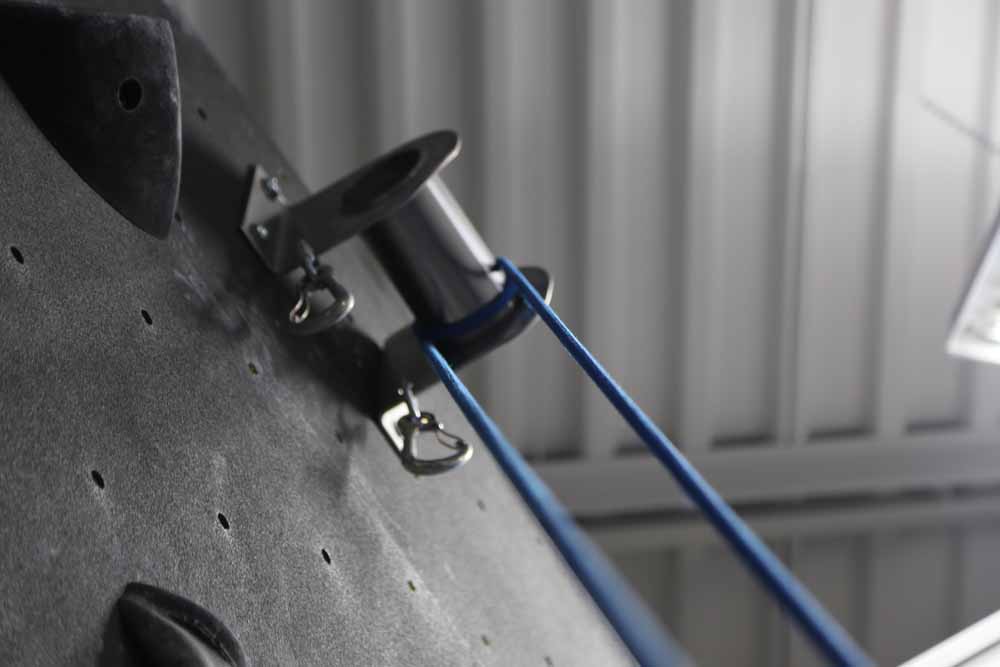
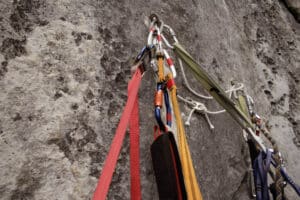
Sport Climbing Anchors
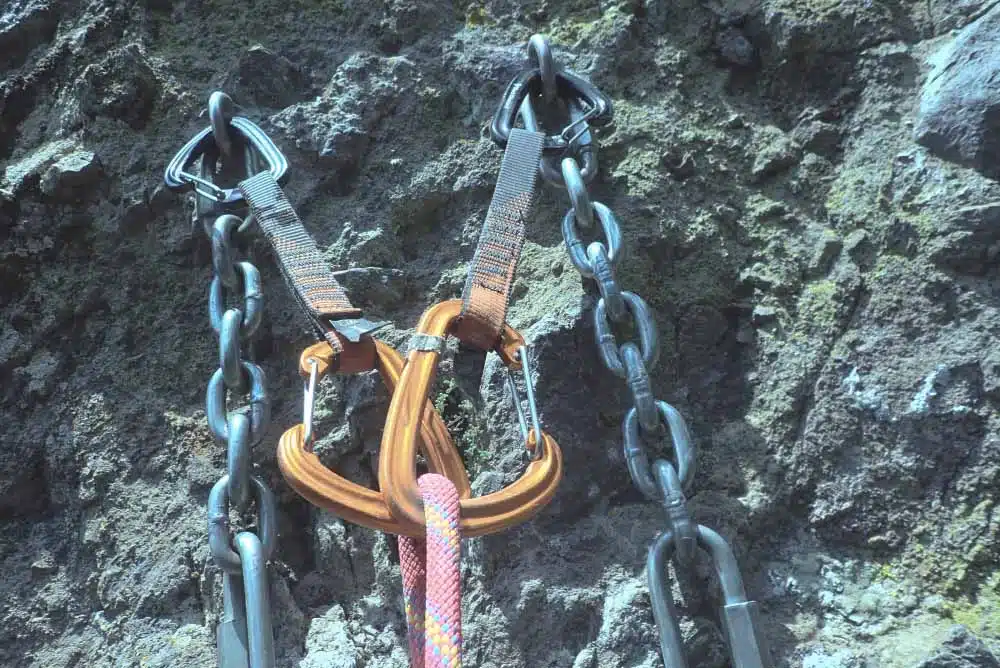
The hardware for sport climbing anchors has also evolved, along with the types of anchors. When sport routes were fist-betting bolted, the basic anchor system was two bolts side by side. Attached to each bolt hanger was a rappel ring, quick link, or short chain.
The bolt hanger itself was for clipping quickdraws, and the rings or chains were for rappelling down when you were finished with the climb.
Many of those types of anchors exist today. However, many have been replaced with new hardware. In some cases, the orientation of the anchors has also evolved. For example, instead of two side-by-side or horizontal bolts, some modern anchors feature two bolts in a vertical orientation equalized by a chain.
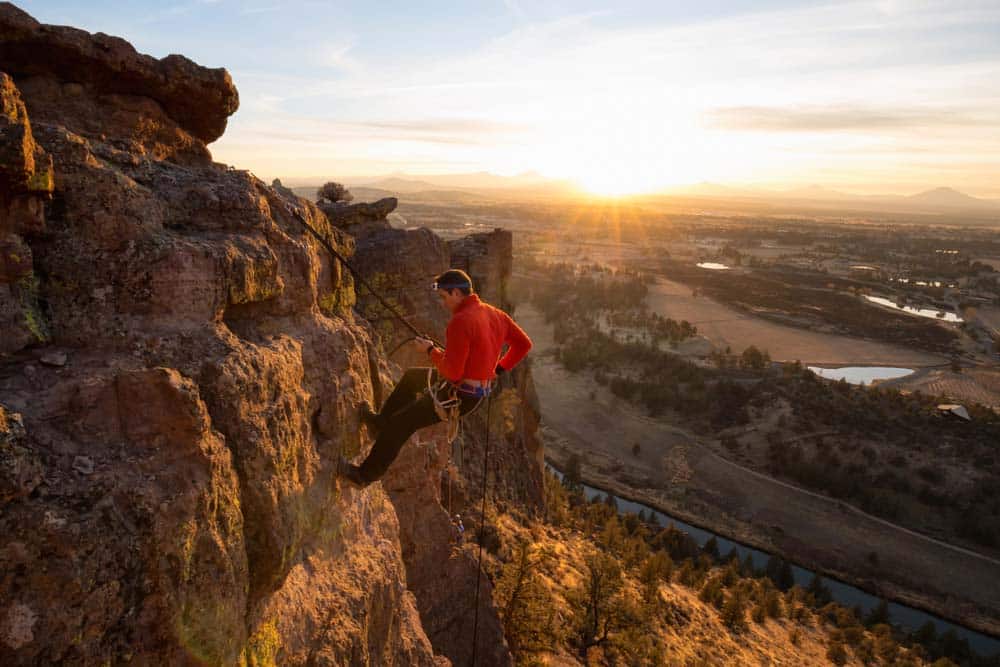
In addition, at modern sport crags, rappelling is no longer the preferred form of descent. Now it’s more common for the lead climber to be lowered by their belayer. Therefore, modern sport anchors feature perma-draws, ram’s horns, or other lower-off hardware.
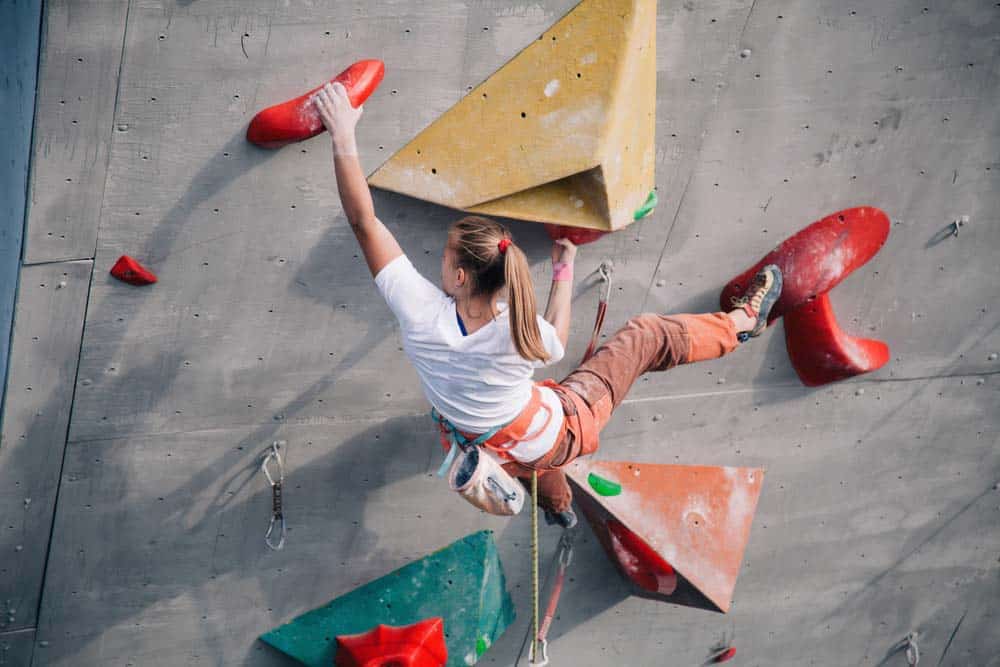
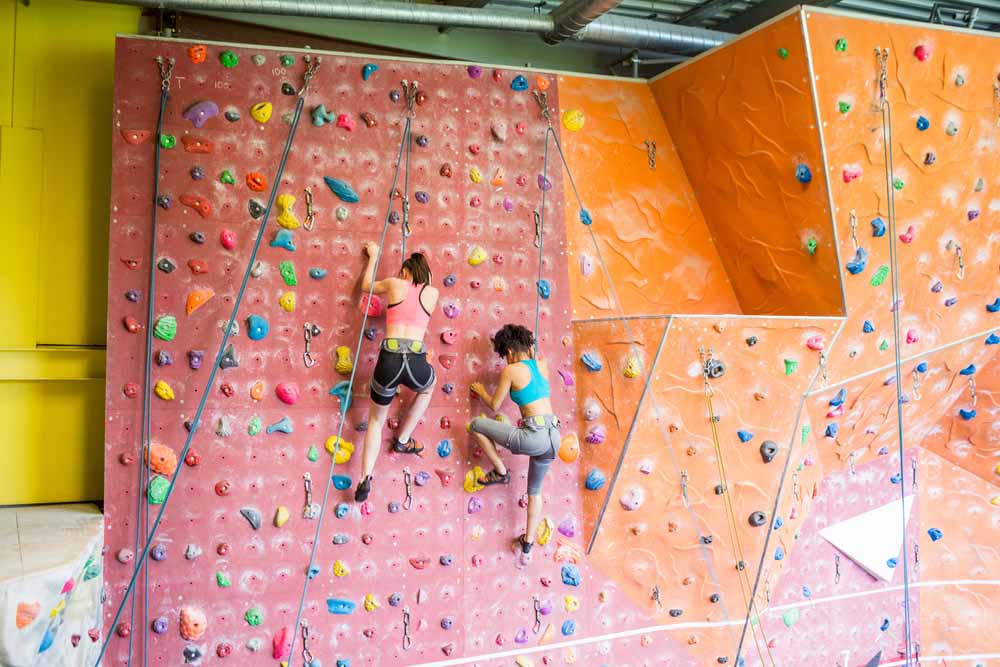
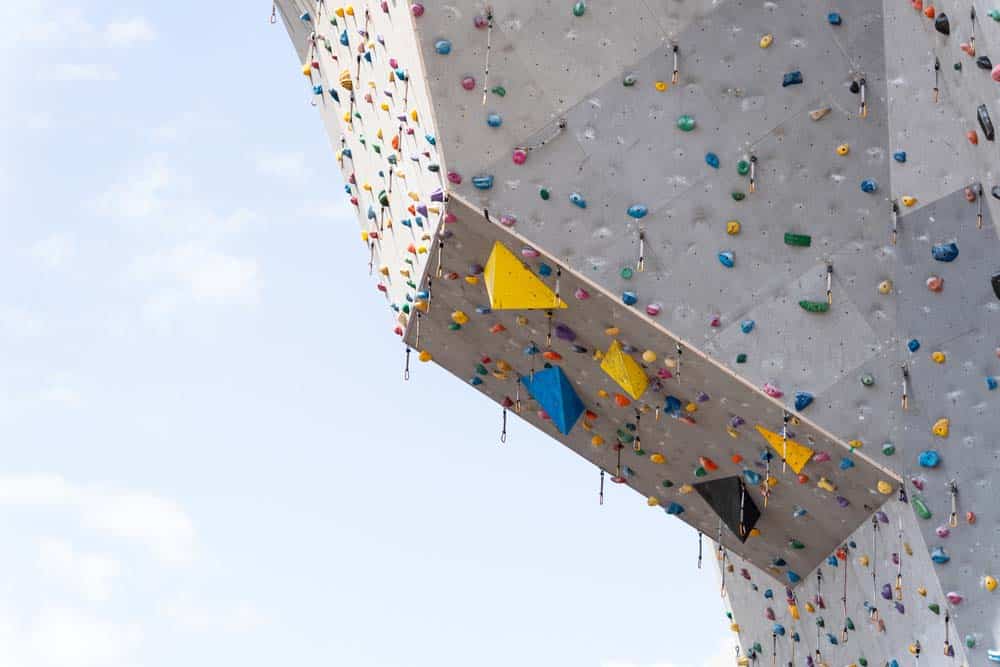
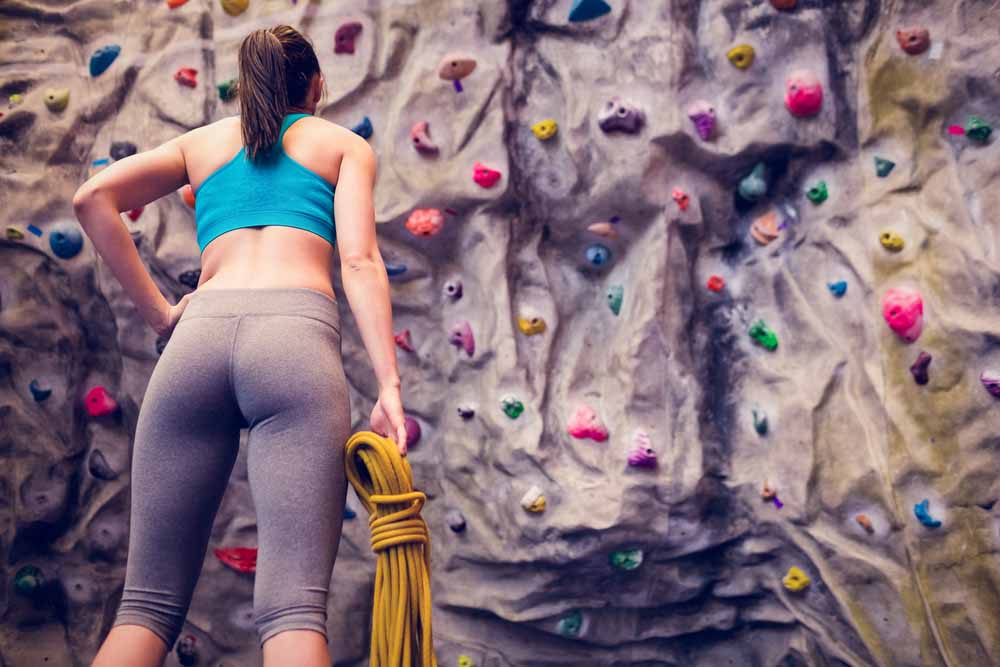
Indoor vs. Outdoor Sport Climbing
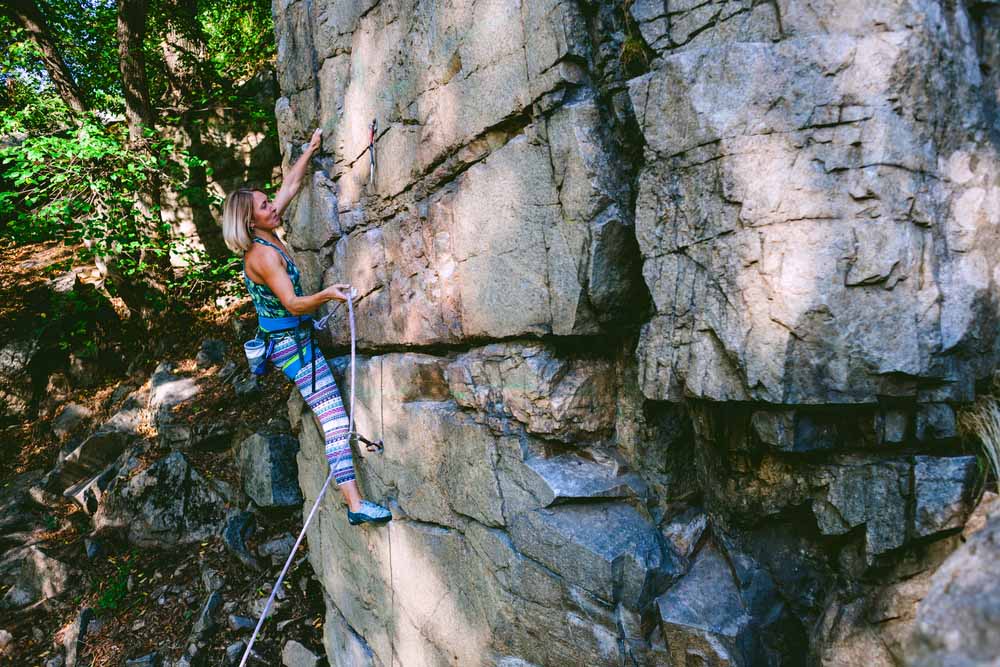
Like all climbing disciplines, sport climbing began outside. And to this day, outdoor sport climbing continues to be one of, if not the most popular climbing style.
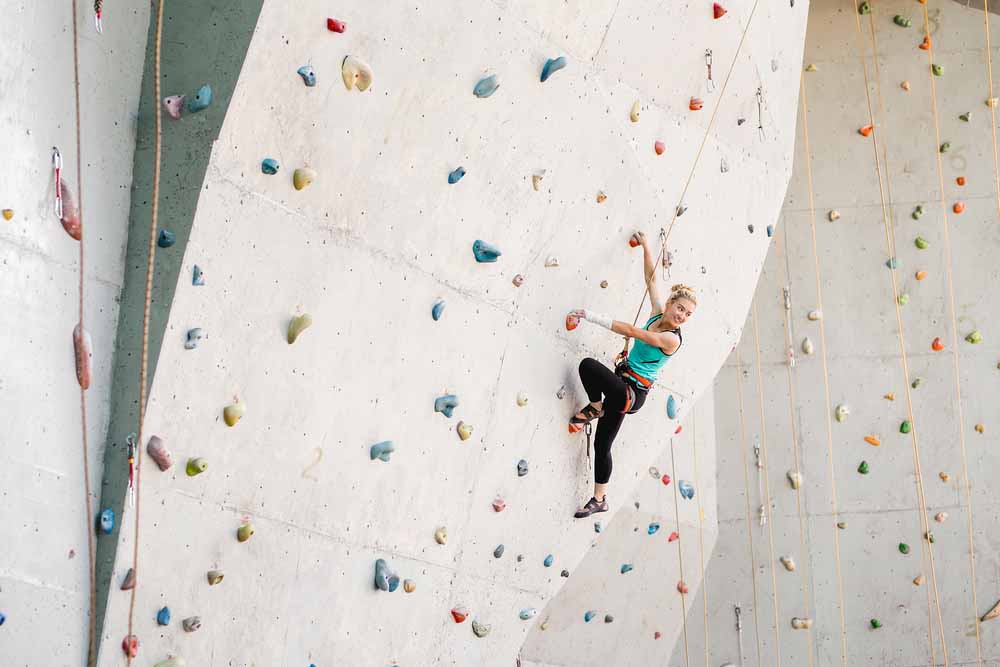
However, shortly after outdoor sport climbing’s inception, indoor climbing on artificial rock walls became more popular. At the time, indoor climbing only included top roping and bouldering,
However, nowadays, sport climbing isn’t an outside thing only. Commercial climbing gyms and modern climbing equipment have made sport climbing possible indoors. This makes indoor climbing gyms ideal training grounds for learning the skills required to sport climb outside.
However, some climbers prefer indoor climbing to outdoor. So much so that some climbers only practice indoor climbing and have no interest in going outside.
So whether you want to start climbing indoors as its own separate activity or as an avenue to stay in shape and prepare for outdoor climbs, it’s critical to understand the differences between indoor and outdoor sport climbing.
Pre-clipped Quickdraws

In the gym, sport climbs come equipped with pre-clipped perma-draws. That means you do not have to climb the route with a rack fo quickdraws, clipping one to each bolt and then clipping your rope as you would outside.
Instead, all you have to do is clip your rope into the perma-draws that are already installed on the route.
Lower-Off Anchors
Similarly, indoor climbs are equipped with convenient and easy-to-anchor systems. The exact type of anchor hardware will vary based on the gym. However, the standard is to have two bolts and perma-draws where you can simply clip in your rope.
Softer Landings

In the indoor setting, the climbing area around the base of the wall is covered with a layer of foam and carpet.
Typically, the base of the bouldering areas in climbing gyms is more padded than the areas around the sport climbing routes. That’s because ground falls are expected while bouldering. However, in sport climbing, grand falls are less common because the belayer arrests the leader’s fall before they can hit the deck.
Nonetheless, most gyms have a padded floor (of varying degrees) around all climbing areas. The foam flooring helps absorb impact and soften landings.
Less Run-Out Bolting
Indoor sport routes have way more bolts than outdoor climbs. That means that indoor climbing routes are less run-out compared to outdoor routes.
Smaller run-outs between bolts help mitigate the distance the lead climber can fall. Therefore, indoor leader falls, affectionately referred to as “whips,” are typically smaller and less severe and consequential than outdoor leader falls.
Indoor routes are more heavily bolted because safety is the number one priority for commercial gyms. Installing bolts on indoor walls is much easier than outdoors. That’s because outdoors, you have to worry about nuances like rock quality and whether or not the route offers the opportunity for traditional protection.
Plus, there’s the first ascensionist’s personal perspective about protection bolts– some first ascensionists are notoriously bold regarding the number of bolts they want their route to have.
Steel Hardware
In the indoor setting, almost all the hardware will be steel. The perma-draws you clip and the anchors at the tops of routes will all be steel. That’s because steel hardware is much more durable and withstands the wear and tear that indoor climbing equipment experiences.
Outdoors, you get a mix of materials. Typically, every piece of modern climbing hardware you use for sport climbing, like quickdraws and locking carabiners, is made with aluminum. That’s because aluminum is much lighter but still plenty strong.
However, steel (sometimes stainless, sometimes not) is the preferred material for permanent outdoor hardware, like bolts, hangers, and anchors. You may even run into titanium glue-in bolts in some cases, but those are pretty rare because they are expensive.
Helmets are Not Recommended
For whatever reason, climbing helmets are not recommended or required to climb indoors. That’s probably because, in the indoor setting, there is much less risk of falling overhead hazards like rock fall and dropped equipment.
However, in the outdoor sport climbing context, climbing helmets are becoming increasingly common, which is very good.
Shorter Routes
In most cases, climbing routes indoors are shorter than outdoor climbing routes. This is especially true for older climbing gyms. That’s because older buildings can only be built so big.
However, modern and purpose-built climbing gyms have much taller walls, sometimes between 40 and 50 feet. But when compared to most outdoor climbing destinations, indoor walls are shorter.
Easier Grading
Indoor routes carry “easier” grades than outdoor routes. In other words, an indoor sport climb graded at 5.10a will feel much easier than an outdoor route graded 5.10a.
How “easy” or “hard” the grades feel at an indoor gym largely results from how the route setters assign difficulty grades. In addition, nuances like body type and climbing style affect how difficult a climb feels.
Overall, climbing grades are subjective– whether you are indoors or outdoors.
How to Start Sport Climbing
Sport climbing is one of those sports that you can just “fall into” and start playing, like pickleball. That’s because the consequences of not following the game’s rules or learning properly are far more severe.
That’s why it’s crucial to take the time to methodically learn sport climbing skills and best practices so that you can enjoy a long, relatively safe (but never perfectly safe), and rewarding sport climbing career.
Learn the Basics on Top Rope (or via bouldering)
When it comes to basic climbing movement and techniques, one of the best places to learn is on the bouldering wall. That’s because bouldering offers you the ability to practice by yourself and with relatively low consequences. This allows you to get tons of laps in and refine your techniques.
The best place to learn climbing basics like tying into a rope, belaying, and communicating with a belayer is in a top rope setting. Many skills you will learn while getting efficient at top roping are transferable to sport climbing. Of course, there are some exceptions, like lead belaying, but those skills will come in time.
Gather the Necessary Equipment
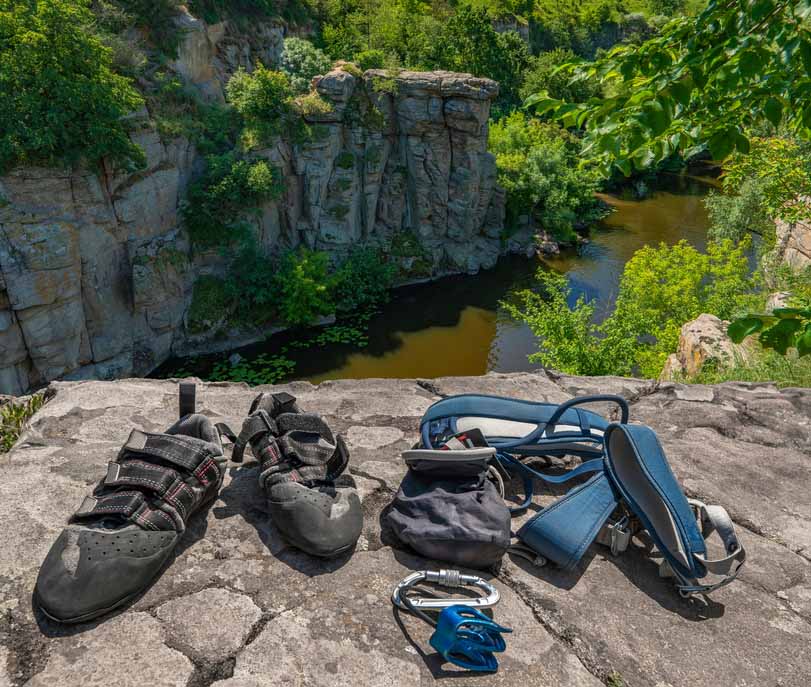
Sport climbing requires some additional equipment, especially if your end goal is to go sport climbing outside.
The good news is that some of the gear you already use for bouldering and top roping is transferable. However, if you want to learn the basics of sport climbing indoors and then eventually try outdoor sport climbing, you’ll need some recommended equipment.
Recommended Equipment for Outdoor Sport Climbing
-
- Helmet
- Harness
- Chalk bag
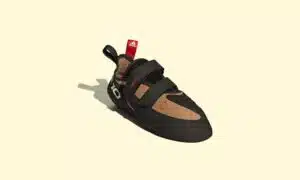
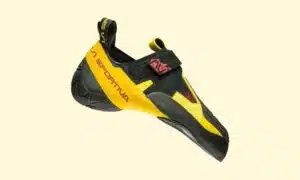
- Climbing shoes
- A rack of quickdraws, which is normally considered to be 12
- Dynamic climbing rope, either 60 or 70 meters, depending on your local crag
- A couple of locking carabiners
- Belay device, preferably one with assisted braking
- Personal anchor system
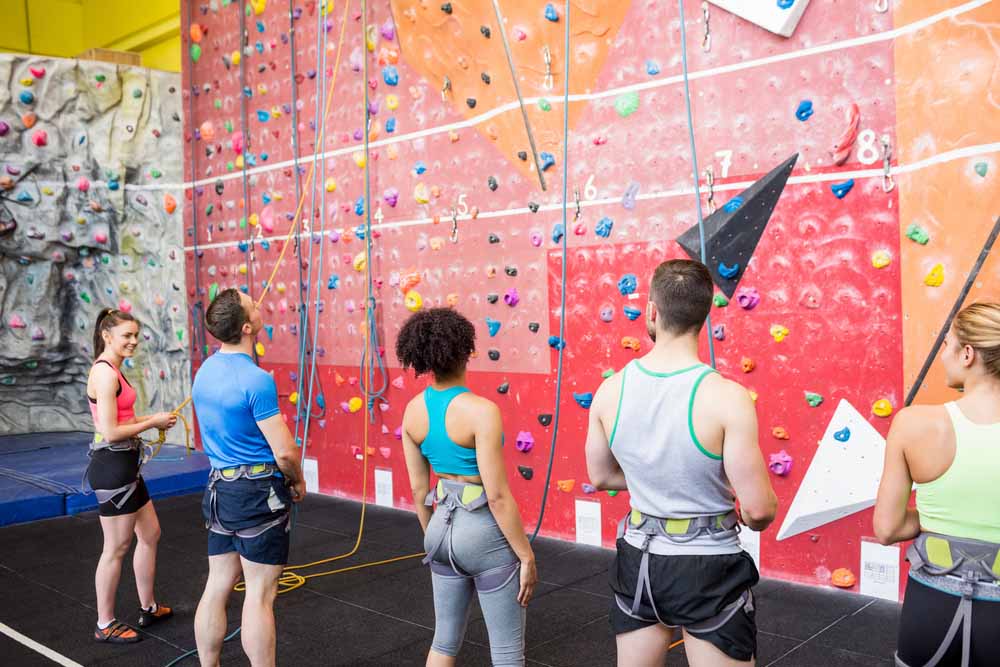
Take a Class at the Gym
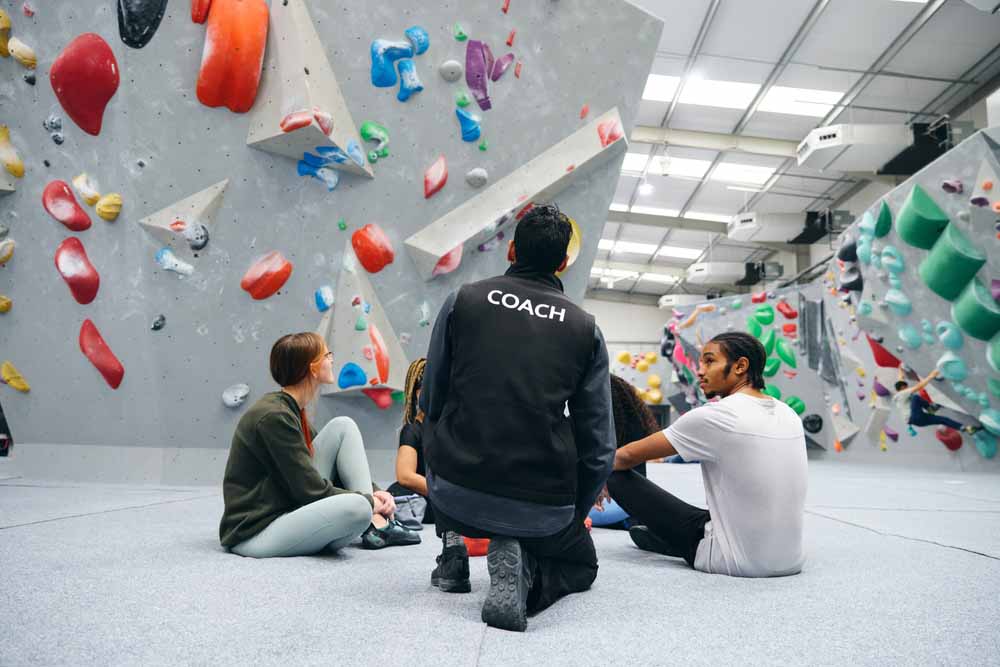
Nowadays, one of the most convenient ways to learn how to sport climb is in the gym. Many gyms have personnel called climbing wall instructors that can teach you sport climbing skills and techniques for indoor climbing.
All you have to do is sign up for the class (and pay the fee). Then, when it’s time to go outside, you’ll have a solid foundation of experience upon which you begin sport climbing outside.
Hire a Climbing Guide
If you want the best instruction possible, then I recommend hiring a guide. Local climbing guides are highly trained and make a career instructing rock climbing.
Climbing guides can teach you the basics of sport climbing, as well as general best practices related to outdoor climbing, local climbing ethics, and risk management strategies.
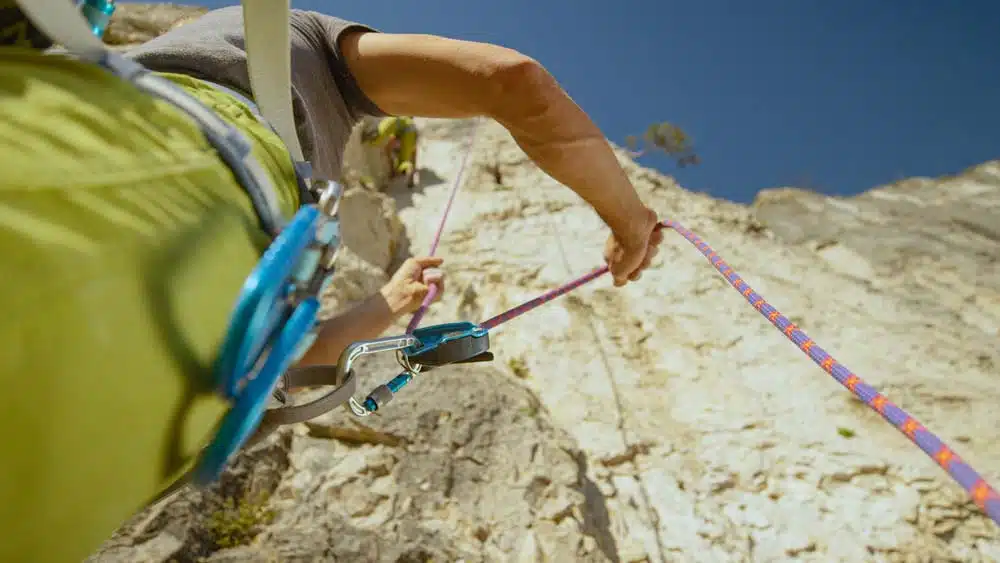
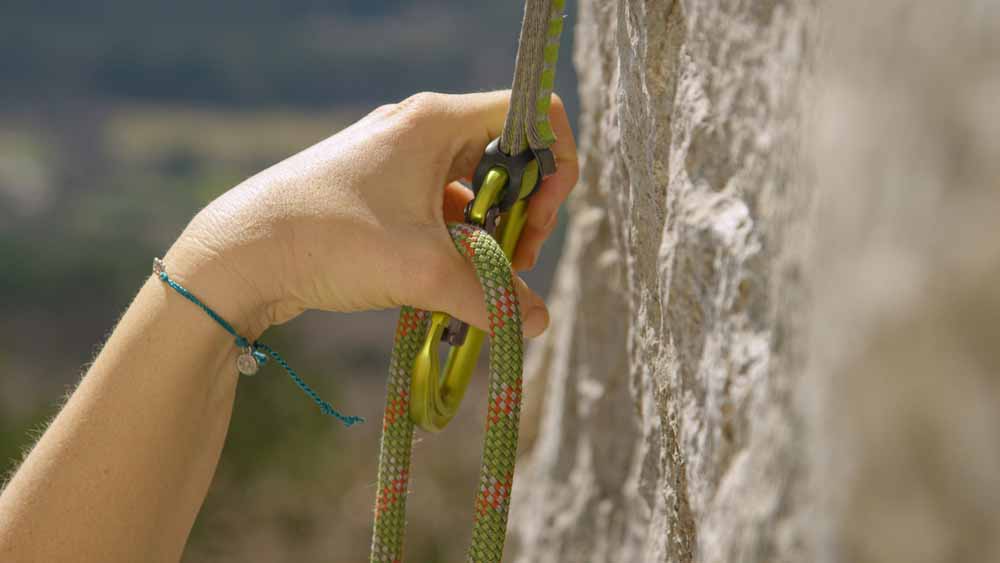
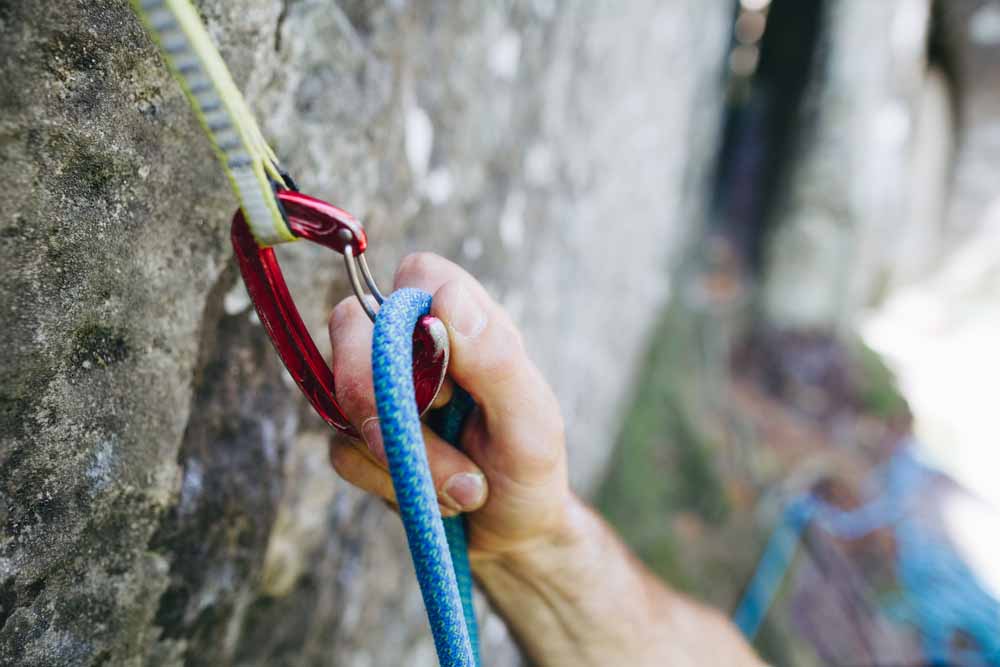
How to Efficiently Clip Sport Climbing Bolts
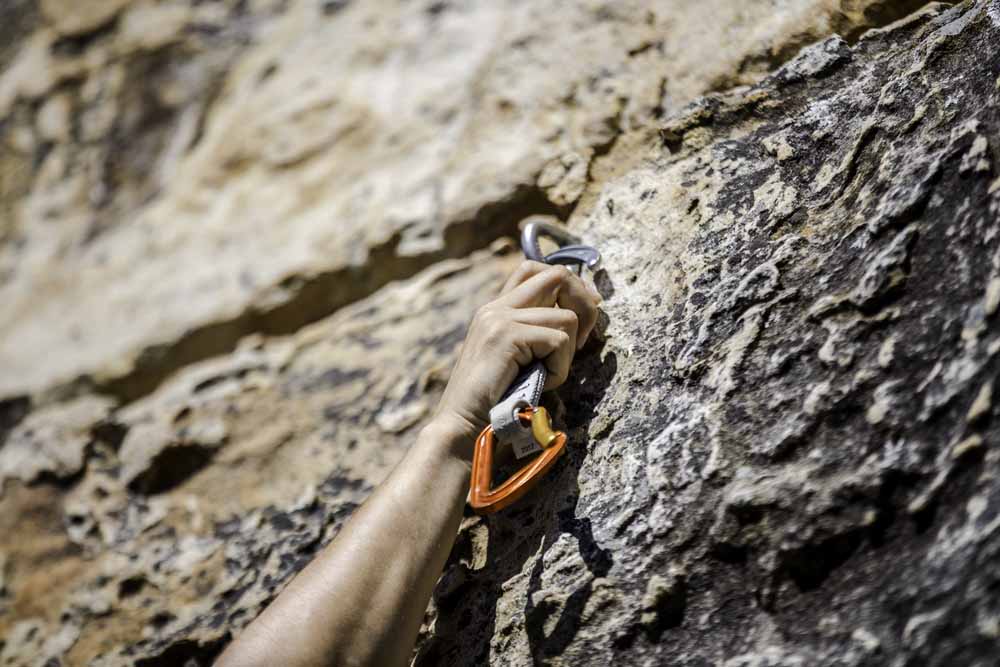
Learning how to clip quickdraws properly is a critical skill in sport climbing. That’s because the faster you can secure your rope into the quickdraw, the less energy you expend hanging on one arm, and more importantly, the faster you can mitigate the risk of taking a large lead fall.
-
- Find a Comfortable Stance
One of the best things you can do before clipping a quickdraw is to set yourself up for success. That means finding the most comfortable stance possible where you can hang on one arm, pull up rope, and clip it.
Regarding body position, here are some guidelines to consider.
-
- Feet are below you and support the bulk of your body weight.
-
- Arms are straight and relaxed.
-
- Hands are as relaxed as possible and not over-gripping.
-
- The bolt and quickdraw are located inside your clipping zone between your waist and shoulders.
-
- Consider Your Direction of Travel
Once you’ve found a comfortable stance, it’s time to clip. But first–plan ahead. If you are climbing outside and using your own quickdraws, it’s important to consider your direction of travel.
That’s because you want the quickdraw’s gates facing the opposite direction of the next climbing sequence. That way, in the event of a fall, the rope travels along the carabiner’s spine and not the gate.
However, if you are climbing inside, you won’t get to choose the direction that the quickdraw is facing. That’s okay, but it’s not 100% ideal.
-
- Clip The Rope Into the Quickdraw
The technique you choose to clip the rope into a quickdraw will depend on two things– the direction of the quickdraw’s gate and the hand you are clipping with.
| Right-Hand Clip | Left-Hand Clip | |
| Gate Faces Right | Thumb Clip Technique | Finger Clip Technique |
| Gate Faces Left | Finger Clip Technique | Thumb Clip Technique |
Below, I will discuss two common techniques for efficiently clipping quickdraws.
Thumb Clip Technique
-
- Beginning at the tie-in knot at your harness, slide your hand downwards to grab a length of rope.
-
- Bring the rope to the quick draw and let it run over your pointer finger.
-
- Using the carabiner’s spine against your thumb, stabilize the carabiner.
-
- Roll the rope through the gate using your pointer finger.
Finger Clip Technique
-
- Beginning at the tie-in knot at your harness, slide your hand downwards to grab a length of rope.
-
- As you bring the rope to the carabiner, hold the rope between your thumb and forefinger.
-
- Use your middle finger to hook and stabilize the carabiner.
-
- Roll the rope through the gate using your thumb and forefinger.
Tips for Learning to Clip
Learning to clip is not an overly complicated skill. However, it does require a certain amount of dexterity and muscle memory to do it efficiently. And the best way to improve your dexterity and train your muscle memory is with tons of repetitions.
So here are some tips for practicing.
Practice at Home
When I was learning how to lead climb, I carried a quickdraw and a short length of practice rope around the house. Then, when I was watching TV or reading a book, I practiced clipping the rope into the quickdraw.
Over time, this set me up for success when I transitioned to real sport climbing.
Practice with Both Hands
Most of us have a dominant hand that is more dexterous than the other. In my case, my dominant hand is my right hand.
Our dominant hands are faster learners compared to our non-dominant hands. However, that doesn’t mean you shouldn’t train both hands to learn how to clip efficiently. It’s the opposite.
You need to practice clipping with both hands. That is because some clipping stances force you to clip with one hand or the other. So, you need both hands to be efficient clippers.
Mock Lead in the Gym
To practice clipping in an actual climbing scenario, tie a short practice rope to your belay loop. Some gyms will even have practice ropes to lend out.
Then, while you top rope climb, clip the practice rope into the quickdraws as you imagine you are lead climbing.
Final Thoughts on Sport Climbing
Sport climbing is one of rock climbing’s most popular disciplines. That’s because it is fun, offers exhilarating adventure, and is relatively accessible regarding the skills and equipment required to do it safely (but not 100% safely).
So if you’ve learned many of the basics of climbing from bouldering and top roping, it may be time to give sport climbing a shot. If so, take your time, learn methodically, and always do your double-checks.