The humble cousin of climbing, belaying might not be as exciting as climbing up the wall or rappelling down it, but it’s just as important.
Providing a good belay isn’t just crucial to success on the route. It can be the difference between life and death for your partner on the other end of the rope.
The good news about belaying is that anyone can do it. It’s quite simple. But don’t underestimate the art of belaying! Being a talented belayer still takes lots of practice. Different styles of climbing, like top roping and lead climbing, also require different belay methods.
Let’s learn everything you need to know about belaying.
Top Rope Belaying
Top rope belaying is the simplest form of belaying, and it’s what you’ll probably learn first. Top rope belaying primarily involves taking slack as the climber ascends, to minimize a fall.
Belaying Gear
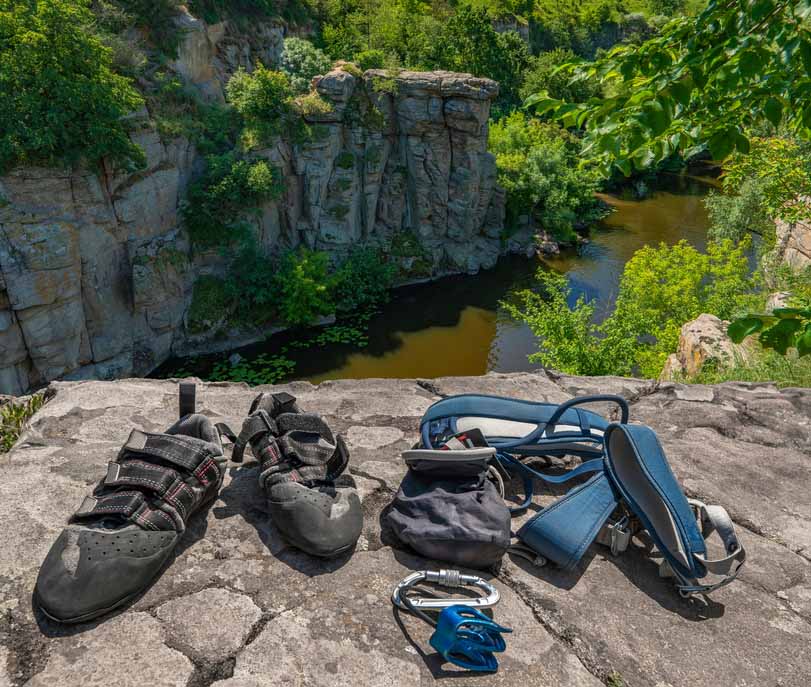
In addition to a top rope anchor and a rope, the basic equipment for a belayer is a:
- Harness
- Helmet
- Locking carabiner (any will do, but a wide, asymmetrical HMS-style locker is best)
- Belay device
- Comfortable shoes
Types of Belay Devices
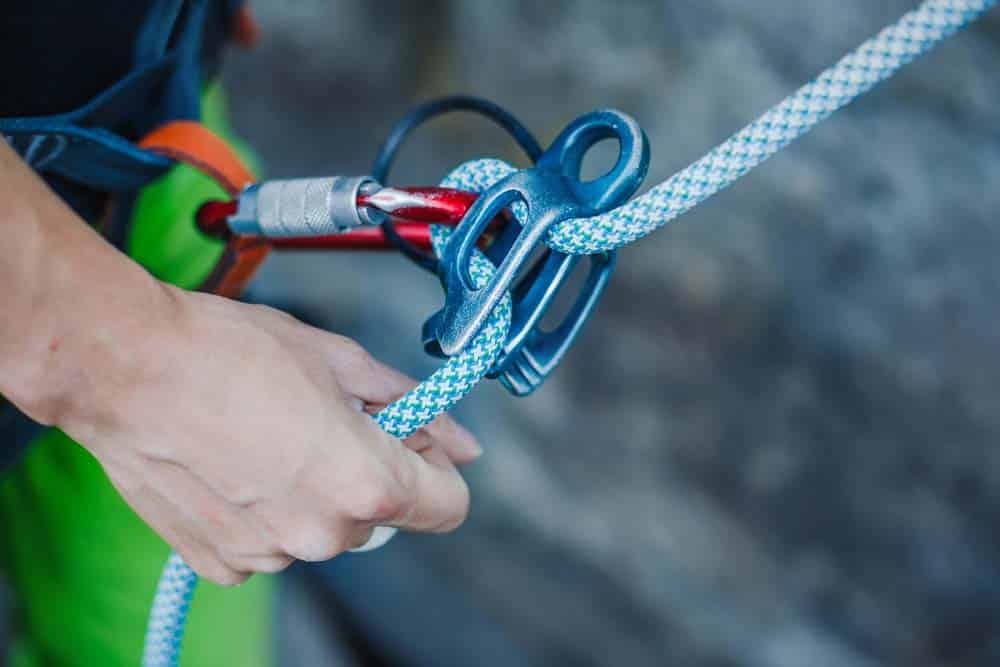
As a belayer, your belay device is your main tool. It’s used to give slack (or take it out) of the rope system, catch falls, and lower your climber. The two main belay device types are tubular, or “tube-style,” and mechanically assisted devices. A popular example of the former is the Black Diamond ATC, the latter the Petzl GriGri.
For the sake of simplicity, we’ll be covering belaying with a tube-style device, like an ATC, in this article. The basic principles of tubers and assisted devices are similar, but in this author’s opinion, it is best to learn to belay on a tubular device before transitioning to a more advanced belay device.
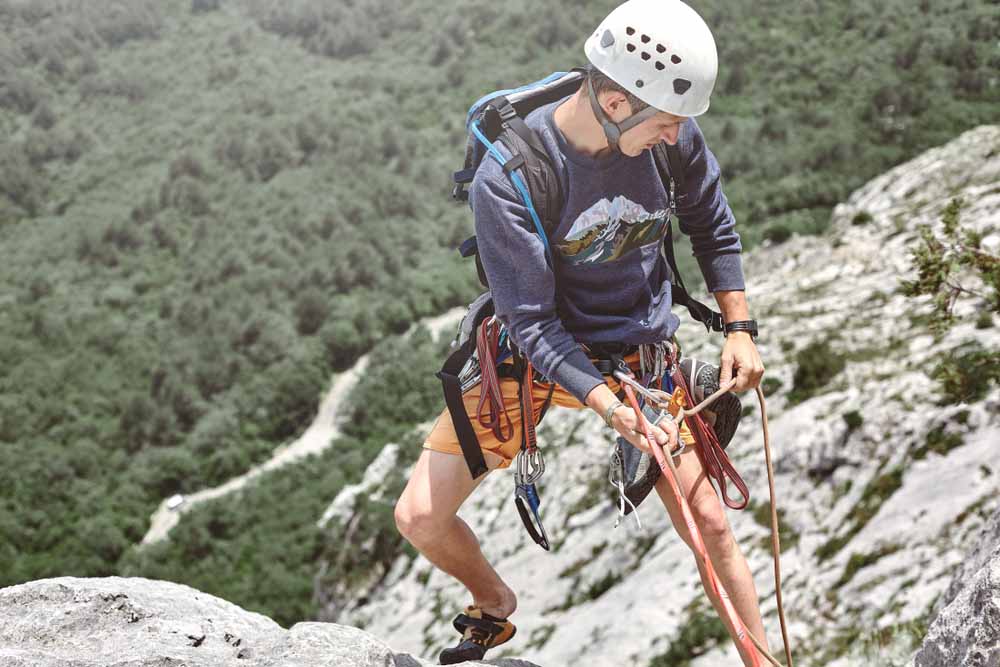
Top Rope Belay Setup
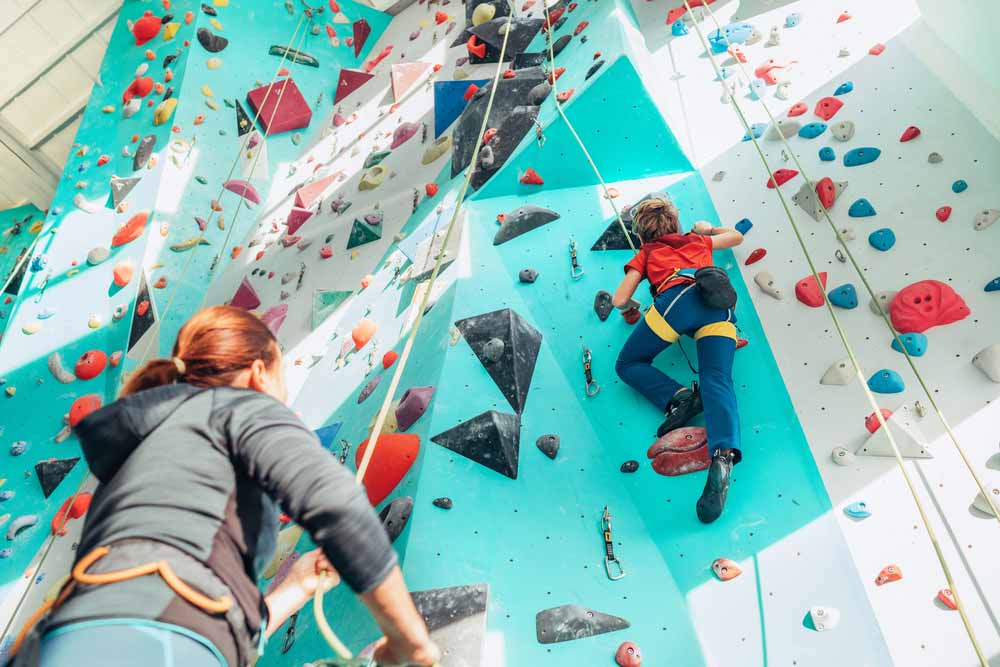
The basic structure of a top rope belay involves the climber on one end of the rope. The rope then runs up to a fixed anchor at the top of the climb and back down to you, the belayer.
Once your climber ties in, close the system on your end by putting a stopper knot at the end of the rope. This prevents the rope from coming through the belay device, causing your climber to fall.
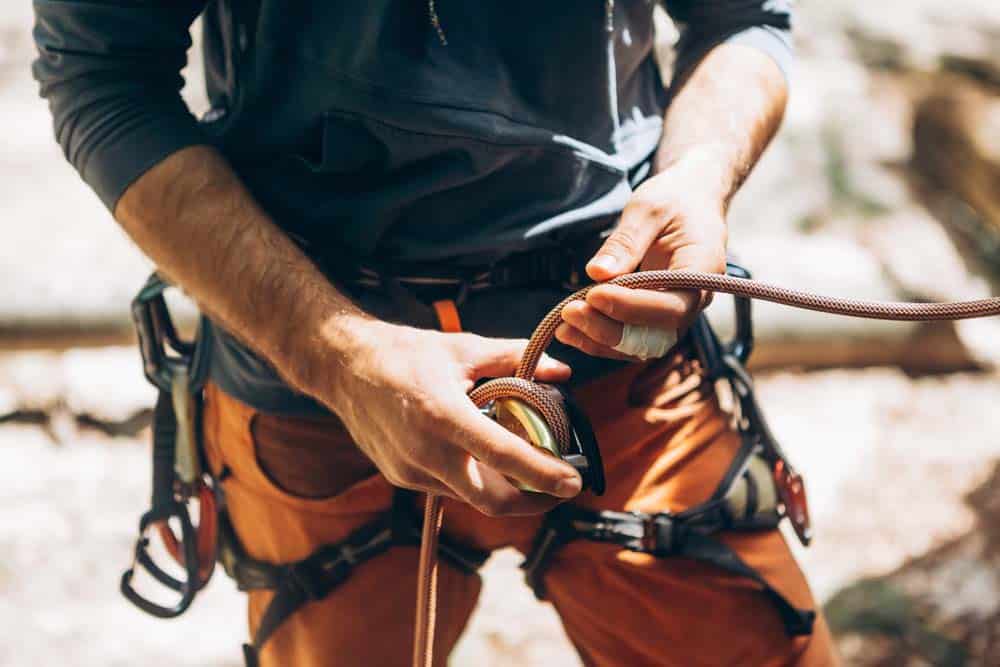
Attach your belay device to the rope by taking a bight and putting it through the slot in your tuber that is closest to your dominant hand. Many tubers are symmetrical, but if your belay device has a grooved side, ensure that this side is facing downwards, not up towards the anchor and back down to your climber.
Attach a locking carabiner through the bight, belay device keeper, and belay loop on your harness.
NOTE: If your climber is significantly heavier than you, it’s a good idea to consider tying into a ground anchor. This is less important in a top rope system, but still worth considering. When you’re lead belaying (see below) this weight differential can become much more dangerous, and you may get catapulted into the air or towards the wall if your climber falls.
Safety Check
Before your climber casts off from the ground, perform a safety check. Three things to go through are:
- Knots: Is your climber’s tie-in knot correct? Did you tie a stopper on the belay end of the rope to close the system?
- Belay Device: Is it properly attached to the rope? Is the carabiner locked?
- Buckles: Are the climber and belayer’s harnesses tightened, with all the buckles fastened? Ensure straps are doubled back through buckles (unless this is integrated into the design, as on some modern harnesses).
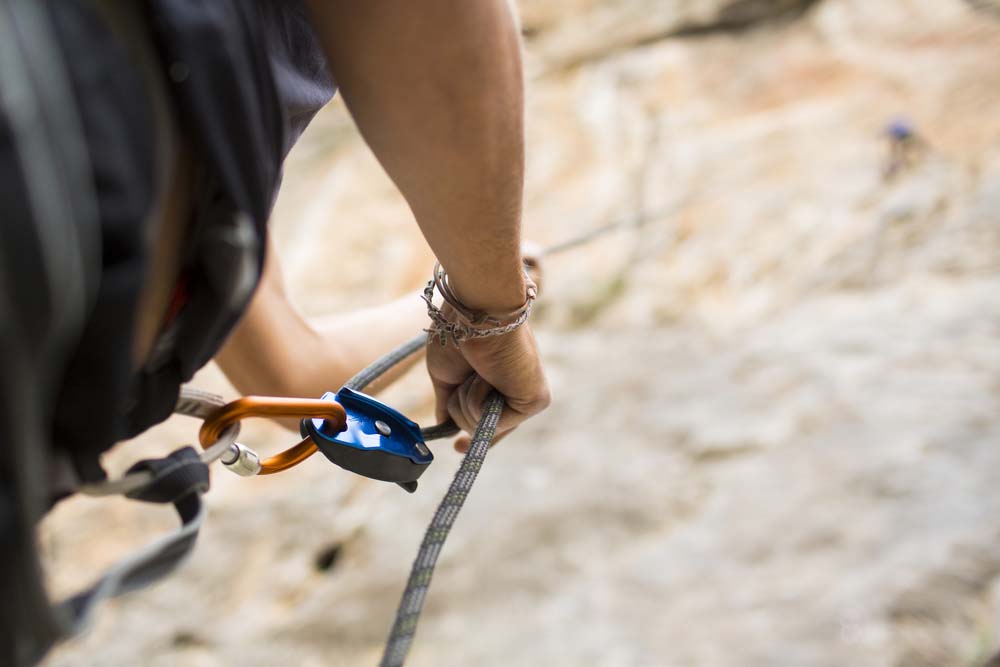
The Belaying Process
Regardless of where, when, and how you’re belaying, the most important thing to remember is to keep your brake hand on the rope at ALL times.
If you do this (and take slack), it’s hard for things to go wrong. You’re well on your way to becoming a safe belayer.
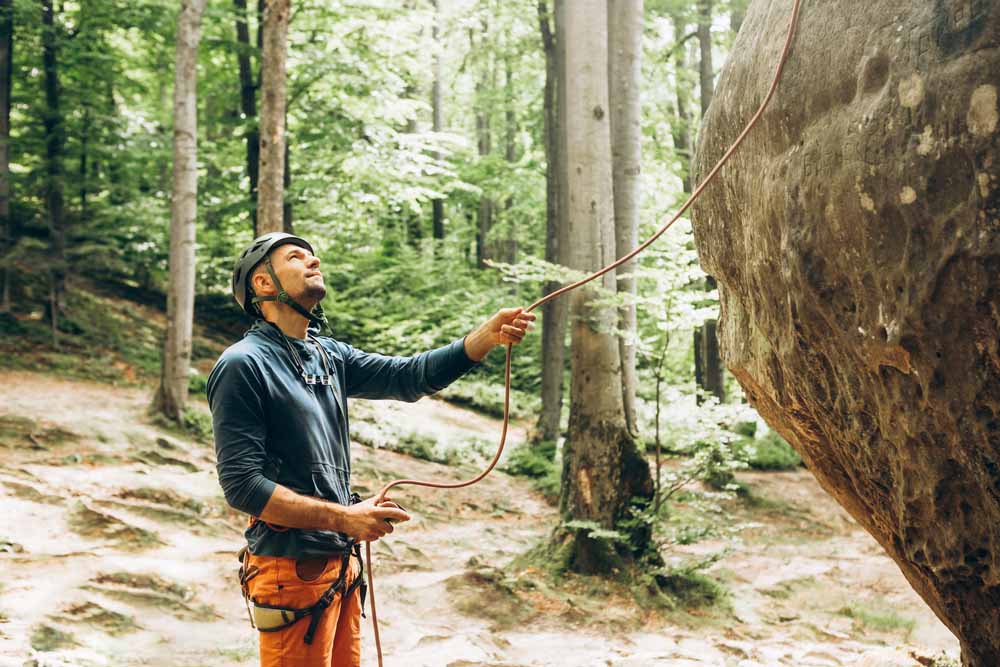
In addition, keep your eyes on your climber, and watch for any hazards on the wall and around you, like loose rocks or overhanging trees. Ensure your extra rope is cleanly flaked on the ground below you so it won’t get tangled when you’re lowering.
Also, practice a good belay stance, with your knees bent and body relaxed. Stay as close to the wall as possible, without being directly underneath your climber.
NOTE: Two steps back from the wall is a good place to be. This keeps you out of the way of any falling debris and prevents you from having to crane your neck to keep eyes on your climber. Looking up may not sound so bad at first, but it gets old fast. Belayer’s neck is a real thing!
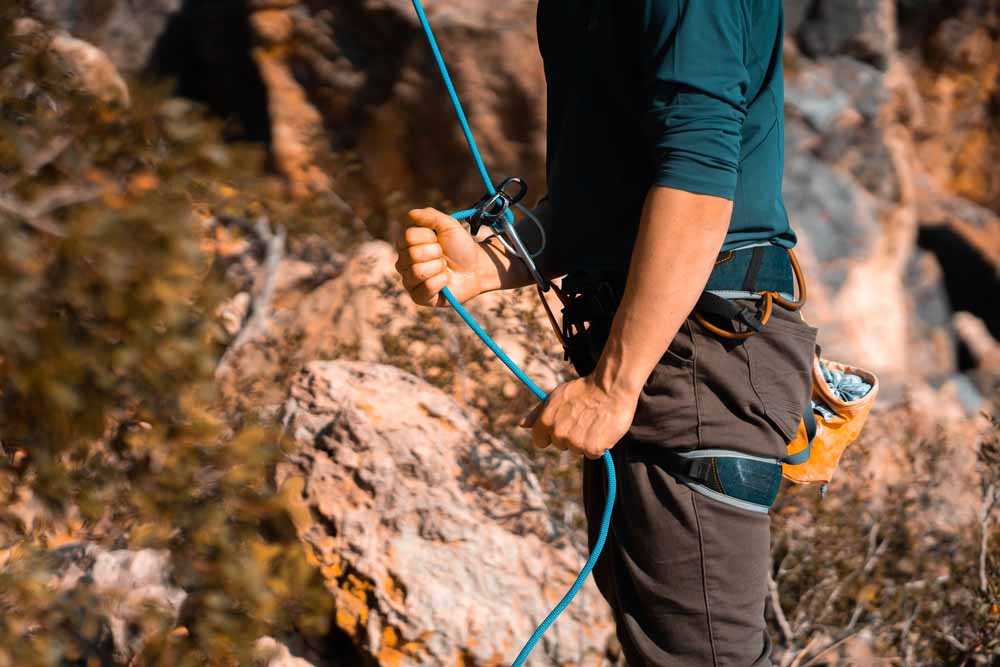
Belay Hand Position
There are two hands (duh) to operate while belaying, the brake hand and the guide hand. Your guide hand is the less important of the two. This—your non-dominant hand—should be placed on the climber’s end of the rope, a few feet above your belay device.
Your brake hand should be placed on the other end of the rope, approximately six inches below your belay device. Grab the rope firmly with this hand, and give yourself enough space to “lock off” (i.e. pull the rope around your hip, towards your upper buttocks) if the climber falls. If you let your brake hand get too close to the belay device, you minimize your holding power and also risk your hand getting pinched in the device, so make sure you’re aware of where it is at all times.
Taking Slack: PBUS Technique
There are a couple of methods of belaying, but the PBUS (Pull, Brake, Under, Slide) is perhaps the most popular. It’s simple, safe, and efficient.
Pull: Pull your guide hand down while lifting your brake hand up and out (taking in slack) as your partner climbs. Take neither off the rope.
Brake: When your guide hand is so low that it’s nearing the belay device, lock off again with your brake hand.


Under: Swap your guide hand to the brake side of the rope, grabbing under your original brake hand. Hold the rope firmly to keep it locked off.
Slide: Loosen the grip on your original brake hand (but don’t take it completely off the rope) and slide it up to its starting position. Regrip the rope. Then return your guide hand to its starting position and repeat, if more slack needs to be taken.
Catching Falls
Catching a fall is another important part of belaying, but if you’re belaying properly and there isn’t too much slack in the line, then you shouldn’t have to do much besides lock off with your brake hand. Some climbers also like to grab the brake line with their guide hand, for added support. Remember, your body is basically a counterweight to the climber’s body, so stay loose and relaxed.
Lowering
Whether your climber has reached the anchors or they’re simply pumped out and want to bail, it’s your job to lower them down safely. Bring your guide hand under your brake hand to back it up, and let the rope slowly move through the belay device, keeping both hands loosely gripping the rope at all times.
The further outward (away from your hip) you bring the rope, the faster the climber will lower, but be cautious, as the friction of lowering a climber quickly without gloves can very easily burn your hands, possibly causing you to drop your climber.
Lower smoothly and steadily, decreasing speed as the climber nears the ground, allowing them to land with solid footing.
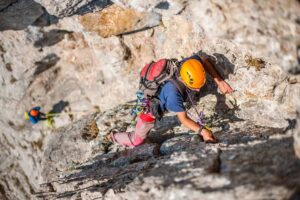
Lead Belaying
The basic concepts of lead belaying whether it be in sport climbing, trad climbing or other are synonymous with top rope belaying, although the process is reversed. Instead of taking out slack as your climber ascends, you’re giving them slack.
You and your climber will start attached to the same end of the rope, with nothing between the two of you. (Don’t forget to tie a stopper knot to close the system). As the climber climbs, they will clip into gear, creating anchor points between you and them to catch them if they fall.
The gear, principles, safety check, belay stance, and process of catching falls and lowering are all very similar. But when setting up a lead belay, there are a few extra things you should watch for.
- Double-check your rope length, making sure it’s more than twice as long as the distance to the anchor and back. Unlike on top rope, you won’t have visual confirmation of this before you climb, so it’s crucial that you check beforehand so you don’t run out of rope.
- The climber isn’t on belay until they reach the first bolt (or gear placement) so don’t worry about slack at the beginning. Give them a comfortable amount of slack, enough to reach the first bolt and clip without any issue. Also, try to provide a spot (like in bouldering) as their getting up to that first bolt.
- Fully flake the rope out, without knots or kinks that could snag as you feed slack. Tangled rope is a nuisance on top rope, too, but is much more detrimental to safety when leading.
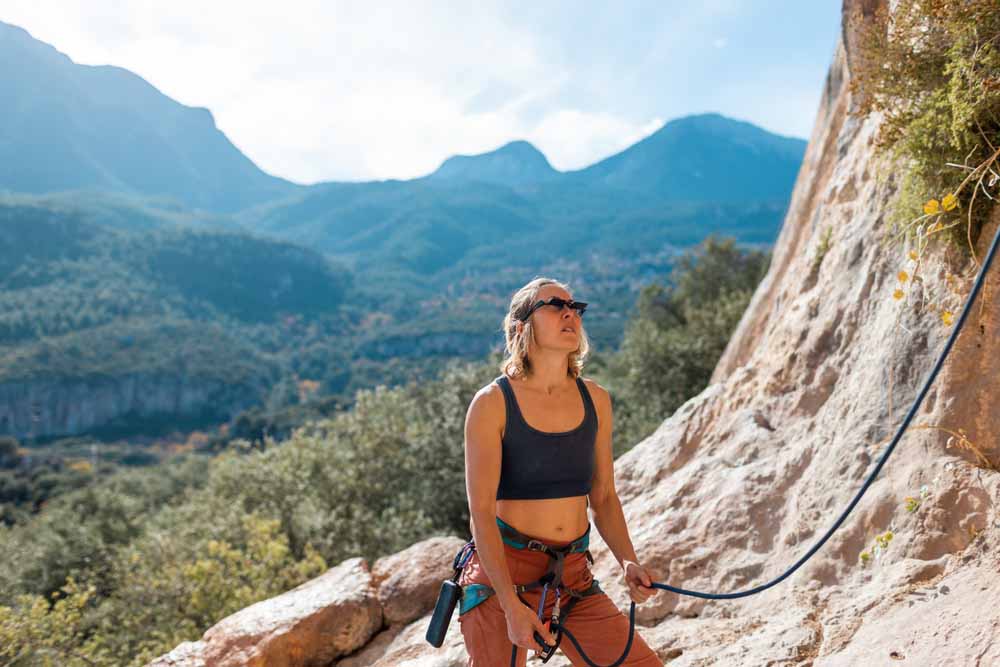
Giving Slack
As your climber moves upward, your job as belayer is to give them slack while being ready to catch a fall. To start, grip the rope with your guide hand, just a few inches above the belay device. Feed the rope up with your guide hand and loosen the grip on your brake hand, allowing the rope to slide through it (but still maintain control). Once your guide hand is too high, slide it back down and repeat.
Watch your slack at all times. Proper slack management is the difference between a good belayer, a bad belayer, and a totally unsafe one. Too little slack makes it hard on the climber, and can even pull them off the wall. Too much slack can lead to a long and dangerous fall.
If you have the correct amount of slack, the rope should droop slightly when coming out of the belay device. This varies based on your climber’s position, though. Close to the ground, be careful about having too much slack, as this can lead to a groundfall. As the climber gets higher, a little extra slack won’t hurt (unless there is a ledge or other obstruction they may hit).
Catching Falls
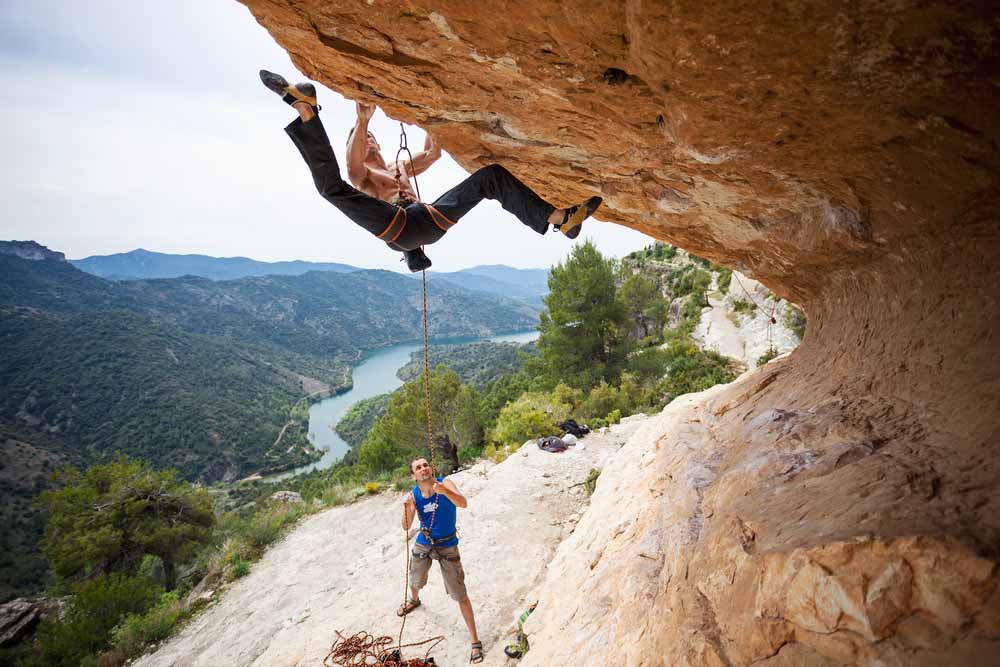
A lead climber falls twice as far as their last piece of protection. Depending on the climber’s position, you will need to do a soft or a hard catch in the event of a fall. A hard catch is required if there is a ledge, horn, tree branch, or other obstruction below the climber that they might hit, or if they’re at risk of decking. If the climber has free space below them, perform a soft catch.
Hard catches involve fighting the fall. Step in close to the wall, take as much slack as you can out of the rope, brake hard, and absorb the fall with your body, harness, rope, and belay device.
Soft catches are smoother, using movement and the natural dynamic nature of the rope to absorb the force. As the climber falls, take a quick hop forward and let the fall pull you into the air, keeping your knees bent and feet forward to brace against the wall.
NOTE: Like lead climbing, lead belaying is significantly more dangerous than top rope belaying. Catching lead falls requires attentiveness and fast reflexes. Lead belaying is best learned in a controlled atmosphere, like a climbing gym or a well-bolted sport crag.
Belaying from an Anchor
Belaying from an anchor is a complex and advanced technique, usually only practiced on multi-pitch climbs or routes where you plan to walk off the top of the climb (like a sea cliff). Generally, you would belay from an anchor (above the route) after you’ve led the pitch, in order to bring up your partner.
The process of belaying from an anchor can vary widely. There are several techniques used in varying scenarios, each with pros and cons. Instead of specifics, I’ll simply go over a few concepts to explain the process, as this is an advanced skill that should be taught by a professional and only learned after you’ve mastered normal belaying.
One method is to attach yourself to the anchor with a cordelette or sling, and then run the rope normally through the anchor. This is ideal if you have a comfortable ledge or somewhere else to stand below the anchor, as it puts the majority of the force of the falling climber on the anchor, not your harness. The downside is that you can be pulled into the anchor if you aren’t positioned far enough away from and/or below it.

Another method is to attach yourself to the anchor and belay directly off your harness. This method can be used in almost any scenario but puts a lot of force on your harness, as you are essentially the “anchor” for the climber. A third method is to use a belay device with a “guide mode” which can be attached to the rope (and anchor) free of your harness.
How to Pass a Belay Test
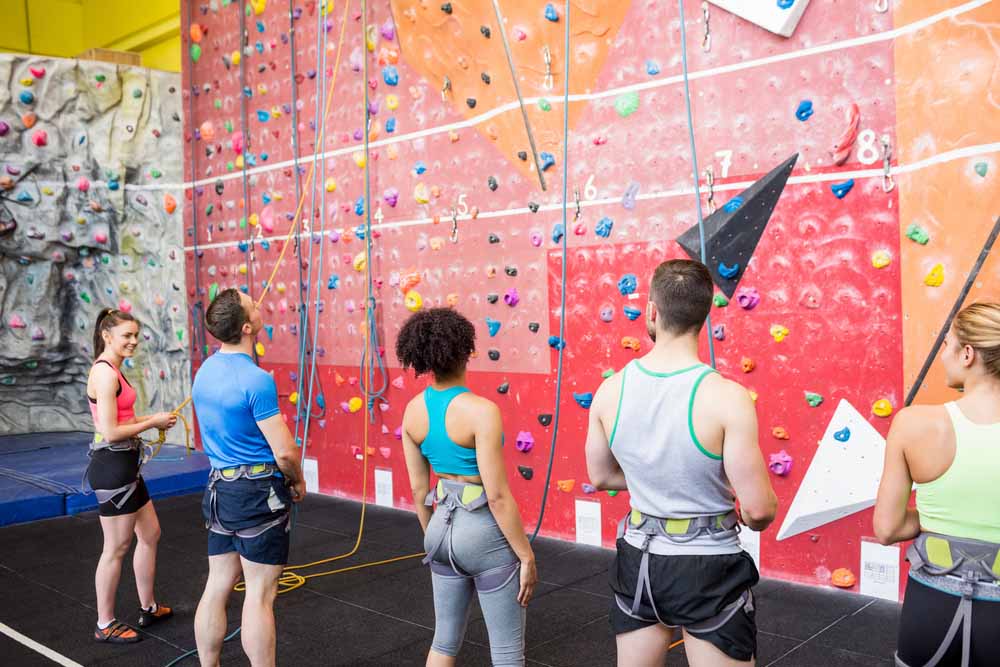
To pass a belay test at a climbing gym, you’ll need to physically demonstrate a proper understanding of the concepts covered above. However, every climbing gym has slightly different policies. All gyms will require you to demonstrate a correct tie-in knot, safety check, and basic belaying; taking and giving slack while keeping your brake hand in position at all times, catching falls, and lowering.
But other gyms have additional policies. Some only allow mechanically assisted belay devices. Others require all belayers to tie into a ground anchor. Others require every climber to have a backup knot on the tail of their tie-in (or a certain length of tie-in, such as a minimum of six inches), and they require the belayer to check this. Others require you to use certain commands (such as “On belay, belay on”).
Many gyms will fail you outright if you forget even one of these stipulations. It’s often up to the discretion of the staffer giving your belay test.
If you master the concepts in this article, you’re almost certain to pass a belay test. However, not all belay tests are the same. Some climbing gyms have unique safety policies. So talk with a gym staff member before you take your belay test. That way you’ll know what’s expected.
Final Thoughts on How to Belay
Belaying is a key part of the climbing experience. Learning how to belay correctly is necessary whether you’re top roping in a climbing gym or leading at a sport crag. If you want to become a great rock climber, becoming a great belayer is part of the deal, too.
A belayer’s attentiveness and skill will be the difference between life and serious injury (or death) for the climber on their rope. Don’t take your job as belayer lightly. Luckily, belaying is relatively simple. Anyone can learn how to do it with proper instruction and practice. Now get out there and enjoy some climbing!