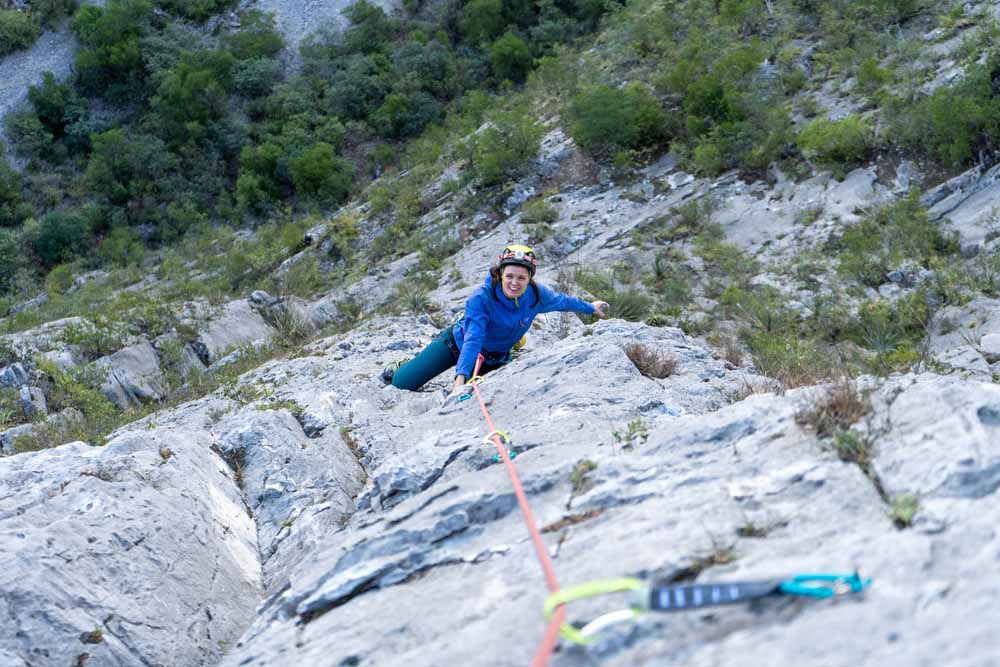
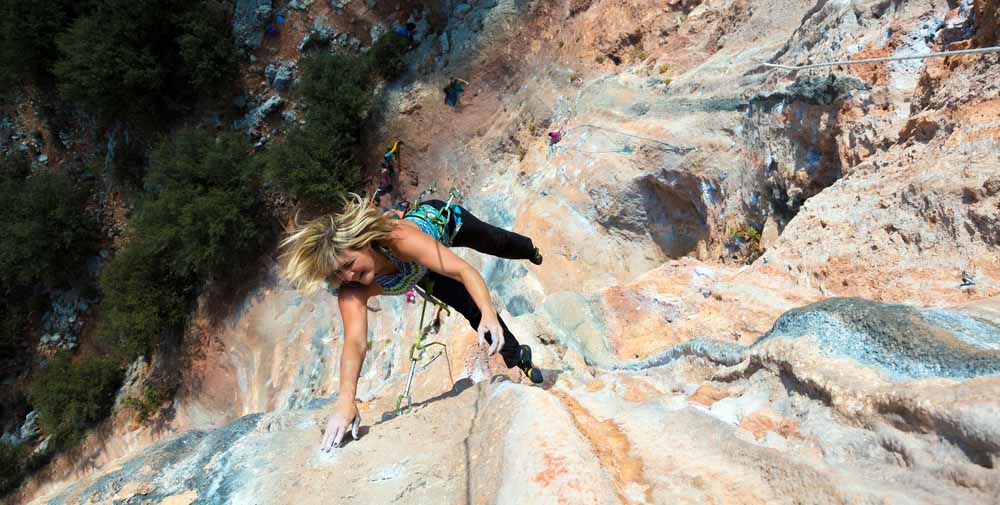
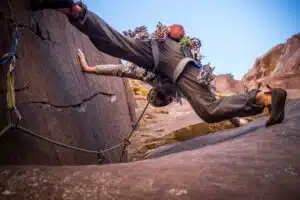
What Do I Need to Know For Multi-Pitch Climbing?
As noted above, multi-pitch climbing is an advanced skill and not one you can learn simply by reading articles online. It’s also not the first step in the climbing journey.
Unless you’re following a guide or more experienced climber, before you rope up to tackle a multi-pitch you should be a competent lead climber. You should also be very comfortable rappelling, and able to easily prepare basic climbing knots and hitches like a bowline, double fisherman’s, clove, and Prusik.
You should be able to follow a basic topo and plan route strategies in advance—because on routes that last many pitches, getting off-route can be a serious problem. You should be able to build anchors. You should also know how to trad climb.
This last caveat is very important. It’s not a hard and fast rule, because there are some multi-pitch sport routes. But—particularly in the United States—the overwhelming majority of multi-pitch climbs are traditionally protected.
If you can’t climb trad, you won’t make it far as a multi-pitch climber. In addition, trad climbing requires you to develop your skills with knots, anchor building, and other techniques that will serve you well on multi-pitch routes, so it’s a good building block.
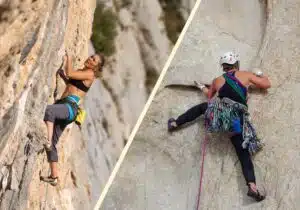
In general, the development of climbing skills should go as follows: top roping > leading sport routes > leading trad routes > multi-pitch climbing.
In summary, before you even think about multi-pitch climbing, you should be very comfortable with the following:
- Lead climbing
- Belaying (top rope and lead)
- Rappelling
- Rope management (flaking, coiling, etc.)
- Anchor building
- Vertical navigation (reading and following topos)
- Placing and removing traditional protection
But even though multi-pitch climbing is an advanced skill best learned under the guidance of a professional, it’s still important to understand the concepts behind it: how it works, what gear you need, and what you should keep in mind. That’s what we’ll cover in this article, as well as a few tips and tricks.
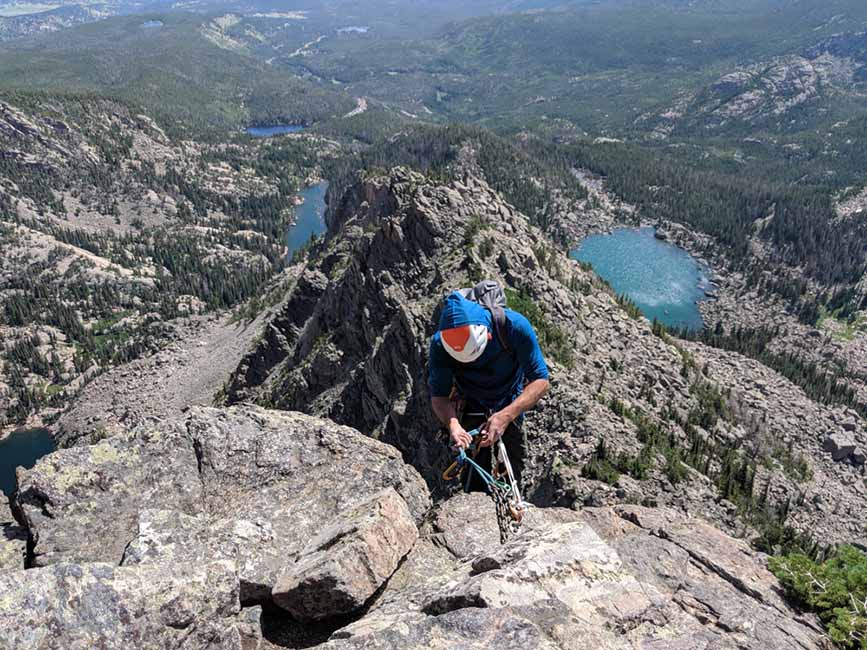
How Does Multi-Pitch Climbing Work?
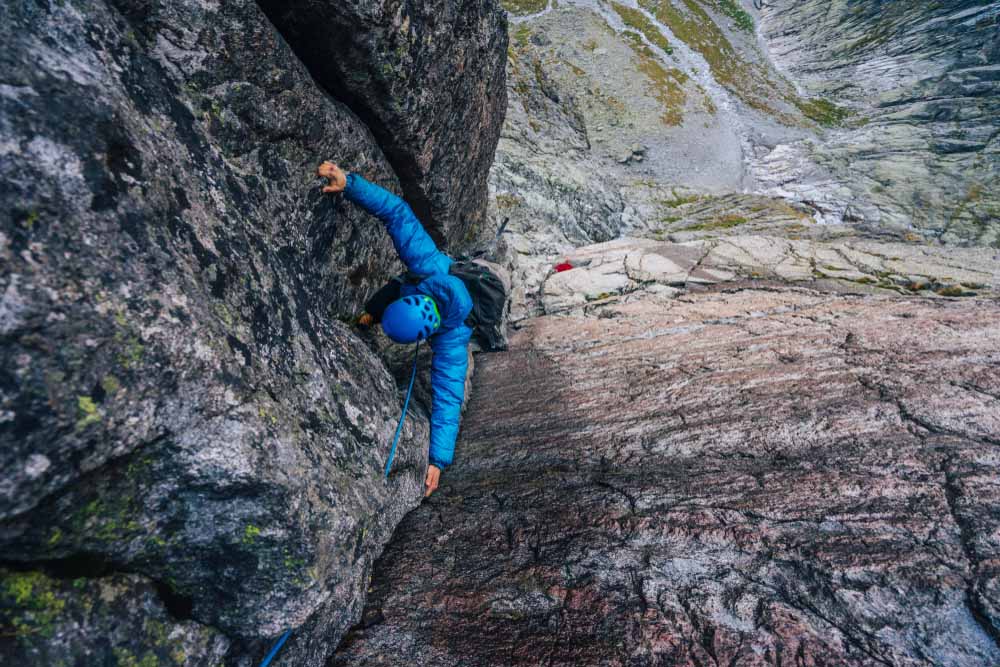
When you ascend a multi-pitch route, you’ll work in tandem with a partner (or partners). What follows is a basic step-by-step.
- The first climber leads the first pitch with their partner belaying them.
- Once they arrive at the top of the climb, they build an anchor and come off belay.
- They place the second climber on a top rope belay and the second climber “follows” the pitch, climbing it on top rope.
- As the second climber moves up the wall, they clean the gear the first climber placed, bringing it up to the belay station so that it can be used on the next pitch.
- Once the second climber arrives at the top of the first pitch, the process repeats until both climbers reach the top of the wall.
Ways to Climb a Multi-Pitch Route
There are two main ways you and your partner can climb a multi-pitch. Either you’ll swing leads, or lead in blocks. When swinging (or swapping) leads, you and your partner will take turns leading and following. You’ll lead the first pitch, your partner will lead the second.

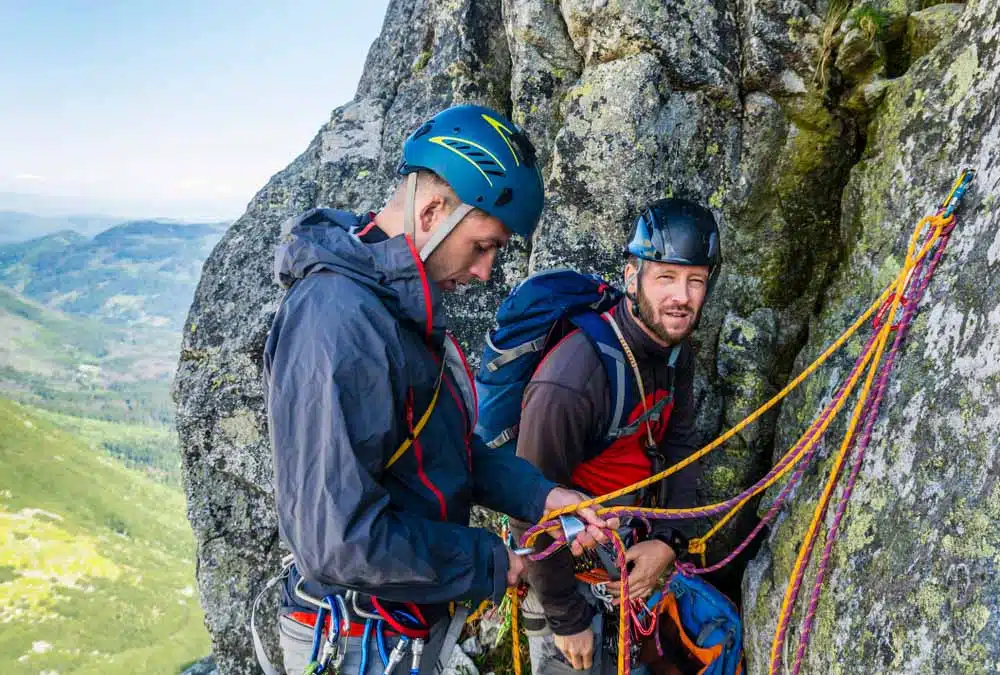
Communication
Communication is crucial on multi-pitch routes. In fact, poor communication is one of the main causes of multi-pitch accidents. When you and your belayer are next to each other at an anchor, communication is easy, but once you’re on opposite ends of a pitch, you have to be very careful.
Commands can be misheard (or lost altogether) over high winds, bulging rock faces, and long distances. For example, if you’re leading and your belayer takes you off belay too early, thinking that you’ve reached the anchors, you may very well find yourself taking a “Game Over” fall. Yikes.
Choose simple, concrete commands and confirm them with your partner in advance. Basic climbing commands include:
- Take
- Slack
- On Belay
- Off Belay
- Climbing
- Climb On
- Lower
You can substitute any of these for your own personal commands, but you must hash this out with your partner in advance. In general, choose short, simple phrases with as few syllables as possible.
You should also be prepared with a backup plan in case you have no way of communicating with your partner. Sometimes there is simply no way to hear each other, perhaps due to the length and terrain of a pitch or inclement weather. Some teams use walkie-talkies. If you don’t have those, communicating via rope tugs is possible.
Belaying from Above
Unless you’ve been climbing sea cliffs, you probably won’t have much experience belaying from above until you start multi-pitch climbing. But belaying from the anchor, above the climber, is crucial to multi-pitching. It’s similar to traditional belaying, but not quite the same.
(I’ve covered belaying from above in our “How to Belay” guide already. The following is a refresher.)
For starters, you need a belay device that can belay from above. The Black Diamond ATC Guide is my favorite, but there are many, including the Mammut Smart, Petzl Reverso, and Petzl GriGri 2.
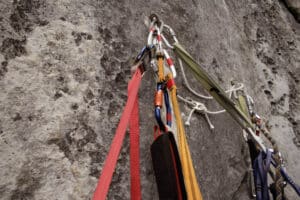
There are several ways to belay from above.
The first is to belay off the anchor. This is called a “redirected” belay. In short, you’d attach yourself to the anchor with a cordelette or sling, and then run the rope normally through the anchor (as though your follower was top roping).
This is ideal if you have a comfortable ledge or somewhere else to place yourself below and/or away from the anchor, as it puts the majority of the force of the falling climber on the anchor, not your harness. The downside is that you can be pulled into the anchor in a hard fall, and it also places slightly more force on the anchor than a direct or indirect belay (below).
If space is at a premium, and you feel fairly confident your partner won’t be yarding on the rope too much, you can also attach yourself to the anchor and belay off your harness. This is also known as an “indirect” belay because you are acting as a middleman between the anchor and your partner, the climber.
Indirect belays put a lot of force on your harness, as you are essentially the “anchor” for the climber. But they can be useful because they apply less force on the anchor than a redirected belay. The downside is that the climber’s weight is directly on your harness, and it can be difficult to escape the belay in an emergency.
If your belay device has a “guide mode,” you can also attach it directly to the anchor free of your harness. You and the climber are not connected, the climber is belayed directly off the anchor. This is called a “direct belay.” It’s a bit more complex than the two other methods, as you aren’t directly attached to the belay device, and it requires your device to have a guide mode. But in general, it is the most efficient and versatile method of belaying from above.
Fall Factors
In our Lead Climbing Guide, we talk about “fall factors.” You’re probably already familiar with this concept if you’re leading, but it becomes infinitely more important on multi-pitch routes.
The fall factor is the ratio of the height a climber falls before the rope catches them (and begins to stretch) divided by the total rope length available to absorb the energy of the fall. It determines the violence of force enacted upon your gear in a fall. The higher the fall factor, the more aggressive the fall.
In short, divide the distance you fell by the amount of rope in the system, and you have your fall factor. Let’s look at two scenarios.
In both Scenarios A) and B) you are 10 feet from your last piece of gear. The difference is…
Scenario A) You are 20 feet from the anchor.
Scenario B) You are 50 feet from the anchor.
In Scenario B, you have much more total rope length to absorb your fall. So Scenario A presents a factor 2 fall. Scenario B presents a factor fall of merely 0.2. Scenario B is a much safer fall, while Scenario A is very dangerous.
As you climb and belay, keep fall factors in mind to minimize the impact of a lead fall.
Descending the Route
 Never underestimate a descent. A very high number of climbing accidents happen while rappelling from multi-pitch routes. Check out our Rappelling Guide for more info on rappelling in particular.
It’s usually best to aim for walk-offs instead of rappels. Rappelling can slow down or block other climbers below you, knock rock loose, and in general, adds risk to the whole process.
Regardless, ALWAYS tie knots in the ends of your rope when rappelling. Stay attentive. You’ve made it up the wall, but you aren’t safe until you’re back down!
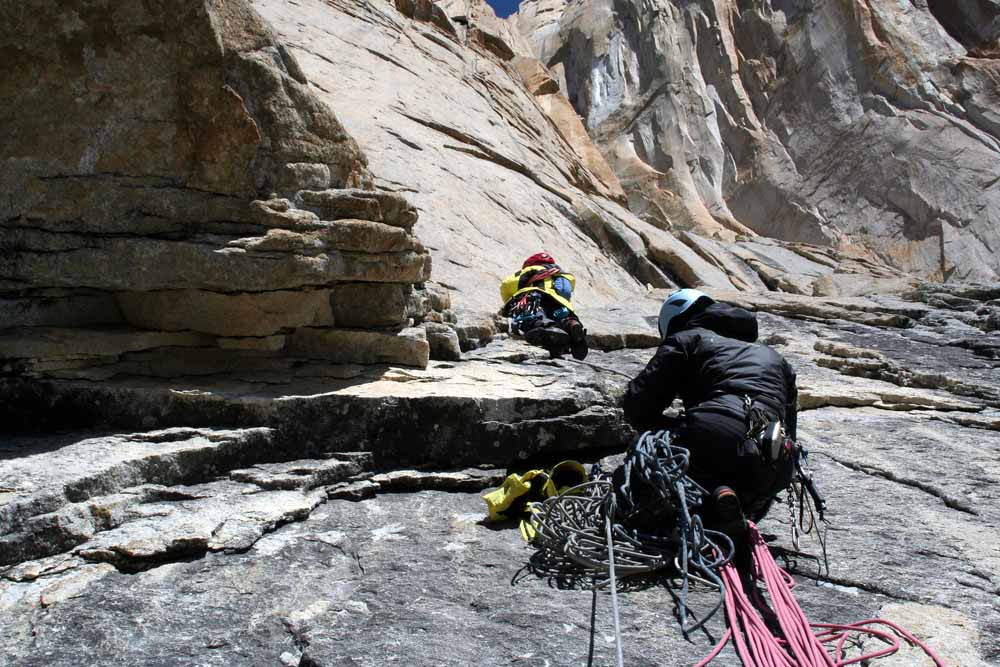
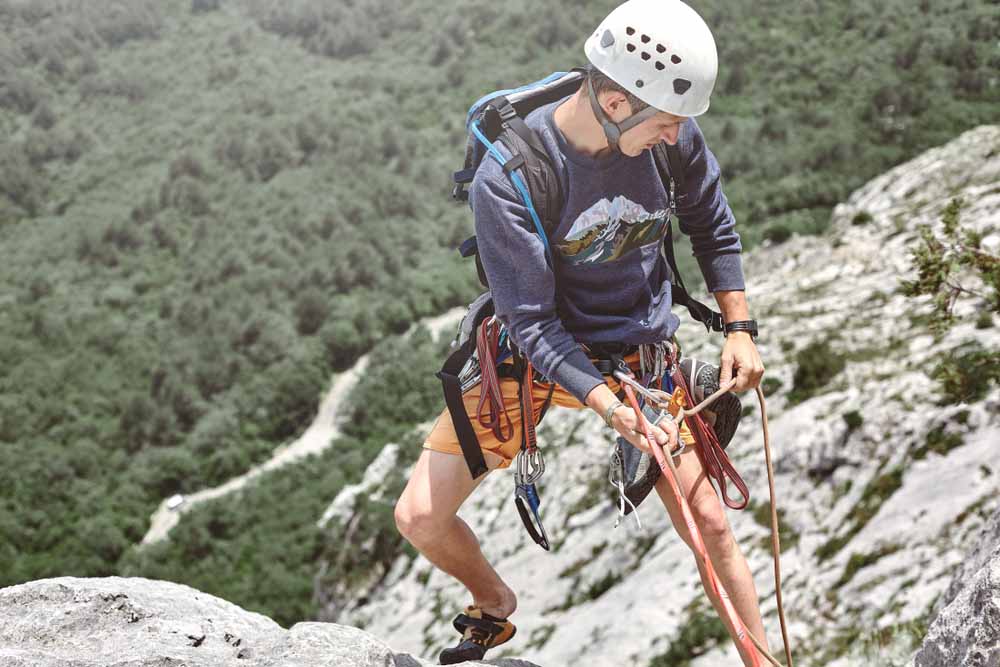
Multi-Pitch Climbing Gear
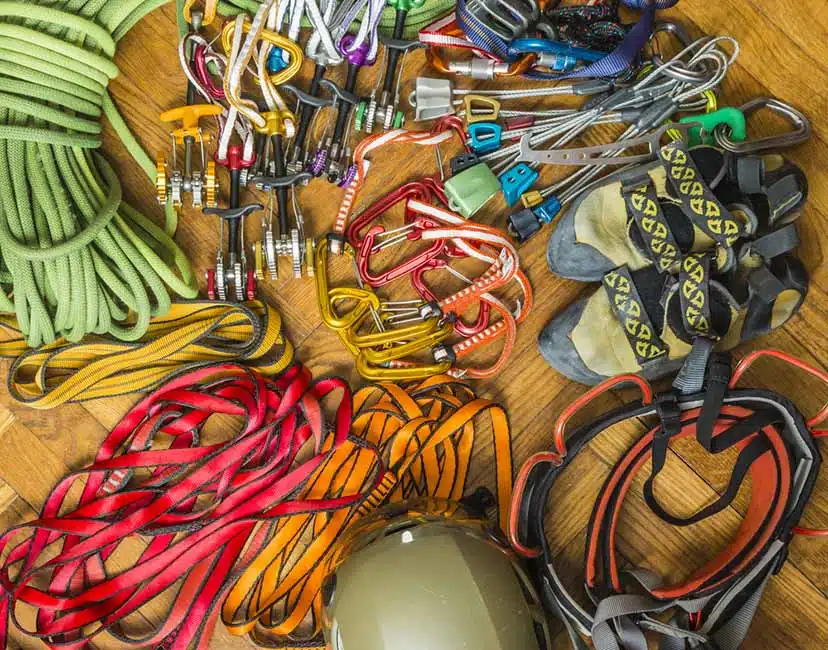
In addition to a competent and willing partner, what follows is a short list of the basic gear you’ll need for a multi-pitch climb.
- Pack
- Helmet
- Dynamic climbing rope
- Comfortable, non-aggressive rock shoes
- Approach shoes
- Harness
- Chalk bag
- Protection—this will vary depending on your objective but examples include:
- Cams
- Nuts
- Tricams
- Quickdraws
- Anchor-building material—again, this will vary, but common choices include:
- Cordelette
- Fixed slings
- Webbing
- Rope
- PAS (optional, but useful)
- Tubular belay devices (a device with a “guide mode” is ideal, and each climber should carry at least one)
- Locking carabiners (2x to 5x minimum)
- Emergency ascending system (ex. Prusik)
- Food
- Water
- Apparel (varies depending on conditions, but be prepared for any reasonably possible eventuality)
- Sunscreen & sunglasses
- Route topo or guidebook
Conclusion

Multi-pitch climbing is a complex practice. It requires you to put all your climbing skills to use, from rappelling to belaying, anchor building, rope management, and lead climbing. But it’s also the most rewarding experience in climbing and gives you access to some of the most stunning outdoor environments.
Once you’re a competent leader and trad climber, it might be time to embark on your first multi-pitch! Just remember to find a good partner, work out your communication in advance, and bring proper gear.