Traditional rock climbing, also known as “trad” climbing, is a style of rock climbing that does not rely on fixed or bolted pieces of protection. Instead, a trad climber must leave the ground and cast off with everything they might need to protect the climb clipped onto their harness.
Due to the adventurousness of the unknown, the purity of trusting that the rock will provide opportunities for protection, and a reliance on your skills and strength to adequately place it, for many, trad climbing is their preferred style.
So, if you’ve been getting curious about trad, keep reading.
What is Trad?
Trad climbing is a form of free climbing (not free soloing) where the leader places their own removable protection into the rock instead of clipping bolts like on a sport climb. Then, in the event of a fall, the trad gear in the wall, in conjunction with a belayer on the ground, arrests the leader’s fall.
Note: If you’re interested in more differences between trad and sport climbing, we have an entire post dedicated to it!
In a single-pitch setting, the leader can then “clean” or remove the equipment upon being lowered to the ground by their belayer after they’ve completed the climb. Or the belayer can clean the gear out of the wall as they climb the pitch themselves.
In a multi-pitch setting, the belayer would clean the gear as they follow the pitch so that the gear can be reused for lead climbing the next pitch.
What Makes Trad Climbing Possible?
Trad climbing is impossible without rock features that can be used for placing protection.
Well–maybe I shouldn’t say impossible. Because you can trad climb anything. But without features to plug protection, trad climbing becomes exponentially riskier as the runout above your last piece grows larger.
Features like cracks, fissures, pockets, trees, chickenheads, horns, and flakes provide the opportunity for the leader to place trad climbing gear and protect themselves to prevent taking a massive whipper.
Over years of practice, a seasoned trad climber learns how to apply the gear on their harness to make the climb less dangerous. But what exactly are those pieces of gear they are using?
Trad Climbing Gear
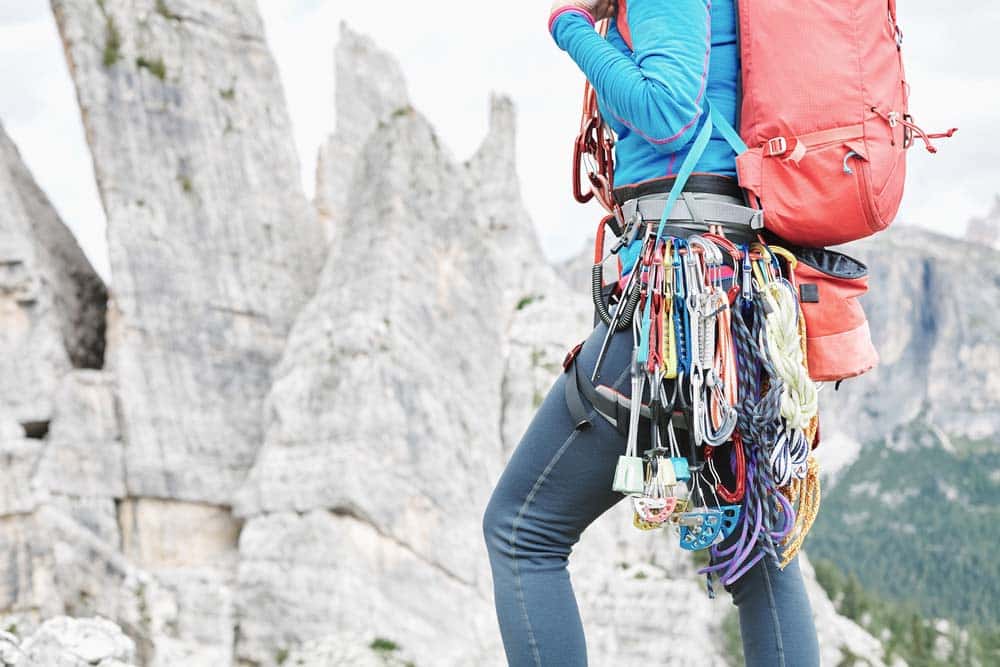
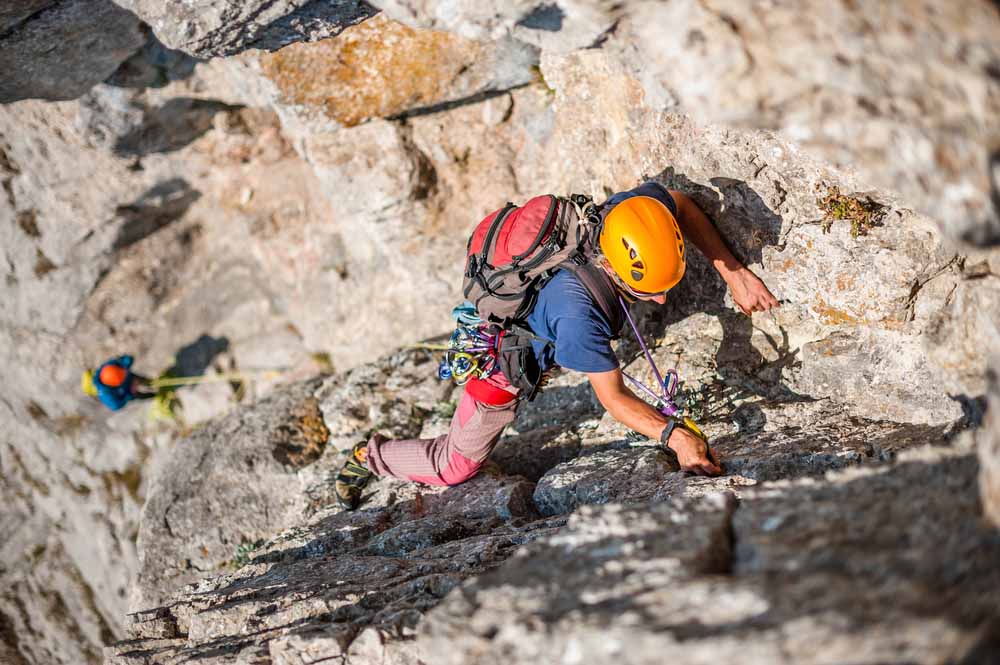
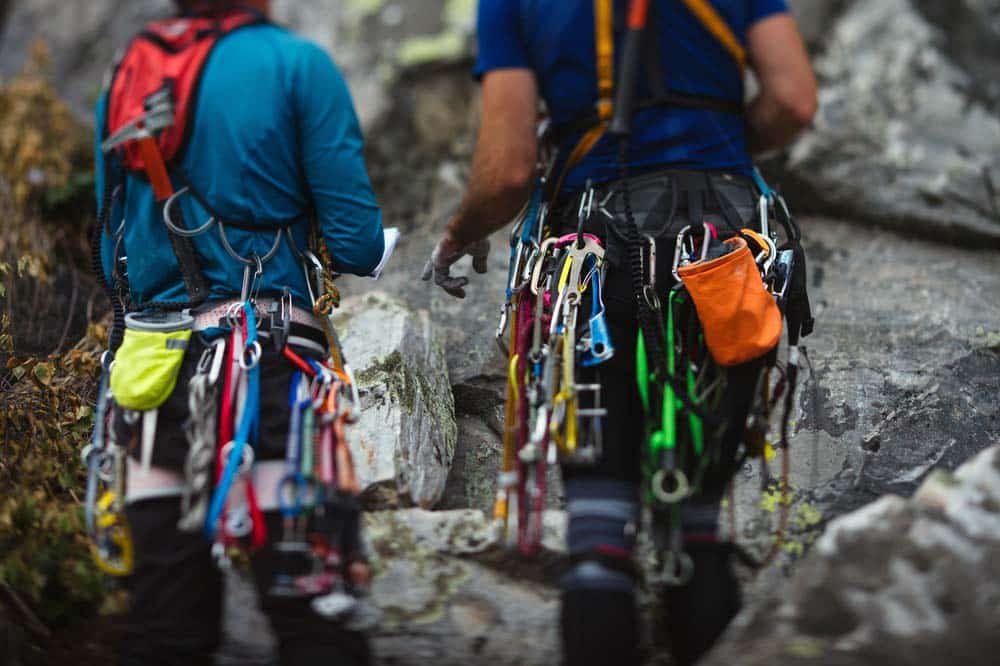
Trad climbing requires a significant amount of equipment. Specifically, the collection of equipment used for trad climbing is called a “rack.”
A well-built trad rack consists of many different pieces. How climbers build their rack depends on the type of gear they prefer (usually, there is a brand preference) and the rock they climb on.
Often, a climber has a complete rack that suits their climbing style and local crag. Then, before leaving the ground, they take portions of the rack depending on what they think they’ll need to adequately protect the climb based on what they can see from the ground or what they’ve learned from the guidebook.
To be honest– trad racks can get pretty complex, and it’s possible to get deep into the weeds about specific types of trad gear. But here, I want to focus on the basics.
Active vs. Passive Protection

Regarding trad gear, there are two major categories that you ought to learn about.
- Passive pieces of protection: hexes, stoppers (aka nuts), tricams
- Active pieces of protection: spring loaded caming devices
Passive Protection
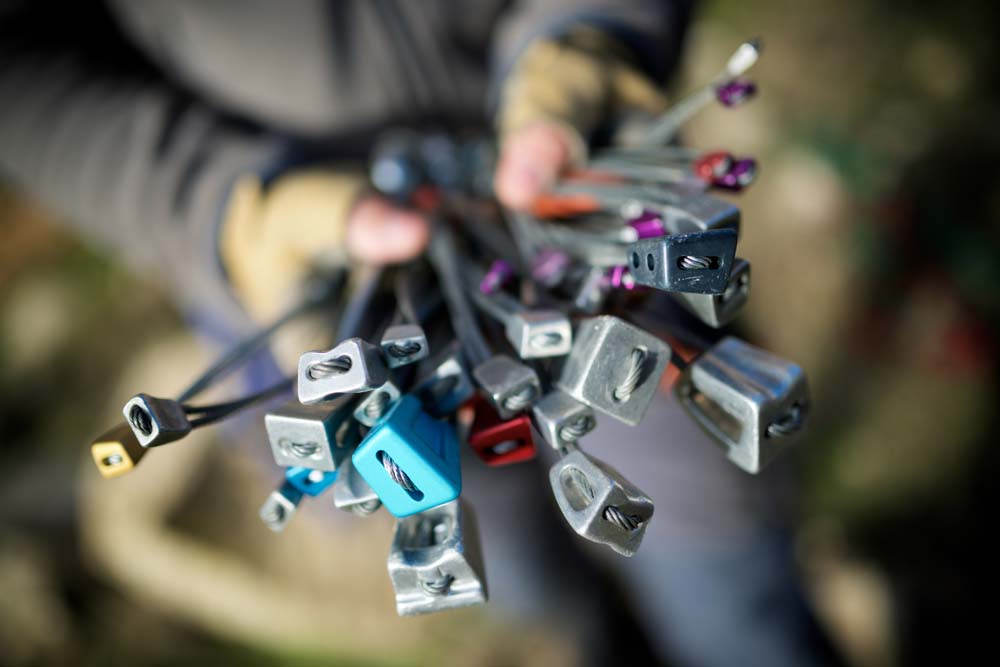
Passive pieces of protection are wedged in constrictions and cracks. Passive pieces of trad gear are non-mechanical and have no moving parts that grip or squeeze the rock to function properly.
Instead, passive protection functions like a chockstone trapped inside the rock. The placement quality depends on the rock quality and the surface contact between the crack walls and the stopper’s sides.
When properly placed, a passive piece of protection like a stopper can catch a lead fall by wedging itself deeper into its placement under the force of the leader’s falling bodyweight.
Types of Passive Protection
- DMM Wallnuts
- Black Diamon Stoppers
- Black Diamond Hexentrics
- DMM Torque Nuts
- CAMP Tricams
Active Protection
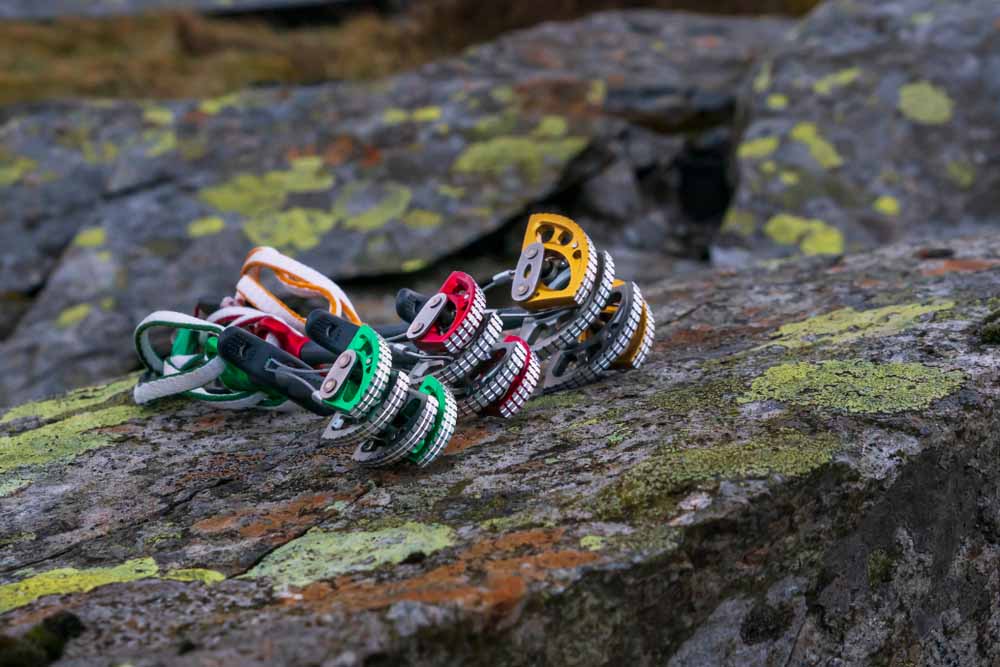
On the other side of the trad rack spectrum, you have active pieces of protection. Active protection uses mechanical force to grip the rock and hold itself in place.
The most common type of active protection is spring-loaded camming devices, also known as cams. Like stoppers, cams are placed in cracks in the rock but do not necessarily have to be placed in constrictions.
That’s because, when appropriately placed in good rock, the cam’s lobes exert outward force to the inside walls of the crack to stay in place and catch a fall.
The placement quality for a cam depends on the rock quality, adequate activation of the camming lobes, and maximum surface contact between the lobes and the interior walls of the crack.
Types of Active Protection
- Wild Country Friends
- DMM Dragon Cams
- Black Diamon C4 Cams
- Metolious Master Cams
Other Important Trad Climbing Gear
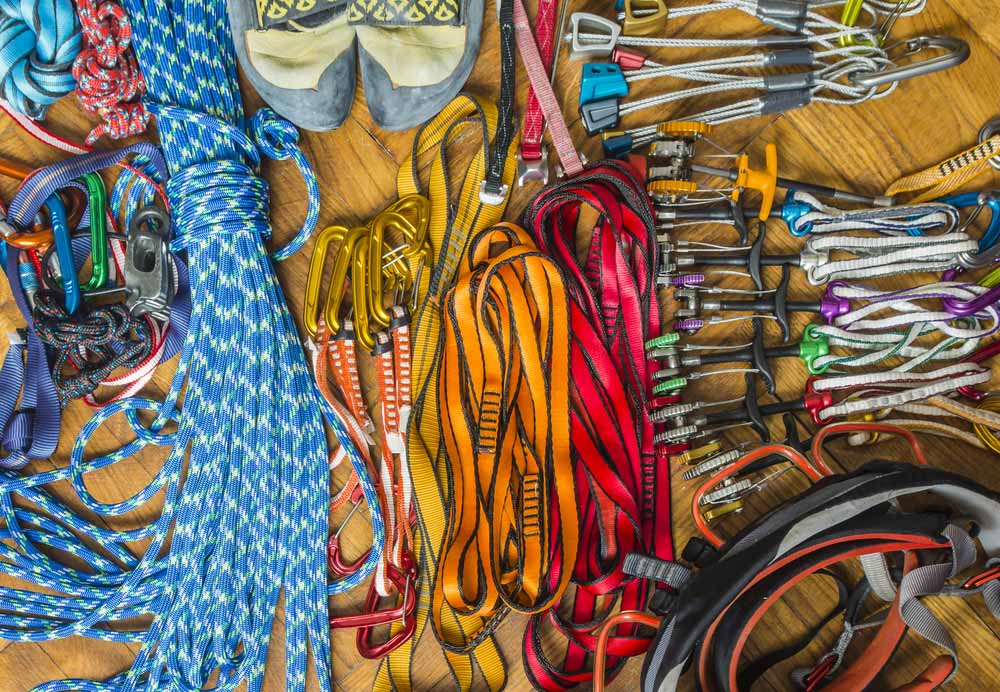
If you have a selection of cams, stoppers, or hexes, your trad rack is off to a good start. However, your rack still needs to be completed. To have a complete rack of trad climbing equipment, you also need to include extension equipment and anchor-building gear.
Extension Equipment
A super important part of leading trad routes is extending the pieces of protection you place (only when necessary) before clipping your rope to them.

In trad climbing, the most convenient way to extend your pieces is with a quickdraw. They are super easy to use and sometimes provide the perfect amount of extension.
However, if you need your piece extended even more, the ideal choice is an extendable quickdraw, also known as an “alpine draw.”
Extending your pieces is only sometimes necessary. When it is done correctly, extending the pieces you place can help prevent two unsavory situations– rope drag and cam walking.
Rope Drag
Rope drag is when the weight and friction of your climbing rope from running through your equipment, over edges, and around corners pull downward on your harness. When it’s awful, rope drag can feel like you have a weight hanging from your belay loop.
Extending your protection pieces can mitigate the distance your rope travels between pieces and keep a straighter rope line, effectively diminishing the rope drag.
Cam Walking
Cam walking is when a cam moves from its original placement. This occurs from the climbing rope moving and dragging the cam from inside the clipped carabiner as the leader advances past the clipped piece.
When a cam walks, it often walks deeper into the crack you placed it in. This is a problem for two reasons.
- A cam that walks deeper into a crack can become unretrievable.
- A cam that walks can compromise the security of the original placement.
Extending your protection mitigates cam walking because it isolates the piece of protection away from the climbing rope. In other words, the ability of the climbing rope to drag the cam out of its placement is diminished.
How many quickdraws and alpine draws you keep in your rack to prevent rope drag and cam walking depends on the route and your personal preferences. However, a good place to start is with five quickdraws and five alpines.
Anchor-Building Gear
The last critical component of a trad climbing rack is anchor-building gear. Anchor-building materials are necessary because you do not always have access to bolted anchors in trad climbing. In those scenarios, you must build your own anchor.
Like placing gear on lead, building trad anchors is a skill that requires practice. It’s best to refine your anchor-building skills on the ground before trusting your life to a homemade anchor.
What anchor you build and how you build it will depend on the specific climbing scenario and the climbing terrain, both of which are beyond the scope of this article.
However, I will recommend a selection of anchor-building goods you can use to begin constructing your first anchors.
- Static climbing rope: static climbing rope can be used to build large top rope anchors in scenarios where the opportunities for protection (i.e., cracks and trees) are far away from the cliff edge.
- Double-length sling: A 120-centimeter (48-inch) sling is ideal for two- and three-piece anchors with nearby placements.
- Quad-length sling: a quadruple-length sling, 180-centimeter (72-inch), is the ideal tool for building robust anchors with three or more pieces or for pieces that are spread out.
- Cordelette: a cordelette is a length of accessory cord, usually between 5 and 6 meters (18 to 20 feet), that you can use to build anchors. Cordelettes can be knotted and used like a loop or untied and used like a piece of rope.
- Non-locking carabiners: a series of non-lockers are ideal for the non-critical links in your anchor, such as the legs of your anchor. Non-critical linkages are backed up and will not cause a catastrophic anchor failure if one link fails.
- Locking carabiners: a series of locking carabiners are ideal for critical links in your anchor system, such as the master point. Or for adding more security in non-critical links.
Leading Trad Routes
 The most important skill for trad climbing is learning to place gear on lead. Without mastery of the ability to place adequate protection that will catch you if you fall, you are essentially free soloing with a rope.
Learning to lead a trad route cannot be learned overnight. Instead, safely learning to lead is a slow process that takes time, patience, and acute attention to detail. Here are some tips to help you gain knowledge and confidence before your first lead.
Tips for Getting Started with Trad
Follow a more skilled climber
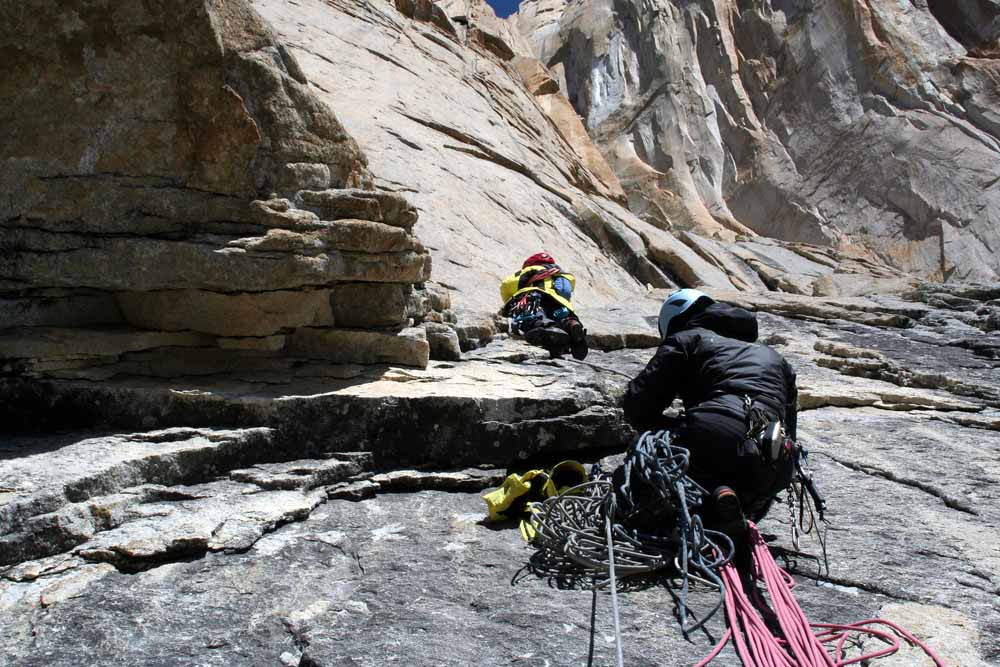
One of the best ways to get acquainted with trad gear and begin learning about gear placements is to follow a more skilled climber. They can be your friend, an older mentor, or a hired climbing guide.
When you follow on a trad climb, single or multi-pitch, your job is to retrieve the trad gear the leader placed. In doing so, you can glean vital information regarding placing gear on lead.
- The runout distance between pieces
- The required stance to stop and place a piece
- The size and type of gear in correlation to the crack
Practice on the ground
Another great way to get your hands on trad gear and begin learning how to make solid placements is with two feet on the ground. Learning to place gear in cracks you can access from the ground, otherwise known as “ground school,” is a safe and low-commitment way to refine your placements.

Here are some things to think about while you practice.
- Try placing gear with one hand to simulate what it will feel like on a climb.
- Do your best to properly identify the correct piece the first time.
- Practice clipping the piece with a climbing rope to simulate lead climbing.
Start with a series of mock leads
Once you have a decent understanding of trad gear and have begun to improve the skill of identifying the correct piece of gear based on the size of crack you have in front of you, it may be time to try out some mock leads.
Mock leading is when you climb a pitch while on top rope but pretending to be on lead. In other words, you rack up and tie into two ropes– your mock lead line and your top rope belay line.
As you climb, you place protection and clip it with your mock lead line. And in the event of a fall or if you need to take a break, your belayer and top rope line will catch you.
Learn to trust your gear
Placing gear is one thing. But transitioning from placing gear to learning to trust it with your life is a completely different animal.
One of the best ways to learn to trust your equipment and your ability to place it is by falling on it. But don’t just go plugging gear and whipping on it.
Instead, mock lead a route with a top rope belay backup. Once you are high off the ground and above a relatively low-risk fall zone, take a whip onto your gear. If it holds, you will gain confidence in how the equipment functions and your ability to place it.
And if it fails, you’ll have a top rope to catch you. Afterward, you’ll need to return to the “drawing board” and reassess how to improve your gear placements for the next time.
Final Thoughts- Trad is Rad
You’ve probably heard the saying, “trad is rad.” And I must say, I am inclined to agree.
That’s because, for many climbers, myself included, trad climbing provides the perfect balance of adventurousness, problem-solving, skill, and strength (both physical and mental).
But don’t take my word for it–find out for yourself. Just remember, compared to other climbing styles, trad climbing has a steep learning curve regarding risk management and decision-making.
So be patient, learn slowly, and hire a guide if you are ever in doubt.