If you begin to delve into roped climbing styles like sport or traditional (trad), you will inevitably begin interacting with rock climbing anchors. Anchor systems are what attach you and your partner to the wall. With a well-built anchor and competent belayer, you can go climbing and take falls with confidence.
Whether you are the leader doing the anchor building, the follower cleaning the route, or enjoying a top rope lap– you trust your life to them every time you go climbing.
To help you begin to build that trust, this article is aimed at being an intro to climbing anchors. Below, I will talk about different types of anchors and the qualities of a bomber anchor.
Note: If you’re interested in building anchors specifically for top roping, you can also check out our Guide to Building Top Rope Anchors.
There Are Different Anchors for Different Scenarios
There is no anchor to rule them all. What you end up building will depend on myriad factors related to the style of climbing you are performing, the equipment you have to use, and the rock.
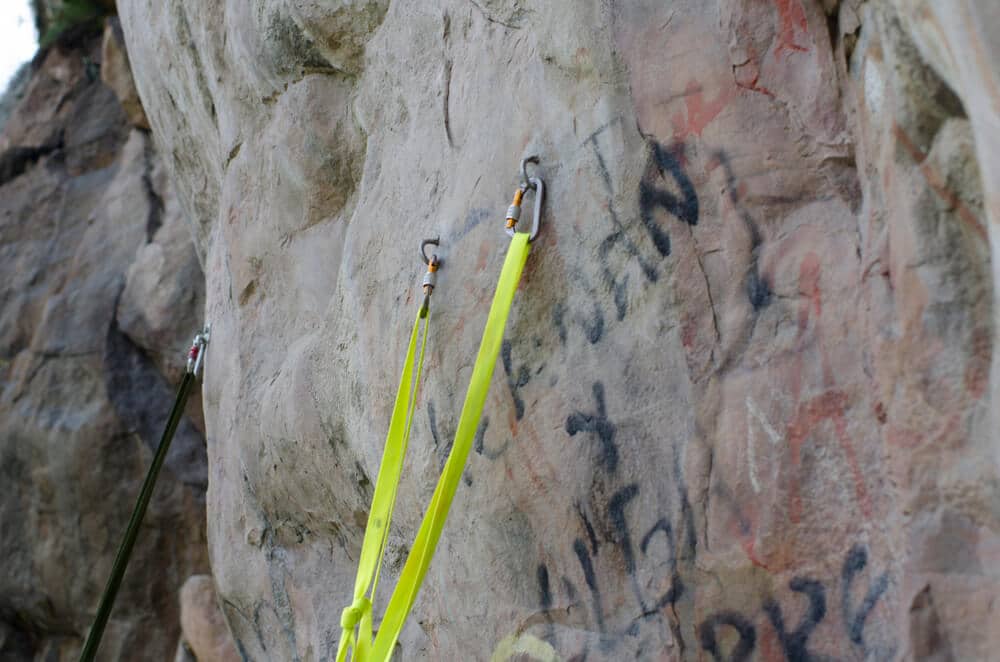
Sport Climbing Anchors
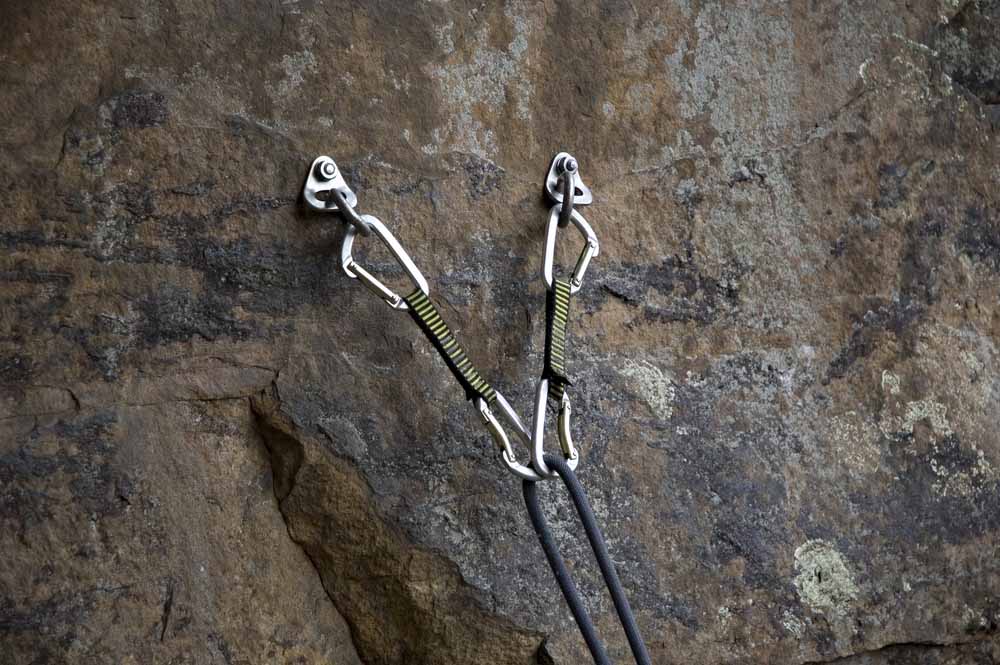
The idea behind sport climbing anchors is relatively simple. The goal is to combine the bolts at the top of the pitch into a single anchor system. With an anchor setup on a sport climb, you can freely top rope the route (after leading it) or take multiple laps on lead.
In some contexts, the bolts on sport climbs are quipped with permanent draws you can use for an anchor. However, the general understanding in most areas is that the perma-draws are for lowering the final climber on the route. If you plan to take multiple laps or top rope the route, building your own anchor is the preferred method.
Traditional Climbing Anchors
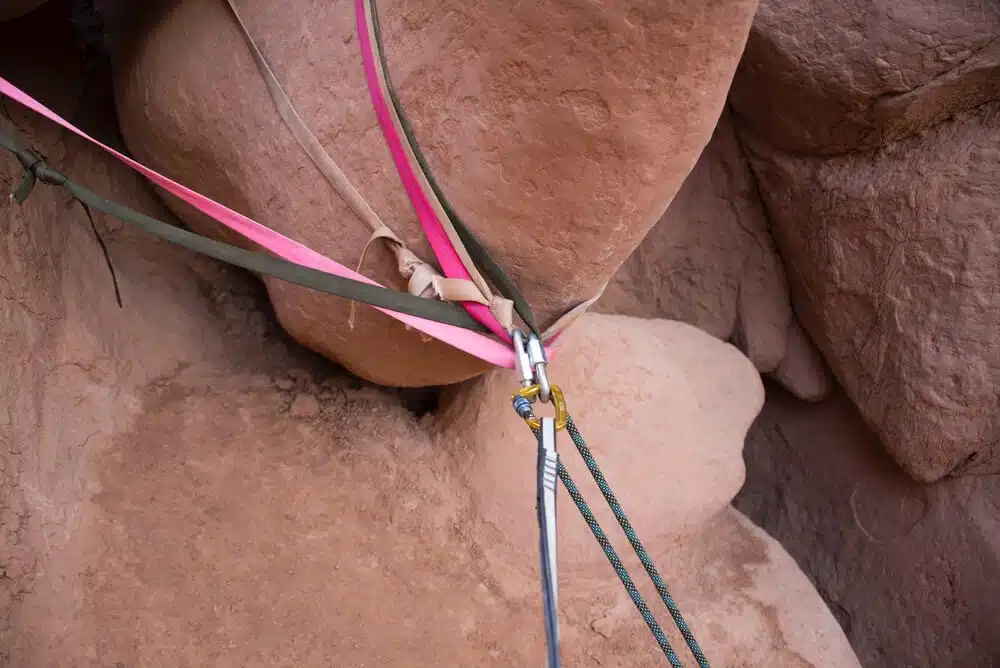
Compared to sport anchors, traditional climbing anchors are more complicated. The goal for trad anchors is to combine multiple anchor points into a singular anchor system. In the trad context, the anchor points are often natural anchors like trees or boulders or equipment you place yourself, like spring-loaded camming devices or stoppers.
The Anatomy of Climbing Anchors
-
Anchor points: the strong and (ideally) immovable objects that create the foundation of your anchor system, like bolts, healthy trees, large boulders, cams, or stoppers.
-
Legs: the legs of a good anchor combine the different anchor points into a single system where each leg is shares a similar amount of load.
-
Shelf: if rigging a pre-equalized anchor with a knot, the shelf is the space above the knot. When clipping the shelf, it’s imperative to clip a single strand from each leg of the anchor for adequate redundancy.
-
Master point: sometimes referred to as the power point, the master point is the bight of rope below the knot.
Characteristics of Bomber Anchors
There are many different types of anchors. But not all anchors are treated equally. There are some that are sketchy and others that are bomber. You always want to strive to make bomber anchors. To do so, you want to build your anchor in good rock and ensure that it contains five critical characteristics.
But first, here’s a quick note about rock quality.
An Anchor is Only As Good as the Rock It’s Placed In

Whether we’re talking bolts or a combo of cams in various cracks, one fact remains the same– an anchor is only as good as the rock it’s placed in. In other words, if the rock is bad, the anchor is bad. Bad rock can lead to catastrophic anchor failure resulting in serious injury, and probably even fatality.
So, when building anchors, you always need to consider the quality of the surrounding rock and guarantee that it’s good. In terms of bolts on a sport route, you also need to make sure the rock is good and the hardware itself looks reliable.
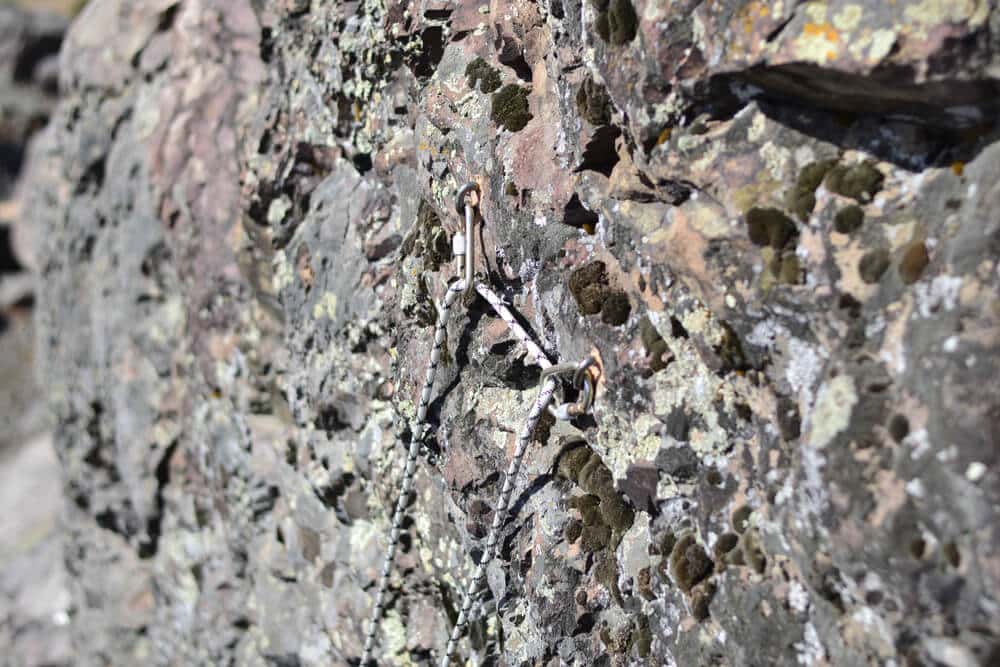
1.) Unquestionably Strong Anchor Points
In the perfect anchor-building scenario, all of your anchor points are unquestionably strong. For example, your cams are correctly placed in good rock, the bolts are well-placed and show no signs of corrosion, or the tree trunk you wrapped is alive and thick.
However, sometimes anchors include anchor points that are less confidence-inspiring then others. In that case, your instinct should be to add more security by placing more gear or backing up bolts.
2.) Equalized in the Direction of Pull
The job of any climbing anchor is to sustain the force placed on it while climbing. In other words, a great anchor needs to be able to catch falls without failing. The best way for an anchor to catch falls, whether it’s being used for top roping or multi-pitching, is to be equalized in the direction of pull.
In other words, the master point of the anchor needs to be pointing in the anticipated direction the force (the climber) will be coming from and constructed so that all the legs of the anchor share the load. This is especially critical for pre-equalized anchors. On the other hand, self-equalizing anchors like quads or sliding x’s will adapt as the direction of pull changes over time.
3.) Redundant with Multiple Anchor Legs
Most anchor systems rely on multiple anchor points or legs to create redundancy. That way, if one leg of the anchor fails, the other legs sustain the force, therefore avoiding a catastrophic anchor failure.
In the sport climbing content, redundancy is accomplished by building anchors using two, maybe three, bolts. In the trad content, redundancy is accomplished by building anchors with two or three legs (and sometimes more if the anchor points are small or questionable).
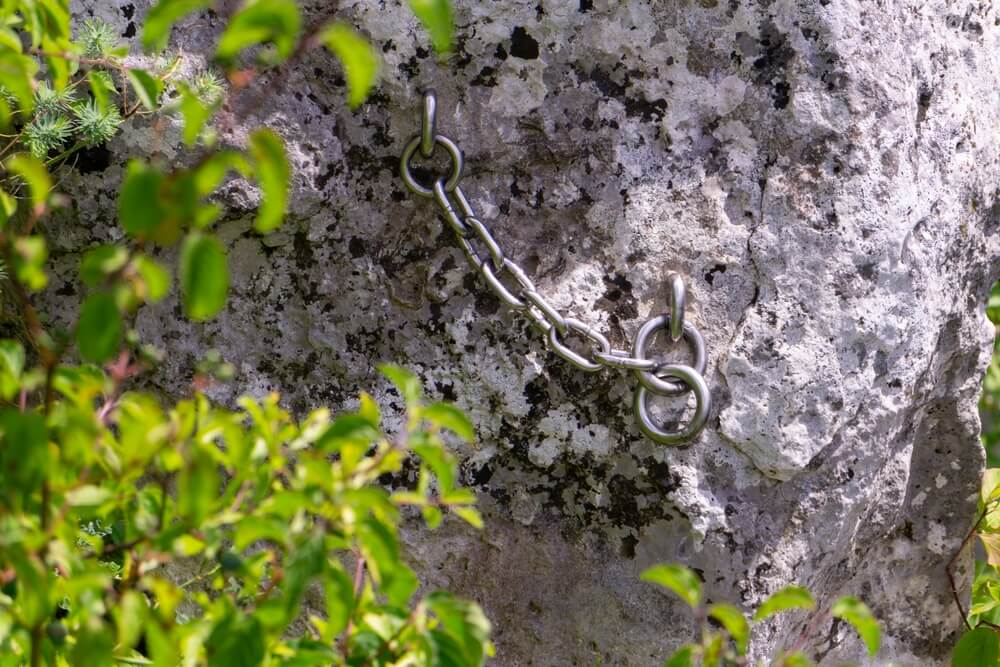
However, in some scenarios, the best available anchor may be a monolithic natural feature. Monolithic anchors are unquestionably strong singular anchor points. For example, you can use certain trees and boulders as monolithic anchors.
4.) Efficient Use of Time and Materials
Simply put, the more time you spend building your anchor, the less time you spend climbing. Therefore, the faster you can build bomber anchors, the more climbing you can do.
Now, it’s important to mention that at no point should you sacrifice security for speed. When you are getting started building anchors, it’s okay to take extra time. However, your end goal should be to move quicker and build more efficiently over time while never sacrificing security.
In addition, you want to be efficient, or economical with your materials. This means you should deploy an anchor that is svelt. In other words, the anchor is neatly crafted and makes intelligent usage of your materials. There should be no extra faff.


5.) Limited Extension
Good anchors should mitigate extension. In the event, your anchor gets loaded, and one of the anchor points or legs of your system fails, your anchor will experience a shock load. If the extension is too great, and the load is not distributed equally, the shock load may create a subsequent failure in other anchor legs. In a particularly dire situation, this could create a complete catastrophic anchor failure.
Therefore, the amount of extension you allow in the system should be limited via the usage of correctly tied and placed limiter knots. In most anchor layouts, there is a single limiter knot. However, with a quad anchor or magic x, there are two limiter knots.
Required Equipment for Anchor Building: Soft Goods and Hard Goods
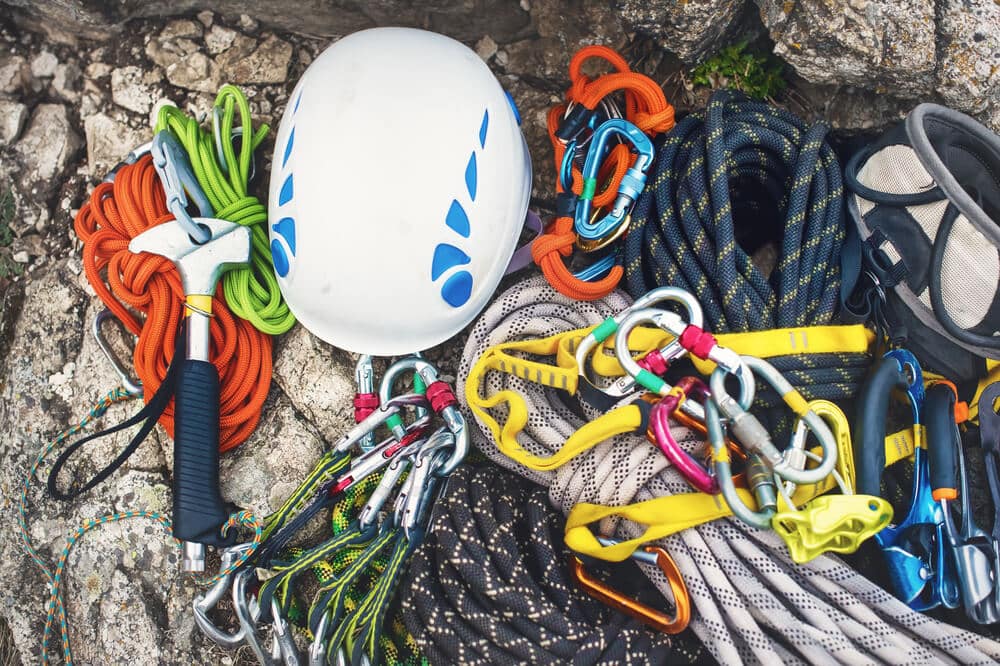
The tools you keep in your toolbox for anchor building will depend on the style of climbing you are doing, the specific area you are climbing in, and your personal experience and personal preferences.
To start thinking about what you might need, it can be helpful to think about anchor building materials in two categories– soft and hard goods.
Soft Goods
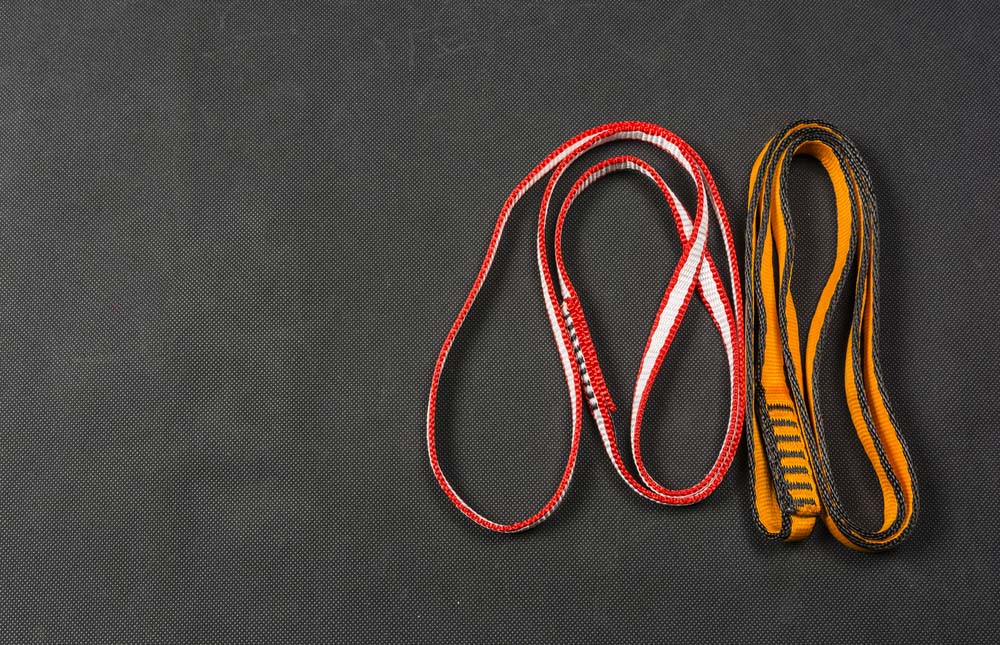
The soft goods in your anchor building kit are the items that link together your different anchor points. They become the legs of your climbing anchor and are typically tied together with a figure-eight or overhand knot to create a master point.
-
Static rope
-
Sewn slings
-
Cordelettes
-
Quickdraws and Alpine Draws
Hard Goods
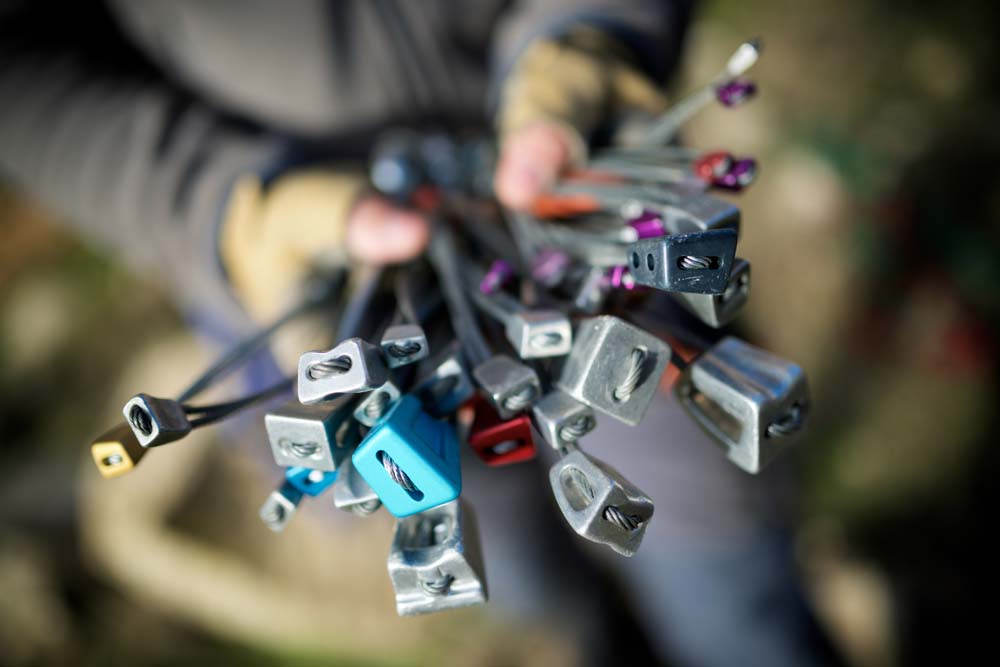
The hard goods in your kit are the pieces of hardware or fixed gear that you attach or insert to the rock, like bolts, cams, or stoppers. Hard goods are also utilized as linkages between lengths of soft goods, like the carabiners attached to your cams and the master point carabiner.
-
Non-locking Carabiners
-
Locking Carabiners
-
Spring Loaded Camming Devices
-
Stoppers
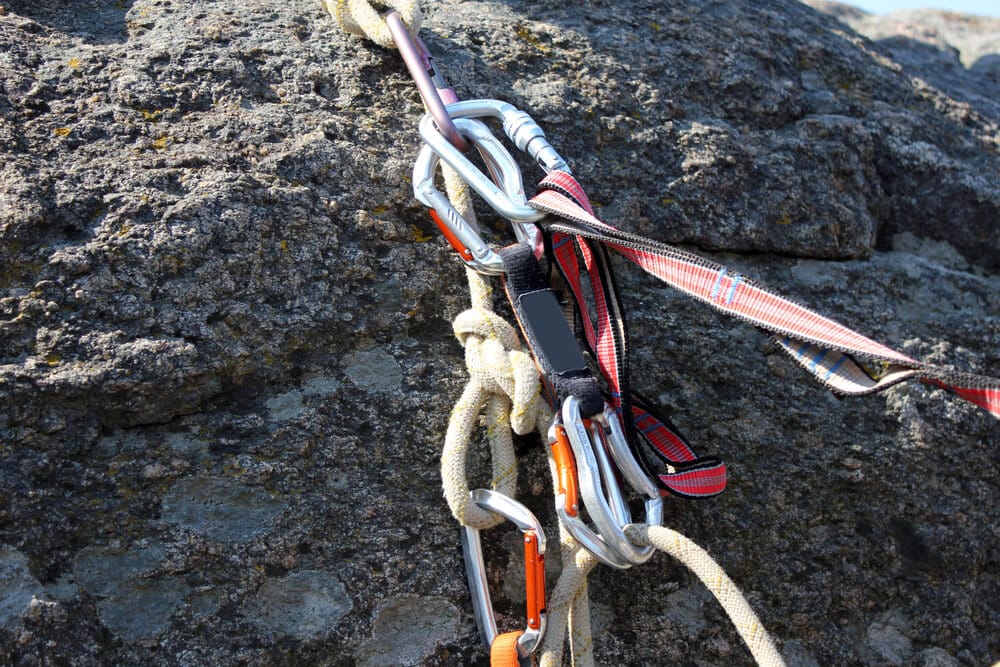
Common Anchor Systems

In the world of rock climbing, there are a lot of different anchor orientations. That’s because every anchor is unique to the terrain, what pieces you have on your harness for building, and the specific climbing scenario.
For example, where someone might build a rope anchor using only the rope and a couple of locking carabiners, another person might choose to use accessory cord. Or, where I built a girth hitch anchor with a master carabiner one day might be different from what I build on subsequent days based on what protection I placed in the pitch and what I have left to use on my harness.


Tips for Learning How to Build Anchors
-
Practice on the Ground: climbing anchors are responsible for your life and the lives of your climbing partners. To make sure your techniques are dialed before entering into vertical terrain and risking lives, it’s imperative to practice on the ground where you are not at risk.
-
Hire a Rock Climbing Guide: there’s a lot you can learn by yourself. Articles like this one and helpful videos from trained professionals can help you establish a foundation of conceptual knowledge. But in terms of practical knowledge, nothing replaces getting hands-on experience and practicing with a certified guide.
Bomber Anchors are Imperative for Safe Climbing
Whether you are sport climbing, top roping, or climbing trad, strong and safe anchors are imperative for rock climbing. Without an anchor that is strong, equalized, redundant, and efficient, you run the risk of anchor failure, resulting in serious injury or worse.
As you get started learning to build anchors, remember – rock climbing is inherently dangerous. And, an article like this one cannot replace professional instruction and practical, real-life practice. Before entering into the vertical world with live loads, practice on the ground and perfect your skills. Then go out with confidence!