All good climbers know that getting up is optional. Getting down is mandatory. That’s why learning how to rappel (descend a vertical or near-vertical face via rope) is crucial for all beginner climbers. All roped climbers need to know how to rappel. Whether you’re a top roper, sport climber, trad climber, aid climber, or mountaineer, it’s a key part of your repertoire.
Along with belaying, rappelling is perhaps the most important skill in climbing. In general, it’s quite simple. But a large percentage of climbing accidents (upwards of 30%) happen during rappels. So take your time, learn from an expert, and don’t cut corners. Let’s learn how to rappel!
When is Rappelling Required?
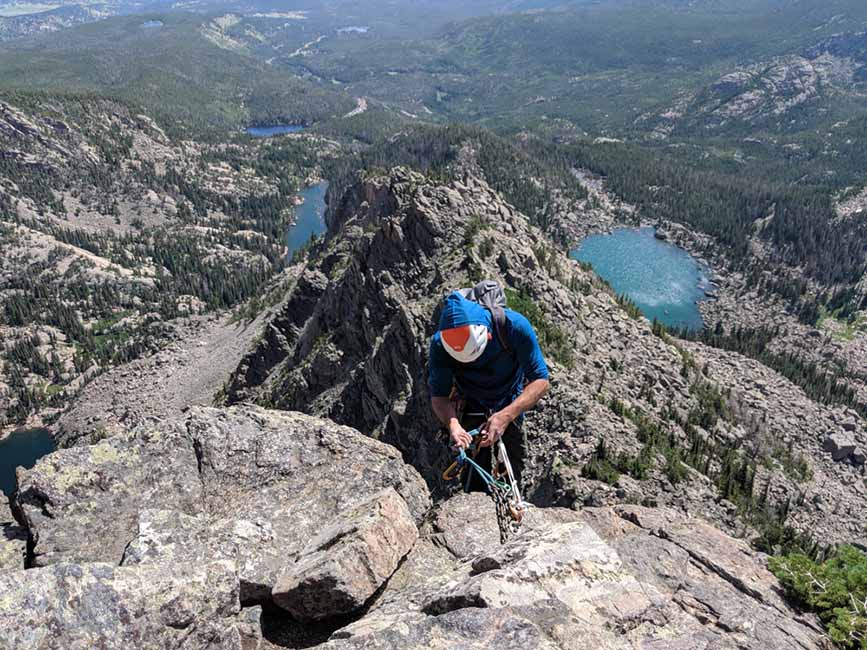
Rappelling is used to descend a vertical rock or ice face, or one that is otherwise too steep or loose to safely hike or scramble down. There are dozens of times when you’ll need to rappel in your climbing career, but as a beginner, the most common situation is after finishing a climb.
After finishing a lead climb or when taking down a top rope anchor, the easiest way to descend is to have your belayer lower you using the route’s fixed anchors. But if you want to minimize wear and tear on the existing anchor system after you’ve cleaned it, or if your belayer is otherwise indisposed, rappelling is the way to go.
Other situations when rappelling may come in handy include approaching a route with no ground approach (such as one at the base of a sea cliff), scouting out a route before you climb, cleaning routes from loose rock and other debris, rescuing an injured climber (or yourself), or bailing off a multi-pitch route. In general, rappelling is required in any situation when downclimbing, lowering, and walking off are impossible or otherwise not ideal.
How to Rappel
Rappelling is a general term that describes a variety of techniques used for descending a rope. The following gear list and guide is an overview of the most common rappelling scenario: twin-strand rappelling a single pitch of rock.
NOTE: The following section presents a step-by-step overview of the rappelling process. It is intended to serve as a supplemental reference point, not a standalone instructional guide. Articles and videos can’t replace hands-on instruction. Rappelling, like any other climbing skill, can result in injury or death if performed incorrectly. Learn under the guidance of a professional.
Rappel Kit: Your Gear
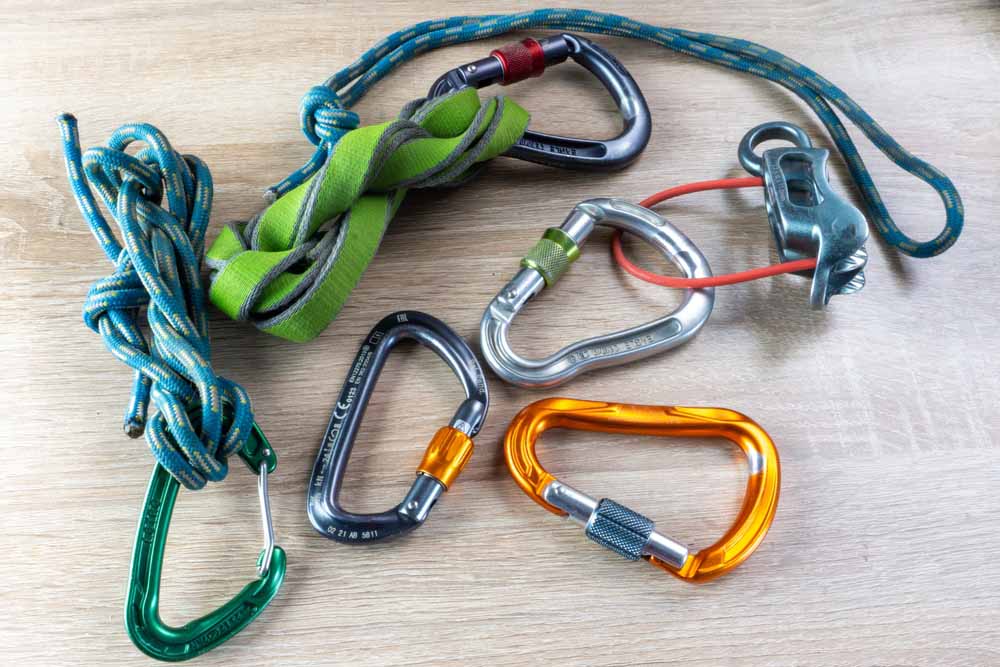
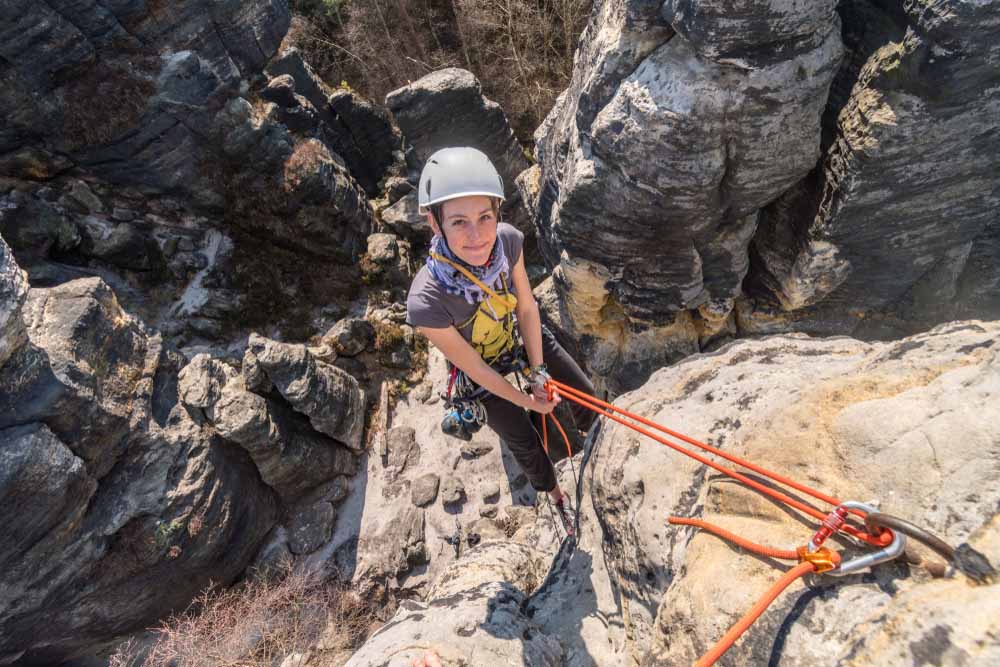
For the most part, the gear you use while climbing (helmet, harness, rope, etc) is also your rappel kit. In addition to your usual climbing gear, here are the key pieces of rappelling gear for beginners.
PAS
One piece of added gear used by many modern climbers is a personal anchor system (PAS). In the steps below, we’ll outline how to rappel using a PAS. In place of a PAS, you can also use any other form of anchor tether system to secure you while you set up your rappel. A PAS is also useful to extend your rappel device, keeping it away from your body (and clothes) while descending.
Third Hand (Autoblock)
To back up your rappel, many climbers use a third hand or autoblock (usually a Prusik, Machard, or similar friction hitch). For this, you’ll need two to three feet of cordelette (5mm or 6mm cord), looped via a double fisherman’s knot.
Rappel Device
Most tube-style belay devices (like an ATC) work for both single and double-strand rappels. In this article, we’ll describe the process of rappelling with a tubular device, as this is the most common and versatile rappel device. Mechanical belay devices, like a GriGri, are usually better for belaying than rappelling but can work for single-strand rappels.
Rappel Gloves
Rappel gloves aren’t essential. But if you’ll be performing multiple rappels or long ones, gloves can prevent friction burn and improve grip on the rope.
Steps for Rappelling
Preparing the Rappel
- Once you’ve reached the top of the route, clip a quickdraw to one of the anchor bolts and clip the rope into the draw.
- Tell your belayer to take slack, protecting you while you attach yourself to the anchor (below).
- Using a locking carabiner, clip one loop of your PAS to the same bolt as your quickdraw.
- Clip a second PAS loop to the other bolt, giving yourself enough space to work.
- If you’ve just finished a top rope, clean and rack the anchor. If not, skip this step.
- Get approximately 30 feet of slack from your belayer and tie it off with a clove hitch, then clip it to your belay loop. (This might not seem important, but if you drop your rope, you’re totally stranded, so don’t bungle this step!)
- Untie your tie-in knot, then thread the rope through the lowermost ring or link on both anchors.
- Tie a stopper knot at the end of the rope. (This ensures you can’t rappel off your rope ends. If following proper safe climbing protocols, you should already have a stopper knot in the other strand, the one on the belayer’s end.)
- Feed the rope through the anchor until you come to the clove hitch. Untie it and keep feeding until you reach the rope’s midpoint.
- Call down to your belayer, confirming both rope ends are unobstructed and touching the ground.
Backing Up Your Rappel
Backing up your rappel isn’t technically required but it’s a good idea, especially if you’re learning. A friction hitch will keep the brake strands secure if you lose your grip.

- Wrap your cordelette loop (above) several times around both strands of your rope.
- Clip a locking carabiner through both ends of the loop, then clip the biner through your belay loop.
- Ensure the strands on the hitch are cleaned (not crossing each other).
- Ensure the hitch is wrapped enough so that it’s close to the rope. A long hitch can jam in your harness and obstruct things.
- Slide the hitch as high up the rope as possible, then, with your brake hand on the rope below, weight the hitch to check its security. If you have any doubts, wrap the loop around your rope once more.
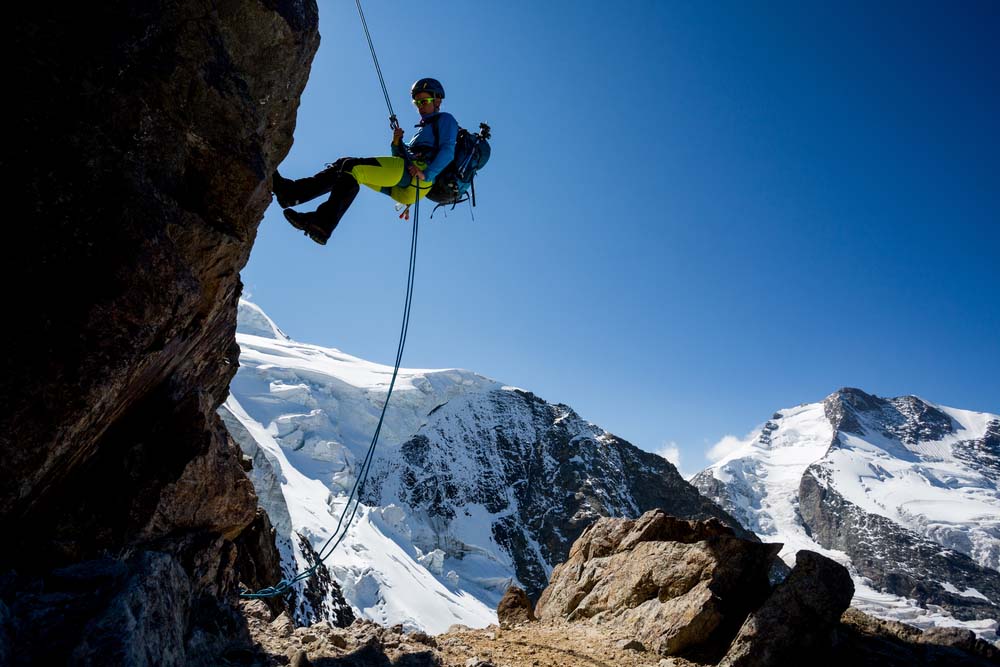
Rappelling Down
- Check all your knots, hitches, and carabiners. Also, check that both ends of your rope are unobstructed, on the ground, and finished with a stopper knot.
- Communicate with your (former) belayer, letting them know you’re rappelling.
- Adjust your third hand into a position where your brake hand can move it as you rappel.
- Keeping your brake hand on the rope, take slack and weight the rope.
- Unclip your PAS from the anchor and secure it on your harness, out of the way of your rappel system.
- Lean back and begin rappelling.
- As you move, keep your legs perpendicular to the wall, with your torso leaning slightly in as you walk down the wall with your feet. Keep your head on a swivel, and move slowly, but steadily.
- When you land on the ground, remove your third hand, unclip the ropes from your rappel device, and let your buddy know you’re finished rappelling (“off rappel”).
- Once your belayer and anyone else in the vicinity know you’re pulling rope, untie BOTH stopper knots from the rope and pull one strand until the rope falls from the anchor above.
Safety Considerations
Descending (usually rappelling) is much simpler than ascending the wall, but it’s responsible for over a third of all climbing accidents. The vast majority of these accidents come from simple corner-cutting. Climbers are often so focused on climbing that they don’t treat rappelling with the respect it deserves. Here are a few safety considerations to keep in mind!
Secure Your Rope
Dropping your rope while changing over may not kill you, but it will cause you to be stranded at anchors without a way down, requiring a rescue. It might be tempting to simply untie your rope and rethread it, but make sure you secure it with an overhand on a bight or clove hitch just in case.
Watch Your Strands
Even if your system is 100% dialed in up at the anchor, you must ensure that the entire length of your rope is obstruction-free. If you fail to tie stopper knots in both ends and one (or both) strands don’t reach the ground, you’ll rappel right off the end of your rope. This is how professional climber Brad Gobright died in Mexico in 2019.
Even if you tied stopper knots, if only one of your strands reaches the ground you’ll be seriously hung up when you reach the end of the first strand. Before you leave the anchors make sure you have stopper knots in both ends of your rope AND make sure both ends reach the ground.
It’s also important to make sure your rope isn’t hung up in bushes, on rock horns, or tangled together. On long rappels, this isn’t always possible, but between you and your partner below, you should be able to get a handle on the situation before you cast off from the anchors. If not, rappel slowly and steadily and fix the lines as you go.
Check Your Gear
Make sure you’re monitoring all your gear, watching for signs of wear and tear that could indicate it’s time for retirement.
A worn belay loop, which busted when weighted, caused the demise of Yosemite icon Todd Skinner (while rappelling). It isn’t worth dying just to save money on new gear. Trust your gut. If your gear looks worn out—particularly soft gear like webbing, cord, rope, and harnesses—then it’s probably time to replace it.
How to Practice
The following are a few techniques you can practice to improve your rappel skills. Ultimately, just getting out and climbing and rappelling is the best way to improve.
Rope Management
Rope management prevents tangles and ensures smooth descents. Keep the rope organized and untwisted as you feed it through your rappel device. Maintain control of the rope at all times, using your brake hand to control the brake strand.
Smooth Descent
Always aim for a smooth and controlled descent. Avoid sudden movements or jerky actions. This can create unwanted swings or rope slippage. Use your brake hand to control the speed of descent, gradually increasing or decreasing tension as needed. Also, find a third hand you’re comfortable with, such as a Prusik, and practice moving it with your brake hand while you descend.

Body Positioning
A balanced and controlled body position is key. Stand perpendicular to the rock face, with your feet shoulder-width apart and knees slightly bent. Lean forward slightly at the torso to counterbalance your weight and maintain a stable position. However, avoid leaning too far forward, as it can affect your control.
Emergency Rappel Techniques

If you ever drop your rappel device, don’t panic. You aren’t toast just yet. There are many ways to execute an emergency rappel. In days past, climbers even rappeled without using any harness or rappel device, with techniques like the Dülfersitz.
We’ll go over a more common technique for your emergency rappelling kit, the munter, as well as the more functional (but complex) carabiner brake rappel, and also cover the Dülfersitz, which is probably the most common body rappel technique.
Rappelling with a Carabiner
Munter Rappel
A munter hitch lets you rappel with just a single carabiner, but the downside is that it’s a bit clunky, and severely kinks up the rope. It’s only a good choice if you have no other option. To tie a munter, grab the rope and make two loops side by side. Now, fold them back to back like the covers of a book. Clip a carabiner through the resulting hole. You can now rappel normally. The hitch’s friction will slow your descent.
Carabiner Brake Rappel
While there are simpler methods, the carabiner brake is very useful if you need to execute multiple rappels in a row, since it doesn’t kink the rope like the munter. However, you’ll need at least three locking carabiners. If possible, use five—doubling each carabiner in the second and third instances for redundancy. If you don’t have lockers, you must use two biners for each step (gates opposite and opposing).
- Clip the first carabiner to your belay loop. Lock it.
- Clip a second to the first, with the narrow end pointed away from your body. Lock it.
- Push a bight of rope up through your second locker.
- Clip a third carabiner around the second locker laterally, with the bight running behind it. Lock it.
- Now you rappel normally, with carabiners #2 and #3 placing friction on the bight to slow your descent.
Make sure your rappel strands are pinched between these two (or four) carabiners. If you’ve set the system up correctly, it should be impossible to detach them from the rope without unlocking the carabiners.
Dülfersitz: Cross Body Rappel
- Pass both rope strands between your legs and behind one thigh on your brake side.
- Take the rope across your chest to the opposite shoulder.
- From the shoulder, the rope is passed diagonally across the back to the braking hand (the hand on the same side as the thigh from Step #1).
- Weight the rope and prepare to lower, with your off-hand forward and your brake hand in position as normal. To descend, move your hand backward (reducing the tension running over your shoulder). To slow down or stop, move your hand forward.