When you’re rock climbing, your anchor is everything. You could do everything else correctly, but if you don’t build a bombproof anchor, you’re in trouble. A top rope anchor is the most basic anchor system in climbing, and probably what you’ll learn to construct first.
Why Build a Top Rope Anchor?
When you start climbing, you should be focusing on things like learning how to belay and how to rappel and have a more experienced mentor set up your anchors.
But eventually, you’ll need to learn how to set up your own top rope anchor. That’s because even if you’re at a crag with fixed hardware (like chains and rings) at the top of the route, it’s bad form to top rope directly out of these rings. These rings are designed for climbers to lower or rappel from, not for top roping—which puts wear and tear on them, reducing their lifespan.
So what do you do instead? You set up your own anchor, so that the wear and tear is on your gear, not the communal hardware.
Top roping might be the safest form of roped climbing, but unlike when lead climbing—where the climber has multiple pieces of protection attached to bolts as they ascend—when top roping, you’re reliant on a single anchor. If your anchor fails, that’s it.
Don’t stress though. Building a rock-solid top rope anchor isn’t that hard, particularly if you’re at a sport crag. Let’s learn how!
NOTE: Before you learn top rope anchor building, you’ll need a few basic skills. You should be comfortable tying basic climbing knots, like the double fisherman’s, bowline, water knot, overhand on a bight, clove hitch, and figure eight follow-through. You should also know how to belay and rappel. (You can check out our dedicated Belaying Guide and Rappelling Guide if you aren’t.) Remember, articles like these are helpful supplementary material, but they don’t replace first-hand education from an experienced climbing instructor.
The Setup: What Do I Need to Build a Top Rope Anchor?
For starters, we have to think about access. Accessing the top of a climb isn’t always easy (or safe). Even if there’s a clear trail to the top of a climb, it’s important to use a tether at all times when constructing an anchor near an edge. Assess risk conservatively, and mitigate as much as possible.
There are many ways to build a top rope anchor. Once you’re a more experienced trad or multi-pitch climber, you might use removable protection, like cams and nuts, to create your own anchor system in the rock. You may also use natural features, like a tree or rock horn.
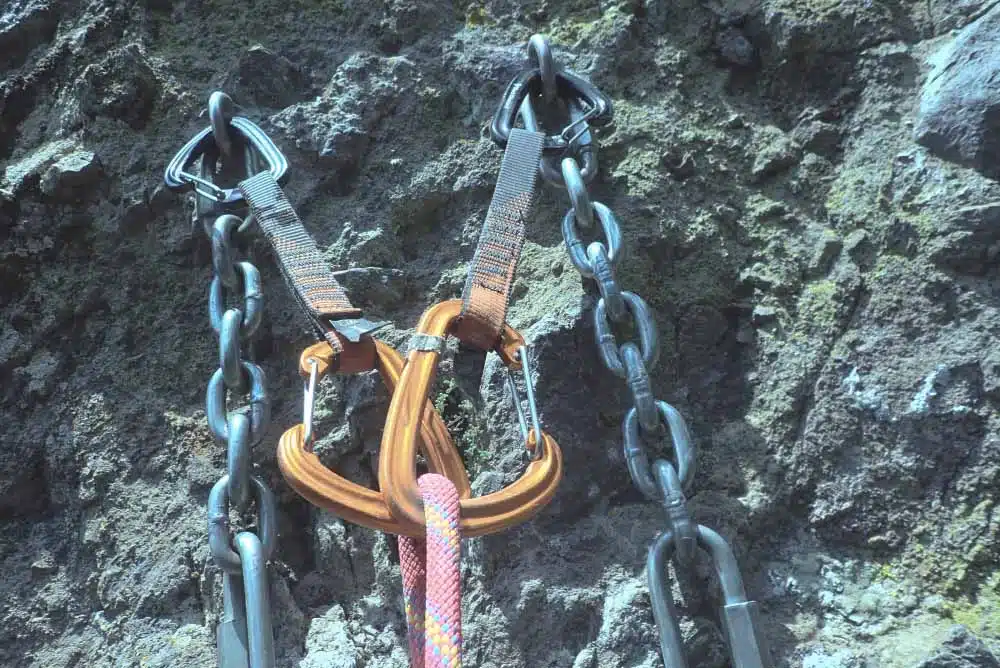
However, the simplest way to explain the basics of building top rope climbing anchors is to look at the most common example: two bolts at the top of a route, with chains and/or rappel rings hanging from these bolts.
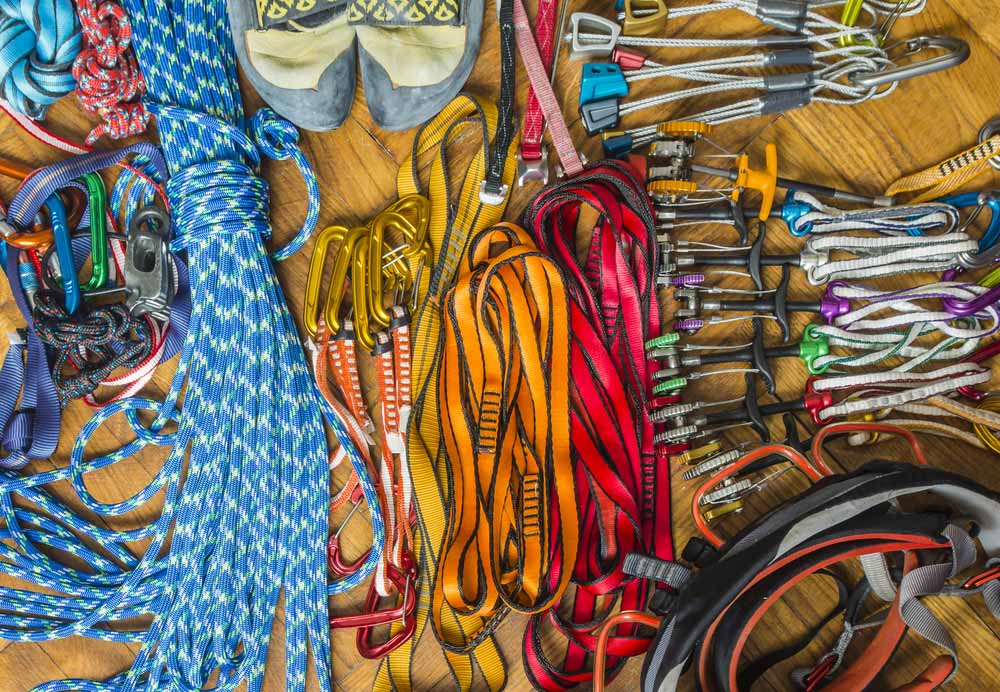
What follows is a kit for top rope anchor building. You will only use some of this gear, depending on your situation.
- Personal Anchor System (PAS) girth hitched to both tie-in points on your harness or another form of tether
- Slings (Nylon or Dyneema)
- Webbing or 7mm accessory cord
- Large locking carabiners (4x)
- Non-locking carabiners (4x)
- Quickdraws (2x)
- Standard equipment for top rope climbing and belaying, including:
- Belay and rappel device
- Harness
- Helmet
- Static rope
Components of a Top Rope Anchor
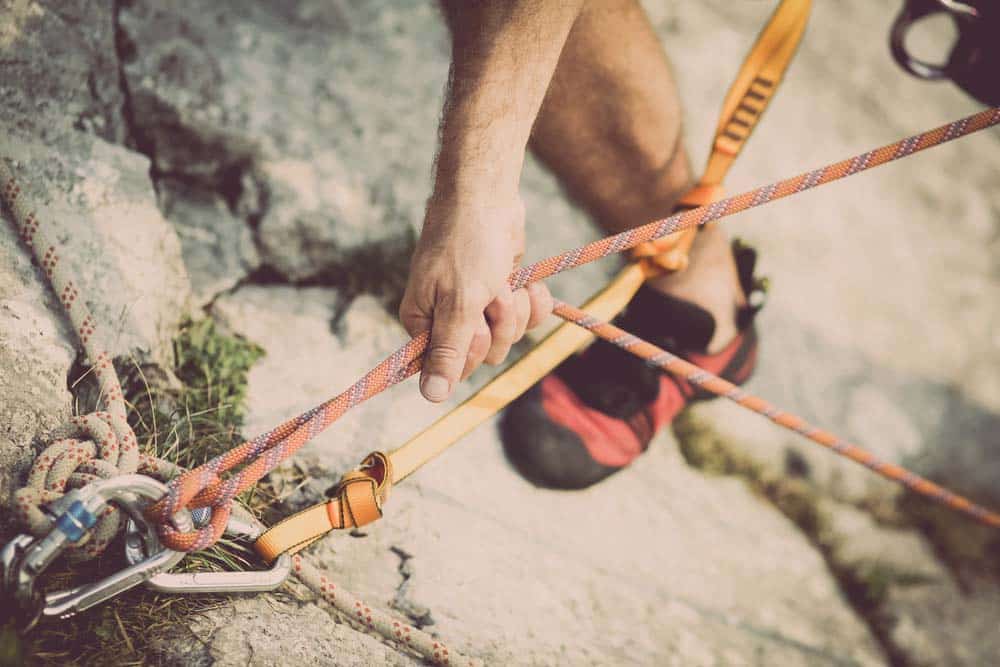
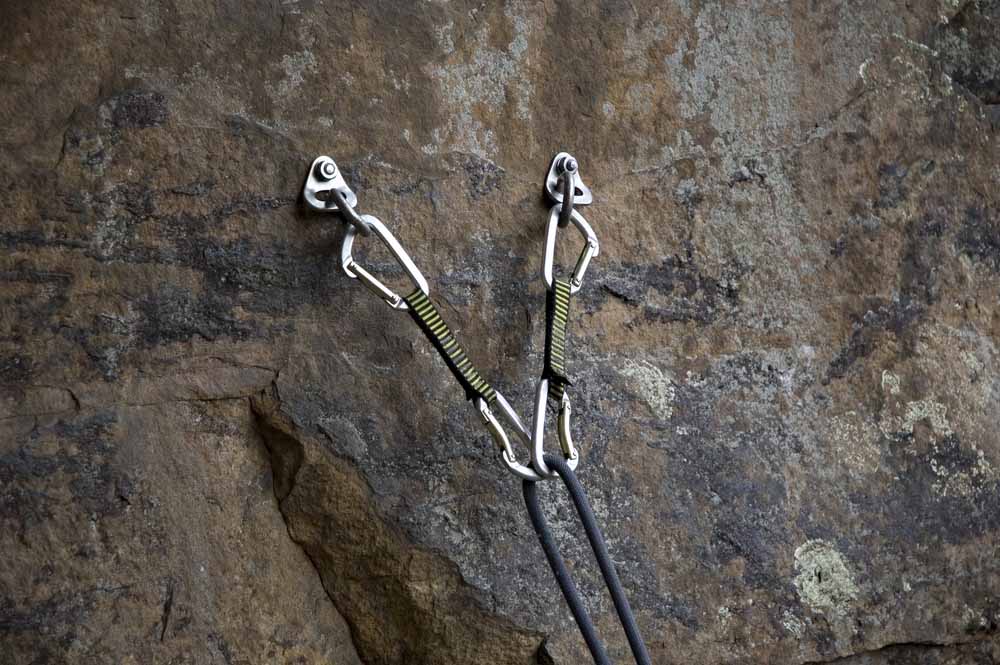
Climbing anchors can be as complex as the moves on the routes they protect. But the basic top rope anchor has three parts: the anchor points, the legs, and the master point.
- Anchor points are the points that are holding your anchors to the wall—in this case, the two bolts. As noted above, they could also be trees, rock features, or removable protection.
- Anchor legs are what link the anchor points together into a single “master point” where you’ll attach your rope. Usually, each anchor point has one leg connecting it to the master point. These legs can be made from slings, webbing, cordelette, or quickdraws.
- The master point is the central point of the anchor, where all the legs meet and where the rope runs. They are designed to add redundancy to the system so that if one leg or anchor point fails, the others still hold the rope. Master points are usually made with some combination of a master knot and carabiners.
Tethering Yourself
Even if there’s flat ground on top of the wall and you’re able to hike around (instead of lead climbing up the wall) while building your anchor, you should tether yourself in.
That way if you slip or stumble, you don’t fall off the wall. Your tether process will vary depending on the type of tether you choose. If you’re using a PAS and leading up the climb (the most common situation), see below. Remember, your PAS should be girth-hitched through both tie-in points on your harness for maximum redundancy.
- Clip a quickdraw to one of the chain links or rings. You can also clip directly into the bolt hanger itself, but it’s ideal to save space on it for your PAS (below).
- Clip your rope into that quickdraw and tell your belayer to take slack
- Clip one loop of your PAS into the same bolt as your quickdraw using a locking carabiner
- Clip another PAS loop—closer to you—into the other bolt.
NOTE: Tethers like the PAS are designed to safely hold you, but not to catch a fall (even a short one). When clipping your PAS into the anchor, choose loops that allow you to work comfortably at the anchor without creating slack in the PAS.
How to Build a Top Rope Anchor
How you construct your anchor legs will vary. If you’re using fixed slings, there’s obviously no need to close the loop, so you can simply attach one to each bolt and ensure that they’re equalized.
If you’re using a single piece of cordelette or webbing, create a loop using a knot like a double fisherman’s (cord) or water knot (webbing). In this instance, a common anchor is the “quad” anchor. See below.
- Take your large loop of cord or webbing and double it so that you have four strands of equal length
- Clip a locking carabiner into both strands of the loop near the point with the connecting knot
- Clip this carabiner into one of the bolts
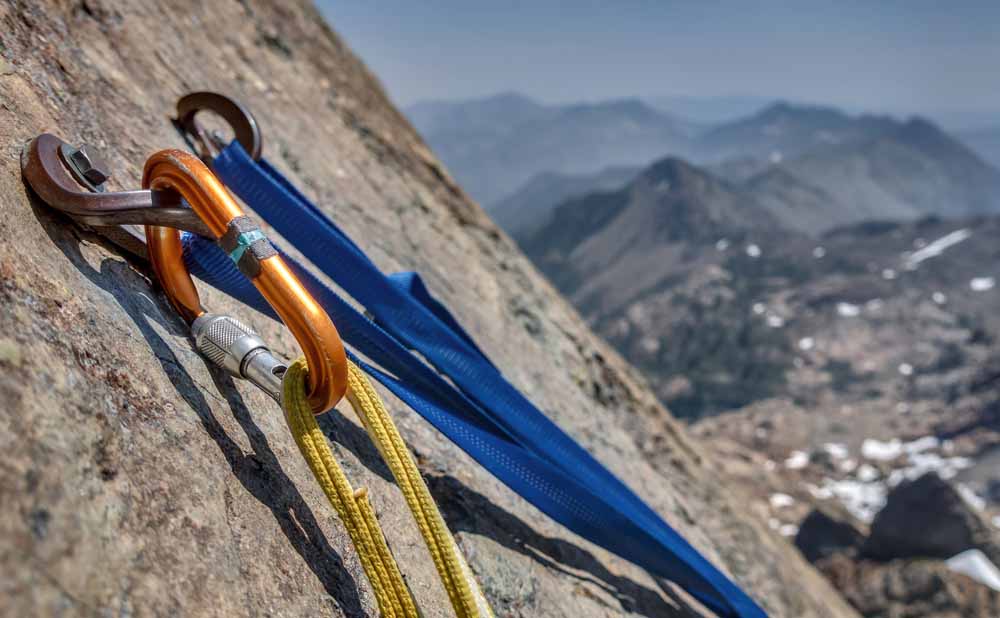
NOTE: When clipping your anchor legs into the bolt hangers, clip underneath any existing hardware (including your PAS, which you’ll remove shortly). This will prevent your anchor carabiners from being levered when weighted—as this can reduce their strength.
- Take the opposite end of your loop and hold it up to the second bolt with your fist
- Tie two overhand knots, one on each side of your fist
- Use a locking carabiner to clip into both strands of the other end of your loop, then use that carabiner to clip into the second bolt, just like you did the first
- Make a master point by clipping two opposite and opposed locking carabiners between the two overhand knots. Only clip through three strands of rope, leaving the fourth free. This will ensure the carabiners don’t slip off the strand if one leg or point of the anchor fails
- Double-check all features of the anchor
NOTE: In most situations, a locking carabiner is preferable to a non-locking carabiner. However, non-locking carabiners are also safe if used properly. For the master point, lockers really are the best choice. But otherwise, two non-lockers—with gates opposite and opposed—can be just as bomber as a single locker.
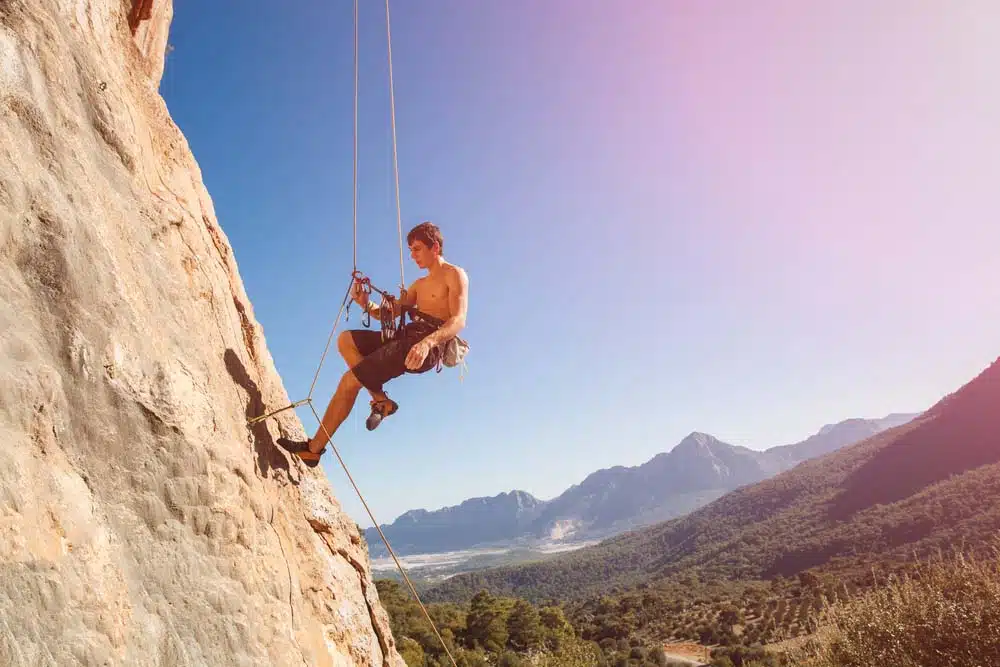
Descending from Your Top Rope Anchor
Now you can lower or rappel from your anchor. Lowering is simpler and preferred. Rappelling could be useful in some scenarios, and basic rappelling principles are also necessary to descend after cleaning your anchor (to avoid lowering through the fixed hardware).
Lowering
- While still attached with your PAS, call for slack and clip your rope through the master point of your new anchor
- Unclip and remove the single quickdraw you used before you attached your PAS (if you haven’t already)
- Double-check your anchor system, ensuring all carabiners are locked, and that your anchor follows good top rope anchor principles (see below)
- Slightly unweight your PAS by pulling yourself into the anchor, then call for your belayer to take slack so that your weight is on the rope
- Once you’ve confirmed that you’re “on belay,” you can unclip your PAS from the bolts
- Ask your belayer to lower you

Rappelling

- Call for slack
- Tie off the rope to your harness with a clove hitch or overhand on a bight, so that if you drop the rope, you aren’t stranded
- Clip the rope through your master point
- Unclip the rope from the single quickdraw you used before you attached your PAS to the anchor while building it (if you haven’t already), remove it from the hanger, and return it to your harness
- Have your belayer detach from the rope and tie two stopper knots at each end
- Untie the backup clove hitch
- Pull the rope until you reach its midpoint (or at least until you’re certain that ends are on the ground with plenty of slack to spare)
- Attach your rappel device to your harness via the belay loop, and attach it to both ends of the rope
- Double-check your anchor system, ensuring all carabiners are locked, and that your anchor follows good top rope anchor principles (see below)
- Pull yourself into the anchor, locking off with your brake hand, essentially placing yourself “on rappel”
- Unclip and rack your PAS with your free hand
- Begin rappelling
Top Rope Anchor Principles
Once you begin building more complex anchors, with removable protection and natural features, it can be more difficult to analyze the quality of your anchor. We aren’t going to dive into more complex anchors in this article, but there is a helpful acronym, SERENE, which can help you evaluate the safety of any anchor you build. SERENE stands for:
SOLID: Every piece of gear you use to build your anchor, from slings to carabiners to the bolts, must be in good condition.
EQUALIZED: The load should be distributed equally between each anchor point when the anchor is weighted. You don’t want one leg taking 75% of the load and the other only 25%.
REDUNDANT: Every leg of your anchor should be redundant. There should be no point where if one component fails, the entire anchor fails. That’s why good anchors have multiple legs, why a master point knot has multiple holding strands, and why multiple carabiners are used to attach the rope to the anchor.
EFFICIENT: Be efficient, with your energy, time, and gear, when constructing your anchor. Redundancy is good, but simplicity is just as important. Don’t make things overly complicated. The more complex an anchor gets, the harder it is to examine and clean.
NO EXTENSION: If one anchor point should fail, your anchor will naturally readjust a bit. But the other points should catch the rope while extending as little as possible. If a point fails and the anchor extends dramatically, it will shock load the remaining anchor points, multiplying impact forces—this could blow the entire anchor.

Conclusion on Top Rope Anchors
Once your anchor is built, all you have to do is clean and rappel from it. Here the steps are largely the same. Just ensure you’re securely attached with your PAS or other tether system before cleaning, and make sure you have the rope secured to your harness with a backup knot at all times while transitioning it from your anchor to the fixed hardware you’re rappelling from.
Top rope anchors are a key part of climbing. Once you know how to build a good, solid anchor, you can set up top ropes around the world. Just remember the SERENE-A principles. Whether you’re building an anchor with fixed bolts, a couple of trees, or a nest of cams, the basics of good anchor building are the same. Solid. Equalized. Redundant. Efficient. No Extension. (Low) Angles.