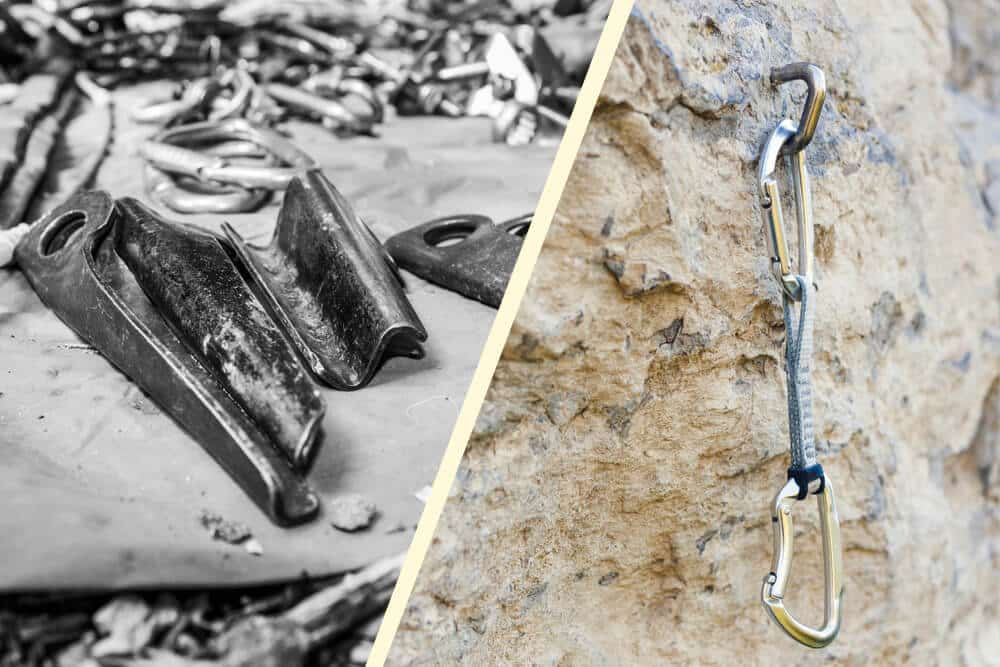
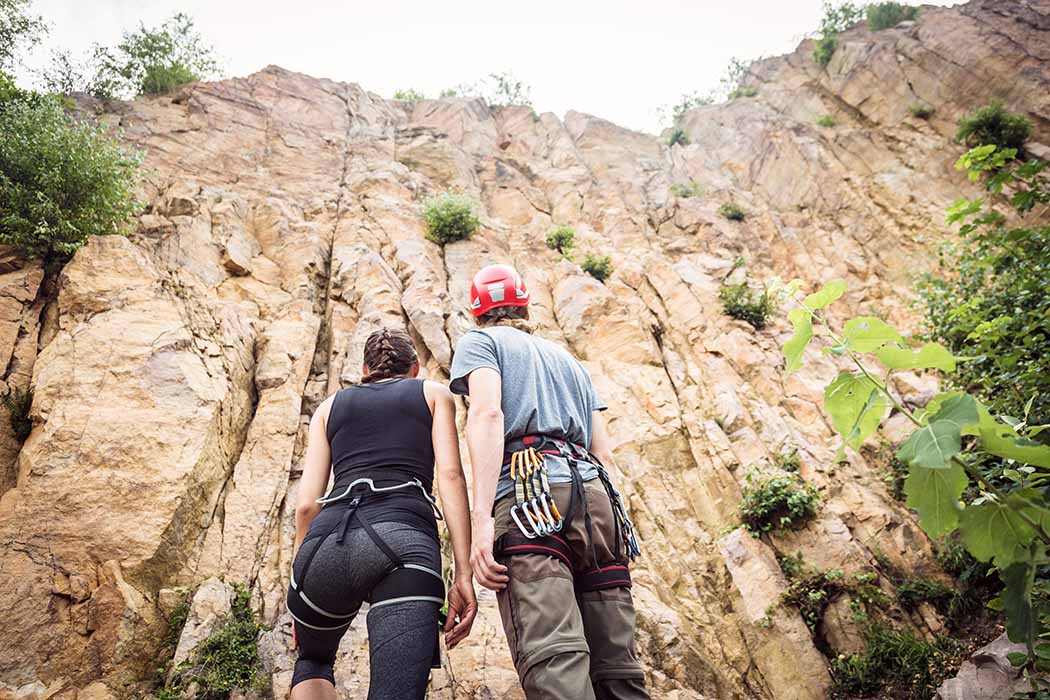
What are those pieces of hardware on the wall? Who installs climbing bolts? How do you install bolts for rock climbing? Are climbing bolts permanent? Who maintains the hardware on sport climbs?
Regarding bolted climbing, these are some of the most common questions I hear from clients and passersby people at the cliff.
So, in this article, I’ll attempt to answer them by explaining what bolts are, how they get there, and what red flags to look for concerning old bolts in your local climbing area.
From Aid Climbing to Hardware for Sport Climbing
Installing bolts into the rock surface was first popularized in the 1930s by the legendary German mountaineer Fritz Wiessner. At the time, Wiessner and other climbers like him installed bolts to aid their first ascents. At the time, it was common to place bolts on aid climbs in otherwise unprotected sections of rocks. The bolts would be used to aid upward progress and protect against falls.
Some decades later, in the 1970s and 1980s, adding bolts to a rock climb transitioned from a technique used in aid climbing to something unique. In particular, climbers began installing bolts as a means of protecting entire rock climbs.
The climbing style that evolved from protecting faces or walls of rock with bolts instead of with traditional climbing equipment became known as sport climbing. In sport climbing, climbers clip the rope into permanently installed bolts instead of wedging stoppers into constricting cracks or placing spring-loaded camming devices.
As opposed to the discipline of aid climbing, clipping bolts in the sport climbing discipline was only a means to protect against falls. Bolts were not used to aid upward progress.
Methods for Bolting Sport Climbs
In the 1970s and 80s, how a sport climb became bolted reflected the local climbing ethic. It was up to the local climbing community, or rather, the most prominent first ascensionists, to decide which technique was the preferred method. Generally, two opposing methods for bolting climbs were– ground-up bolting and rappel bolting.
Ground-Up Bolting
Ground-up bolting is a style of bolting that comes directly from older traditional climbing ethics– those that prioritize an adventurous spirit of exploring virgin rock from the ground. The goal is to leave the ground with the equipment you think you need and bolt your way to the top of the climb.
Most often, ground-up first ascensionists use bolts to protect the climb and not to aid upward progress. In other words, they free-climb until they reach a stance where they can install a bolt. After they install a bolt, they continue upward. They establish a climbing anchor system at the top of the climb– two or three proximal bolts– and rappel to the ground.
Due to the nature of ground-up bolting, routes established in this style are notoriously run out. In addition, they often possess an uncharacteristic “old-school” difficulty grade. For example, many bolted climbs in Yosemite National Park and Joshua Tree National Park are prime examples of spicy bolted climbs that would make a seasoned trad climber feel run out. Therefore, many old-school ground-up bolted climbs are best not considered to be “sport climbs.”
Rappel Bolting
On the other side of the spectrum is rappel bolting, also known as rap bolting. Routes that are bolted via rappelling are established from the top. In other words, rap-bolting first ascensionists start at the top and work their way down to the ground.
Installing an anchor system at the top of the climb is the first step in the rap bolting workflow. Once a well-positioned bomber anchor is established, you rappel the route and install bolts as you descend.
Due to the luxury of being on rappel, rap bolters have much more control over where they place bolts. They can ensure that the bolt spacing is even and that the location of each bolt is somewhat convenient for clipping and mitigates rope drag.
Therefore, rap bolted routes are significantly less run out than routes that were done ground-up. Nowadays, when modern climbers think of sport climbing, they imagine routes that were established via top-down rappel bolting tactics. For example, many of the first sport climbs established in France’s Verdon Gorge were put up on rappel.
Types of Bolts
There are many different types of climbing bolts. The type of bolt you find at the cliff will depend on various factors.
-
Local climbing ethic
-
Available technology at the time of bolting
-
Rock type
-
Location of the crag
-
Personal preferences of the bolter
Fortunately, like other types of climbing hardware, climbing bolts have gotten significantly stronger and less sketchy over the years. For a rundown of the most common climbing bolts, I’ll discuss– displacement bolts, expansion bolts, and glue-in bolts.
Displacement Bolts

Many of the first bolts installed for rock climbing purposes were displacement bolts. Within this category are two types of displacement bolts worth mentioning– self-drilling and nail-drive bolts. For each, I’ll briefly explain the installation process.
Self-Drilling Bolts
Self-drilling bolts have a serrated sleeve that “self-drills” a bolt hole. Using the sharp end of the sleeve, drill a hole large enough to accommodate the bolt. Next, insert a spreader cone into the back of the bolt hole. Lastly, hammer a bolt into the hole on top of the spreading cone, whereby the cone displaces the bolt shaft securely into the interior of the drilled hole.

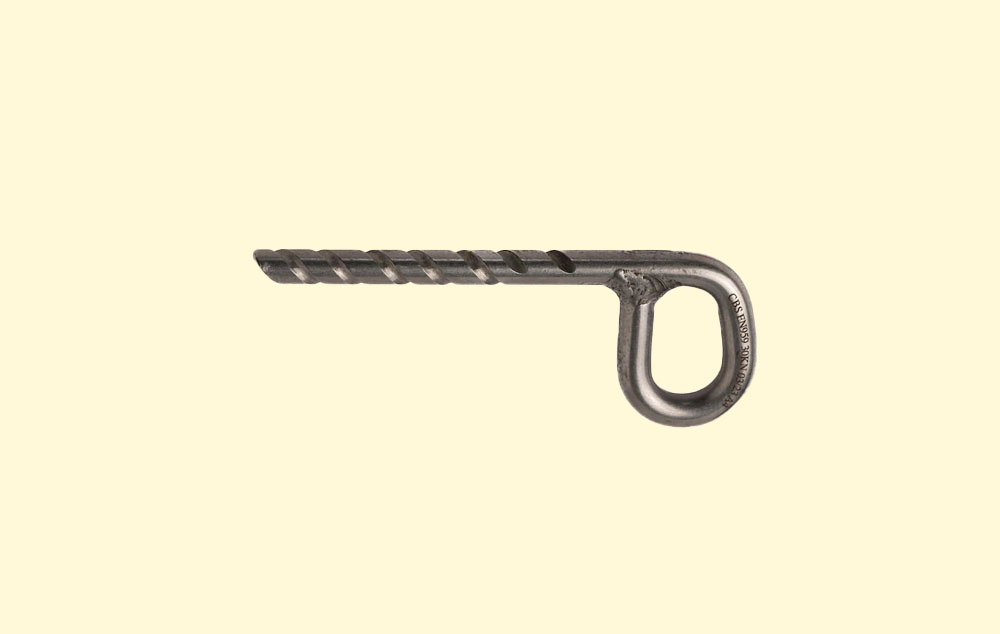
Nail-Drive Bolts
Nail-drive bolts are similar, yet slightly different. Instead of a serrated sleeve, a bolt hole is drilled separately. And instead of a spreader cone, they have a driving pin.
First, drill a bolt hole deep enough to accommodate the bolt. Next, insert a nail-drive bolt into the hole. Lastly, hammer the bolt into the hole using the bolt’s driving pin to displace the bolt into the interior walls of the hole.
Expansion Bolts

Expansion bolts are the obvious evolution to displacement bolts. They rely on similar principles of expansion and displacement to wedge themselves securely into a bolt hole. However, expansion bolts are bigger, stronger, and more complex. Therefore, modern expansion bolts have become the industry standard for many climbing areas.
In the expansion bolt category, there are two types of hardware I want to mention– sleeve and wedge bolts.
Sleeve Bolts
Sleeve bolts, also known as “five-piece bolts,” are comprised of five important components– the bolt, washer, sleeve, plastic bushing, and a threaded cone. Sleeve bolts are pre-quipped with a nut and washer
To install a sleeve bolt, you must first drill a hole large and deep enough to accommodate a bolt. Next, hammer the sleeve bolts into the hole. As you hammer, the bolt sleeve will expand into the rock. Lastly, position the hanger and tighten the nut on the bolt.
Wedge Bolts
The other type of expansion bolt you commonly see are wedge bolts. A wedge bolt is comprised of a threaded bolt shaft and a single (or double) cone-shaped end wrapped in a sleeve or clip. Unlike sleeve bolts, wedge bolts are not equipped with a washer or nut.
To install a wedge bolt, you must first drill a hole. Next, hammer the wedge bolt into the hole, leaving the expansion cone to expand into the bolt hole as you tighten it. Lastly, place a bolt hanger over the end of the bolt and cap it with a nut and washer.
Pros and Cons of Mechanical Bolts
|
Mechanical Bolts (Displacement and Expansion Bolts) |
|
|
Pros |
Cons |
|
Easier to install on lead |
Only grabs a fraction of the rock |
|
Can be used right after installation |
Require more maintenance and replacement |
|
Much more affordable than glue-ins |
Susceptible to corrosion |
|
Ideal for harder rock types (i.e. granite) |
|
Glue In Bolts
The last important category of climbing bolts is glue-ins. Although glue-in bolts have been around since the 1960s, their prominence in rock climbing feels significantly more modern than displacement and expansion bolts.
Glue-in bolts do not rely on a mechanical displacement or expansion process to grip the rock on the inside of bolt holes. Instead, glue-in bolts are bonded to the interior of bolt holes using a two-part mixture of chemical adhesives.
To place a glue-in, you must first drill a hole deep enough for the bolt. Next, thoroughly clean the hole, eliminating all rock dust. Any loose rock or debris will compromise the security of the chemical adhesion process. Fill the hole with chemical adhesive, working from the back of the hole to the front. Insert the bolt and hammer it into place. Last, wipe away any excess glue that may have been excreted from the hole.
Pros and Cons of Glue-In Bolts
|
Glue-In Bolts |
|
|
Pros |
Cons |
|
Chemical adhesive grabs 100% of the rock |
Glue-ins are more technical to install |
|
Glue keeps water out of the hole, which prevents corrosion |
More expensive than mechanical bolts |
|
Requires little maintenance and lasts a long time |
Cannot be used right away |
|
Ideal for softer or layered rock (i.e. sandstone) |
|
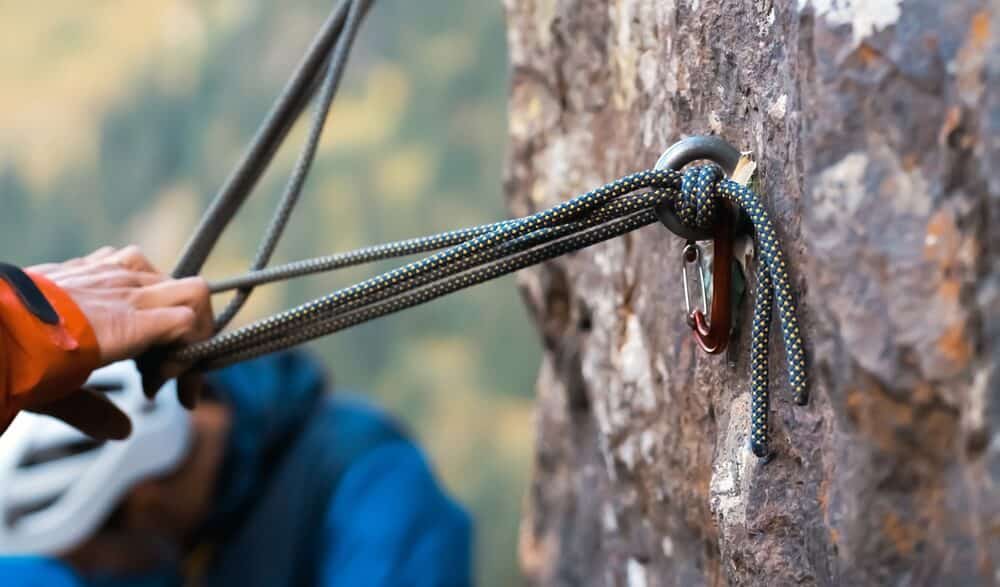
Inspecting Existing Bolts
Over time, new bolts become old bolts, and good bolts become bad bolts. Therefore, as you spend your time clipping bolts at sport crags, aiding up old bolt ladders on El Cap, or clipping a single piece of fixed gear after a 20-foot run out, it’s critical to visually inspect and know what you’re clipping.
Unfortunately, most climbers (myself included, sometimes) clip bolts without question. That’s because most bolts out there are solid enough, and we become complacent. However, I cannot stress enough the importance of considering the quality of the fixed hardware you are clipping your rope into and trusting your life with.
Red Flags for Bad Bolts

To create a good habit of inspecting bolts and anchors, utilizing a mental checklist can help you look out for red flags. Regarding the assessment of bolt quality (and the potential for bolt replacement), there are four red flags to consider.
-
Non-Ideal Location
-
Poor Rock Quality
-
Moving Parts
-
Damaged or Corroded Components

Location
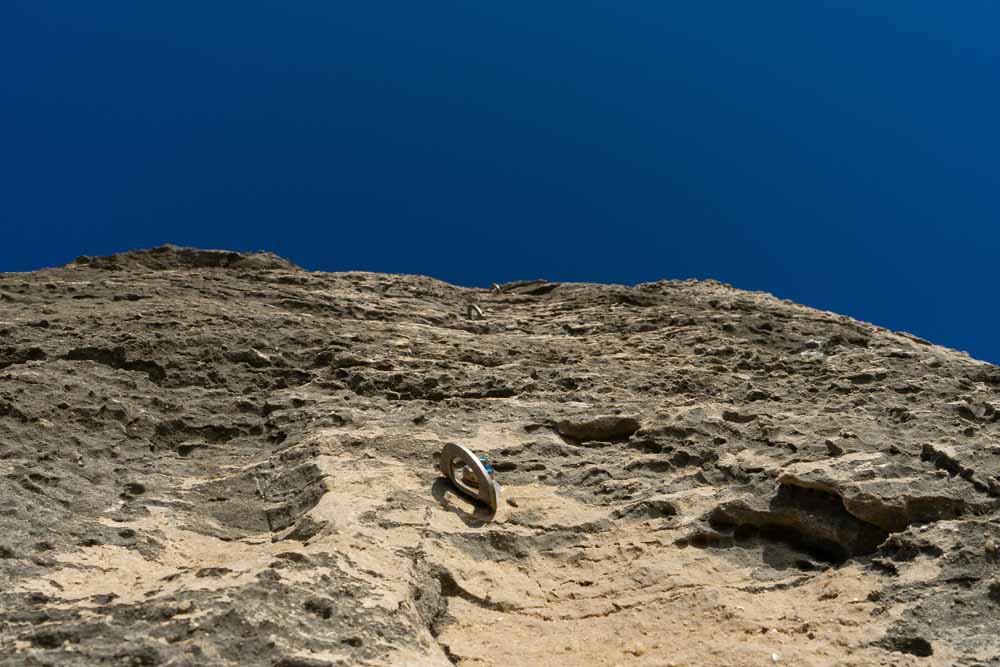
Good bolts are placed far away from cracks, edges, and pockets. That way, the entirety of the bolt can be well-embedded into the wall. In addition, a hole drilled too closely to an edge or crack can compromise the security of the placement and destroy the surrounding rock.
Therefore, bolts positioned too close to edges or with cracks coming from them are red flags.
Damage or Corrosion
Over time, bolts can become damaged. In severe scenarios, damaged bolts can be unsafe for usage. For example, damaged bolts may have sharp edges or deformed hangers.
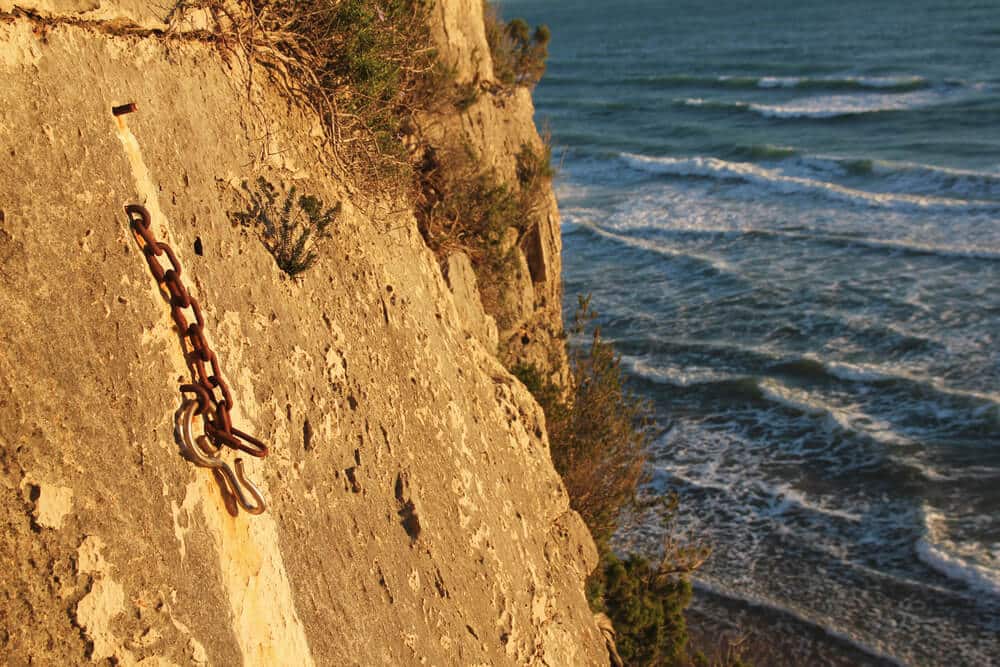
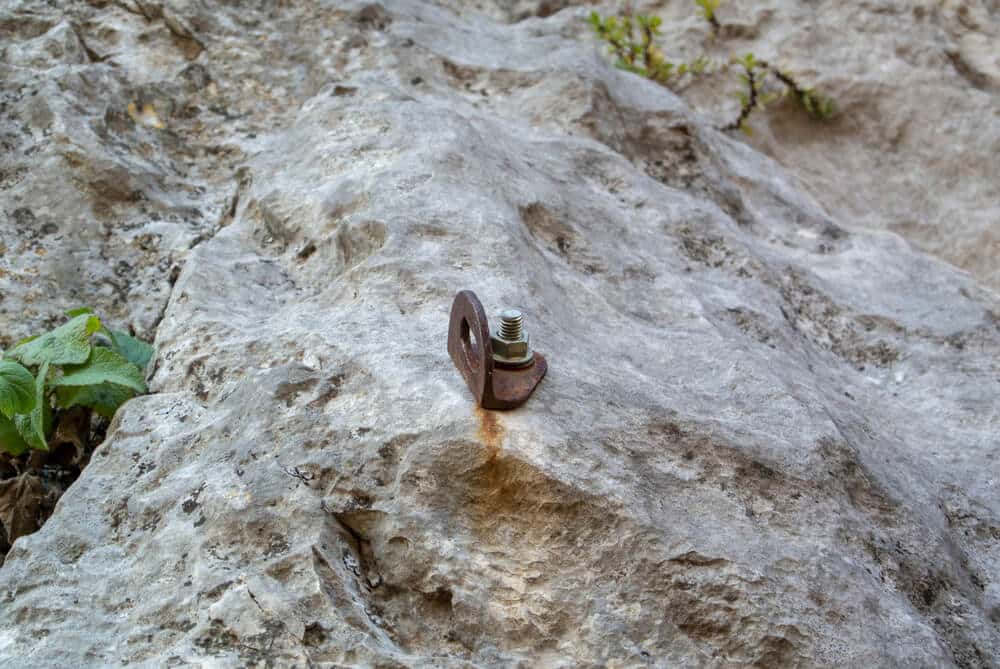
Regarding corrosion, the most frequent red flag is rust, especially with non-stainless steel bolts. Corrosive rust commonly forms on the exterior of bolts and can be easily identified. For example, bolts in coastal areas frequently show signs of rust from the moisture in the air. What’s harder to determine is the potential corrosion occurring on the interior of the bolt hole.
Rock Quality (Or Lack thereof)
A bolt is only as good as the rock it is installed in. In other words, if the rock quality is crap, chances are the security of the bolt placement is also crap.
To identify bad rock, look out for exfoliating layers, a hollow sound, cracks, and crumbling dirt and debris.
Movement
After proper installment, bolts are not supposed to move. Therefore, spinning bolt hangers and wiggling bolt shafts are red flags.
A spinning bolt hanger does not inspire confidence. However, it’s not nearly as much of an issue as a wiggly bolt. Spinners get clipped and whipped on all the time. On the other hand, a bolt that is moving within its placement cannot be trusted.
Replacing Bad Bolts Is a Constant Struggle
Replacing old bolts is a never-ending struggle. The reality is that there are way too many bolts out there to keep up with, and replacing them all would be too difficult, especially on public lands. Therefore, bolts get forgotten and left behind to slowly rot (and continue being clipped).
When bolt replacement does occur, it’s typically the result of a popularity contest– normally, the most popular, classic, and high-quality climbs get retro-bolted first. This is especially true for sport climbing areas. However, it’s also true that bolts on classic routes in climbing areas with old-school climbing ethics don’t get replaced to preserve the character (i.e., the danger) of the route.
In some climbing areas, replacing bolts (and adding new ones) can only occur with the first ascensionist’s permission. In other areas, it’s up to the landowner to decide which bolts get replaced and how the process is carried out.
Nowadays, tried and true sport climbing areas are replacing old expansion bolts and anchors with glue-ins. On the other hand, old bolts on classic routes are being retro-bolted with fresh mechanical bolts. Whatever the case may be– I am all for it. I think sketchy bolts should be replaced, and anchors should be updated.