Are you looking to carry heavy loads, finagle with sketchy gear placements, and spend a metric ton of cash on gear?
If so, you must want to be a trad climber!
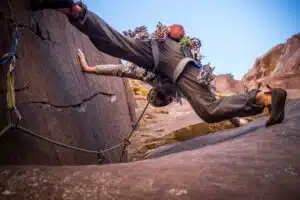
In all seriousness, traditional climbing is perhaps rock climbing’s most fulfilling discipline. Learning to place your own protection, build your own anchors, and lead a pitch (or many pitches) of rock from bottom to top without any fixed gear is an extremely empowering process.
You can’t climb trad without a trad rack, though, and like most components of climbing gear, trad equipment is expensive, and building your first rack can seem daunting. (But never fear!)
In this article, we’ll learn how to build a trad rack, including what gear an average trad climbing rack entails, how much it costs, and a few tips and tricks to build an affordable, versatile rack as a new traditional climber.
Let’s Look at the Typical Trad Climbing Rack

Active Protection vs. Passive Protection
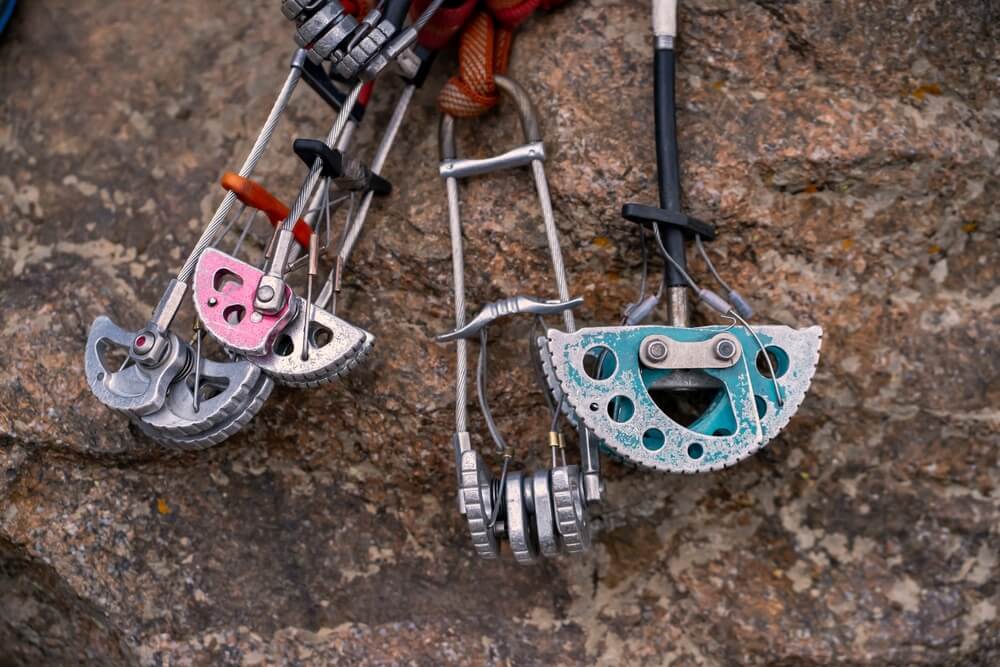
Traditional climbing protection (or pro) comes in two families: active and passive. Active pro, such as camming devices, use moving parts to actively provide opposing pressure on the rock. Passive pro, such as stoppers or nuts, are fixed pieces of gear that wedge into cracks and other features, placed in such a way that their fixed shape holds them in the wall.
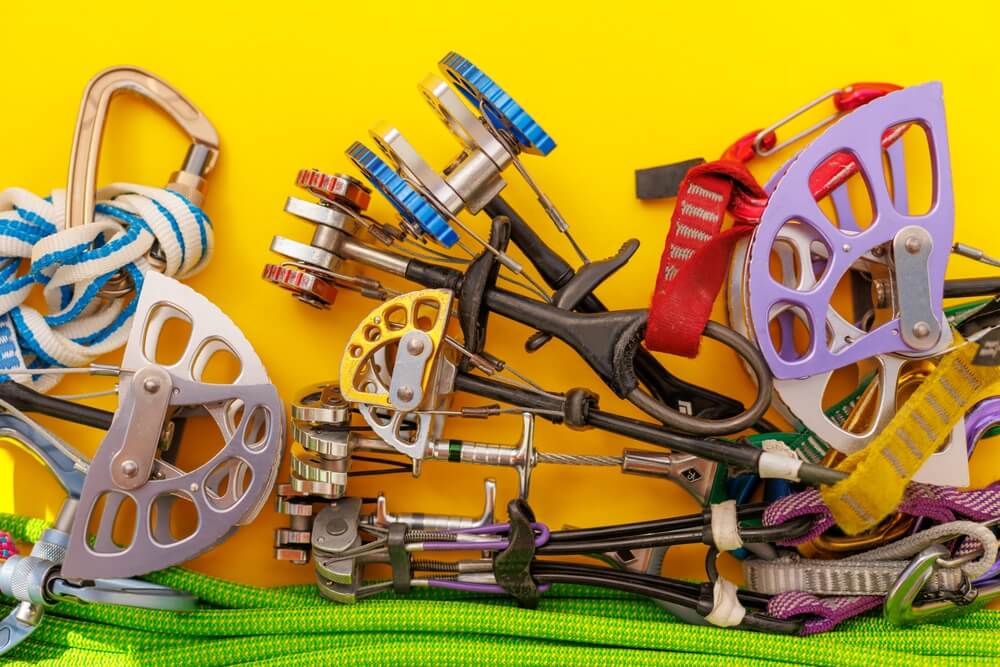
Most modern trad racks primarily consist of two types of protection, nuts (passive) and cams (active). Certain climbs or regions of the world may require other types of protection, like tricams, wedges, hexes, and pitons, but most climbers can get by with a solid array of nuts and traditional cams. A good trad rack also requires a hefty quantity of carabiners and soft gear, like slings and runners, webbing, and cordelette, as well as a nut tool to remove any stuck gear.
How to Start Building a Trad Rack: Our Checklist
Cams
You’ll want six to 12 cams for a basic rack. These are the most expensive components in your kit, so start with just one of each crucial size (from 0.5″ to 3″), and a couple of extra finger-size cams in the 0.3 to 0.75 range. That’ll be six or seven cams. You’ll eventually probably want to double up on sizes from 0.5″ to 2″ and may want larger or smaller cams too. As you learn the basics of placing pro, however, one of each size should suffice.
There are a variety of features that differentiate cams beyond size, such as the number of cam lobes (three or four), stem design (single-cable or u-stem), axles (single or double), and expansion range. There are also “offset” cams, which have lobes of different sizes to accommodate irregular cracks and pin scars.
Don’t sweat this stuff yet, though. If there’s a specific route or crag that you want to trad climb in, it’s worth checking guidebooks and route descriptions to learn a bit more about the protection sizes used there.
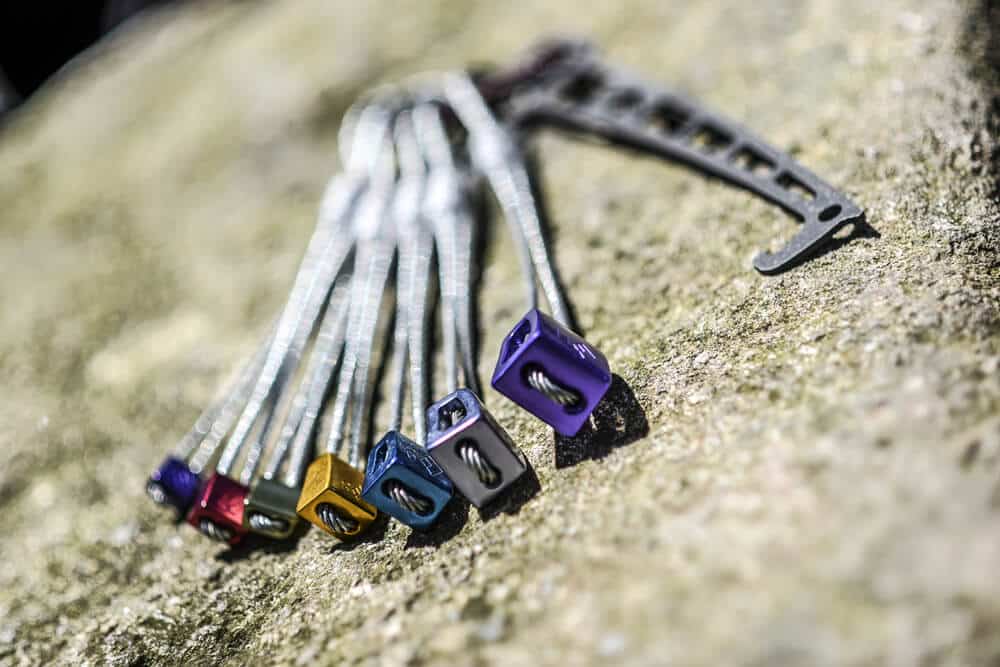
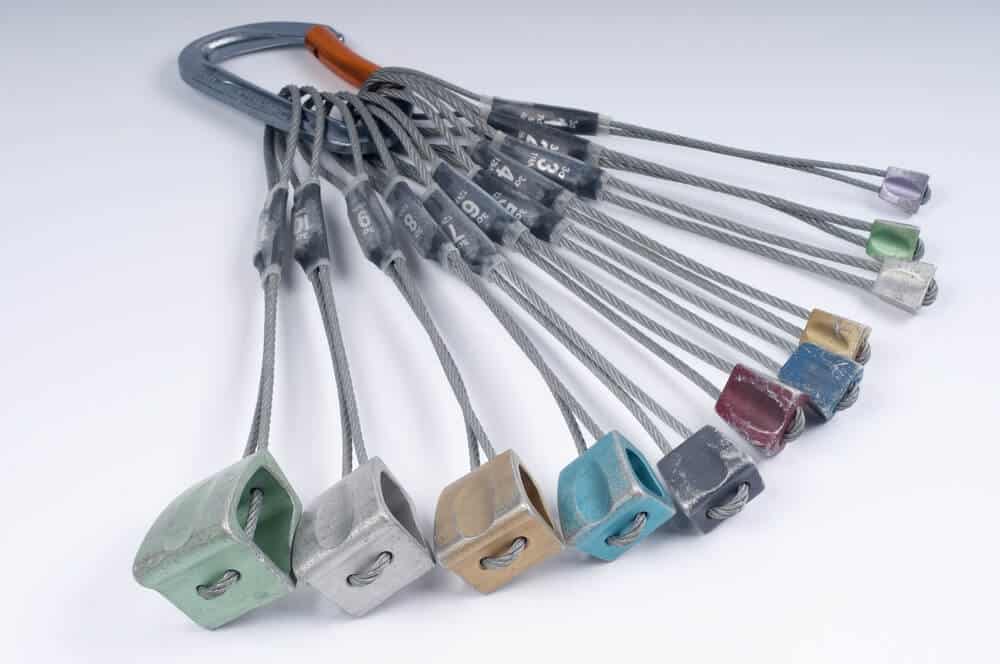
Nuts
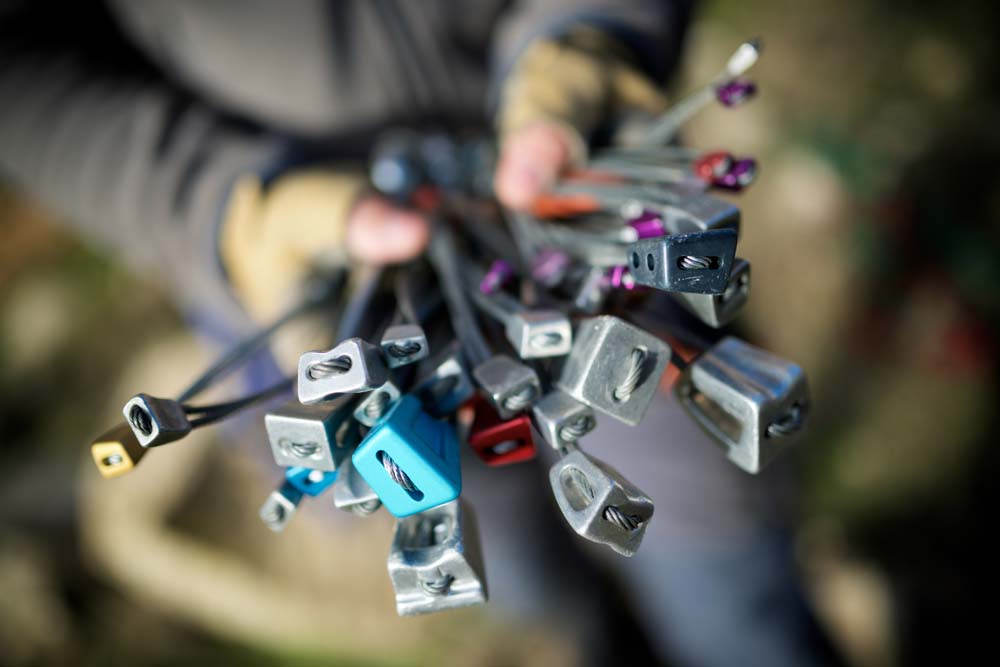
Nuts are quite cheap compared to cams, and a 10-12 piece array of nuts in various sizes is a good starting point for your first trad rack. Nuts come in full-size packs, so just buy one series to start. In the future, you may want to double up or go down into micro nuts.
Alpine Quickdraws
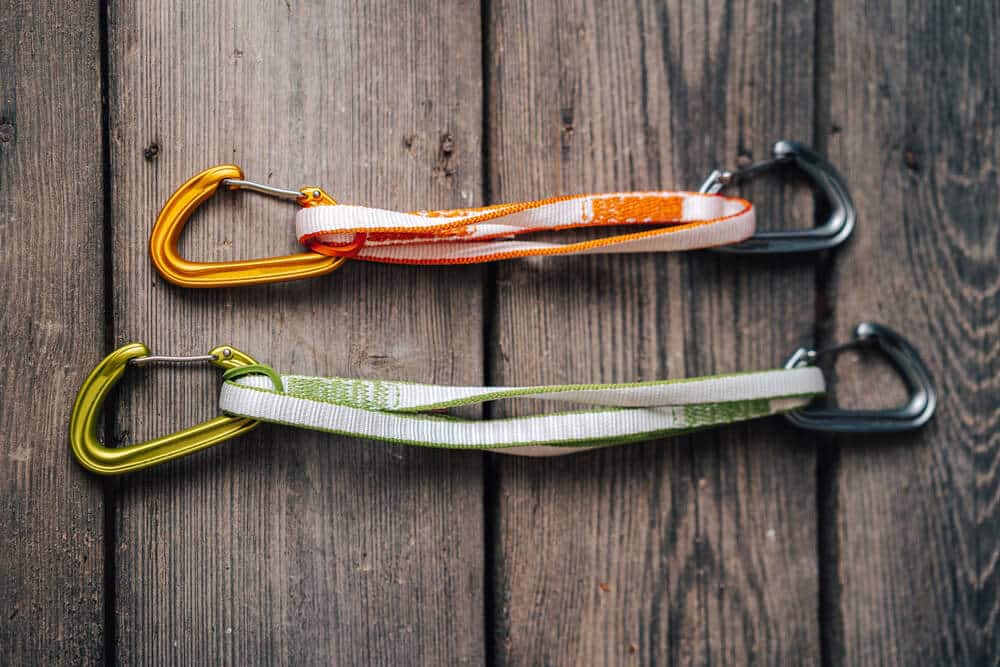
A basic trad rack should include eight to 12 alpine draws. These are like sport quickdraws, but instead of a fixed dogbone, they use a sling or loop of webbing to connect the two carabiners. Alpine draws are far longer than sport draws, helping you extend placements and manage rope drag.
They’re usually either made from a single-length (60cm) or double-length sling (120cm). On straightforward lines, you may get by just fine with traditional sport quickdraws, but it’s usually advisable to have at least six alpine draws in your kit. Doubling up the sling allows you to shorten or extend them as needed.
Nut Tool
A nut tool (or chock pick) is cheap and lightweight, used to remove pro wedged into the rock.
Non-Locking Carabiners

You’ll need at least 20 to 30 small non-lockers to store all your cams and nuts, more if you need carabiners to make alpine draws (above). Most climbers use wiregates to save weight.
Locking Carabiners
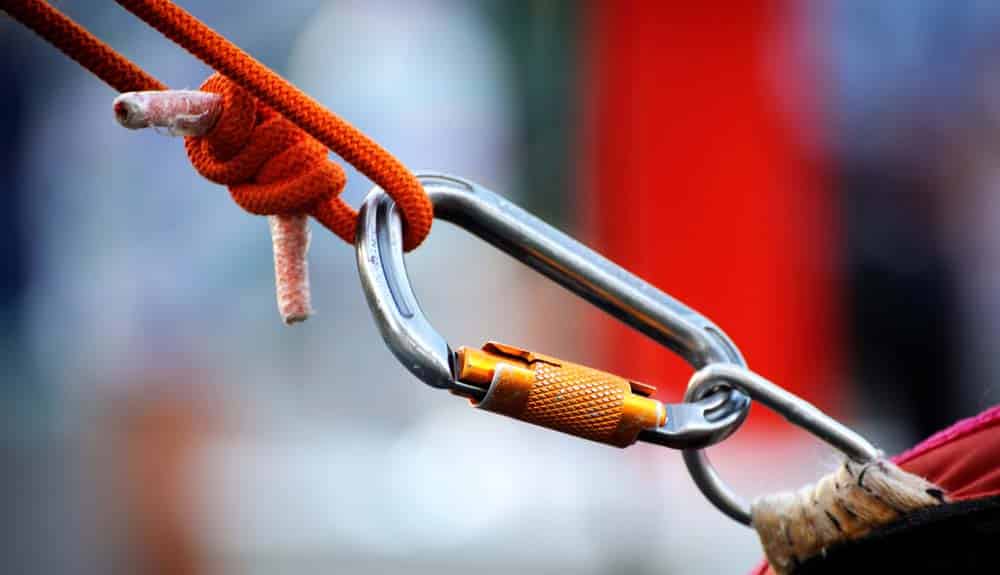
Four-locking carabiners are a good starting point for a trad rack. Locking carabiners are used for building anchors, but can also come in handy for other situations, like rigging a backup belay or rappel device, or using friction hitches to ascend a fixed line.
Cordelette/Webbing

You’ll need a heaping of soft cordage for building anchors. Some climbers use 6mm to 8mm cordelette (typically 15 to 20 feet). Others prefer tubular webbing. Spare soft gear is always helpful, whether for making alpine draws (above) or anchor building.
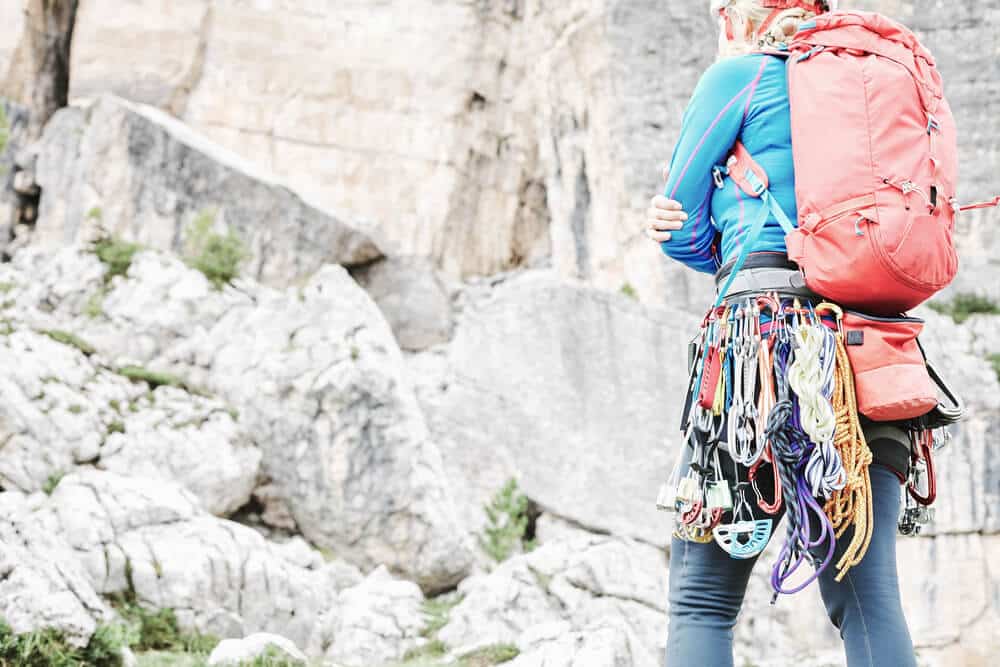
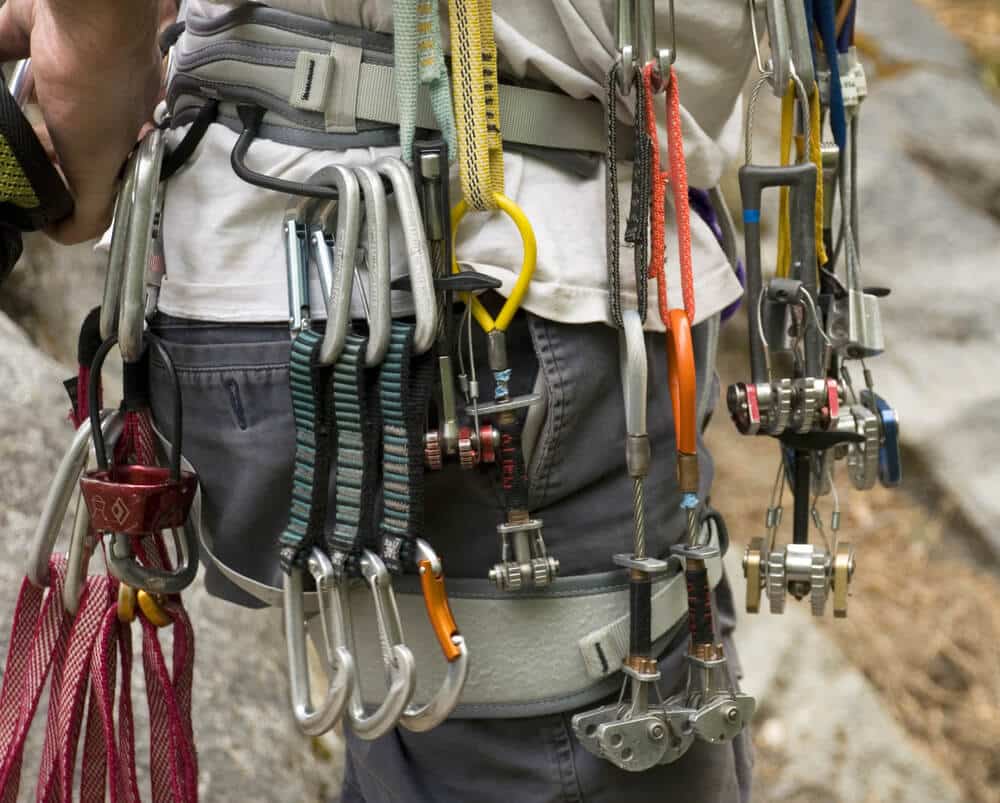
Gear Sling
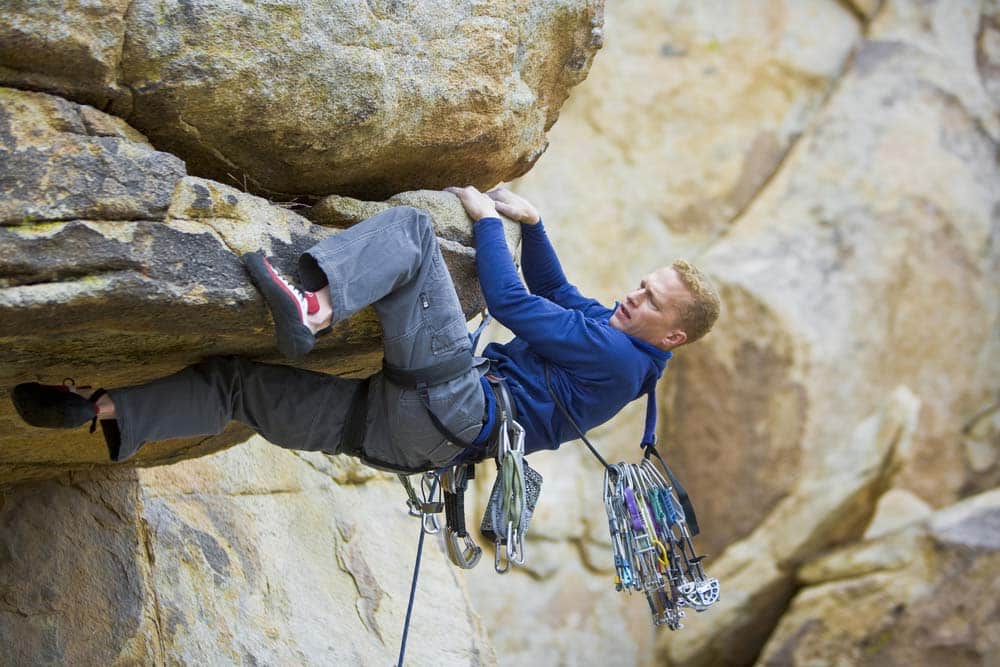
You’ll need a single-length (60cm) gear sling to rack all that gear. Throw it over one shoulder and clip all your protection along it. Depending on the size and quantity of your rack, you could hang some pieces on your harness gear loops. Most climbers do a combination of racking both on gear sling and gear loops.
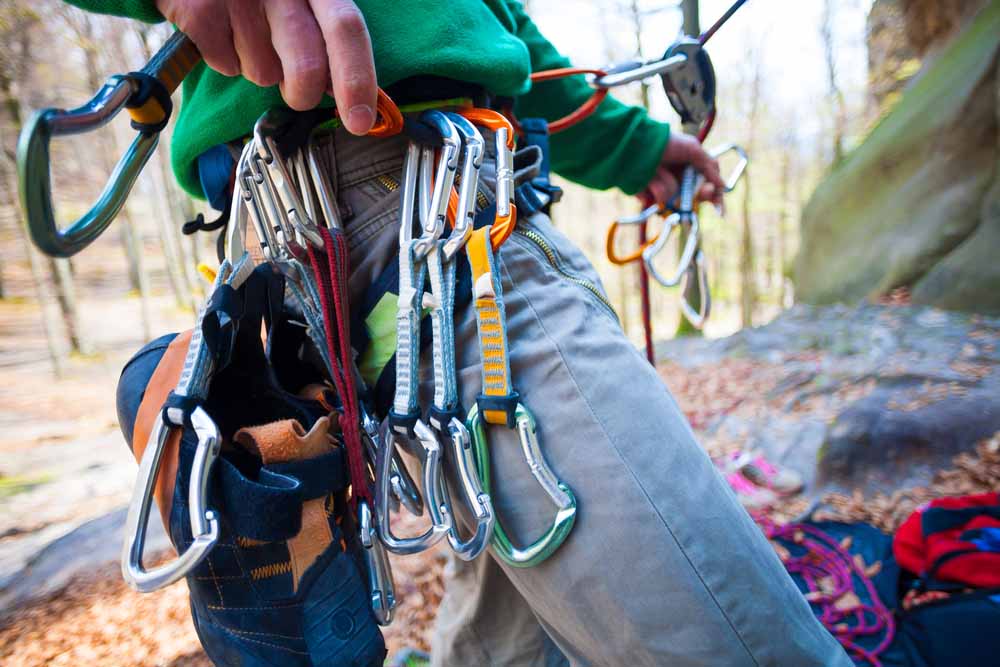
How to Rack Climbing Gear
However you choose to rack your gear, now you have to keep it organized as you climb and have an effective system for passing gear to your buddy between pitches. Let’s cover a few basic principles that are helpful when racking.
Gate Consistency
Whether you put your gates out for Harambe or not, make sure you and your parter are consistent in how you rack your carabiners. All gates should either be in or out.
Cams Fly Solo

Most climbers prefer to have a dedicated carabiner for each cam. If you have two cams of the same size, however, you may want to rack them on the same biner (and clip the other to your harness) to make them easier to find. The downside of this system is that you’ll have to find the spare biner to store the second cam when you go to place the first one.
Nuts Fly Together
Nuts are light and streamlined enough that it’s ideal to clip them all together on one or two carabiners, instead of giving each nut its own carabiner like a cam. One carabiner for all your nuts saves weight, but it can be a bit bulky. Most climbers prefer to have two biners for nuts, organized by size.
Back to Front
The easiest way to organize gear is via size and weight. The larger, heavier gear should sit further back on your sling or gear loops. As mentioned above, all the nuts can go forward on their dedicated carabiner, and then cams should be arranged in order of size, smallest to largest, from front to back. This puts the bulkier, weightier items behind you and out of the way, not dangling in front of you while you’re making moves on the wall.
Keep Draws Small
If you’re using alpine draws, you’ll want to rack them at their smallest size. To do this, take a fully extended alpine draw (sling) with two carabiners, one clipped on each end. Pass one carabiner through the center of the other, then using the first biner, clip the extra two loops of the sling at the other end, allowing you to rack it like a normal carabiner. If you need to extend it, unclip two of the three loops of the sling and pull. The sling will extend to its full length.
Other climbers prefer to stow their alpine draws by unclipping one carabiner and throwing the sling over one shoulder at full length. If you choose to do this, make sure to run your slings on the opposite shoulder as your gear sling, and run them on top of (not under) your gear sling, so that you can access them easily.
How Much Does Climbing Trad (Gear) Cost?

How much a trad climbing rack costs depends on all the gear you already own. If you’re a climber, you probably already have basic gear like a rope, harness, and helmet, as well as many of the components of a trad climbing rack, such as slings, cordelette, quickdraws, locking carabiners, and non-locking carabiners. Most new trad climbers come into the game needing cams and nuts.
All that said, the average trad climbing rack will cost you between $500 to $1,000. It’s going to be around $100 for your full set of nuts and stoppers. Not bad. It’s cams that are the kicker. Black Diamond’s basic Camalot C4 Package is circa $400, getting you a single of each standard cam size (#0.5, 0.75, 1, 2, and 3).
The full C4 collection of #0.3 to 6 costs a whopping $880. You won’t need all those sizes starting out, but again that’s for a single cam of each size. No doubles.
So for cams and nuts alone, I’d estimate $600 for a basic set of new gear. From there, cost will vary depending on how much soft gear and other basic hardware (carabiners) you already own.
Tips and Tricks for New Trad Climbers
Cam Sizes
One of the most confusing things for a new trad climber is dealing with cam sizing. There is no one universal cam measurement system. In a guidebook or route description may call for a #1, but that could mean a one-inch cam, or it could mean a #1 cam from Black Diamond, Wild Country, Metolius, or some other brand you’ve never heard of, and all these brands have a slightly different size for their #1.
In North America, most climbers used Black Diamond Camalots for the standard rack, and unspecified cam numbers often refer to Black Diamond cams. There are plenty of other camming devices, however, such as Ultralight Master Cams (Metolius) and Friends (Wild Country).
There’s no single system you can rely on. What’s important is to be aware that not all cams are the same, even if they have the same sizing number. Whatever brand of cams you choose, you should learn the expansion range by heart and be able to translate this to other common camming expansion ranges.
Joining Forces!
Don’t forget that most partners will also have some of their own trad climbing gear. Maybe they don’t have a full rack, but it’s rare that someone both a) knows how to trad climb and b) doesn’t have any traditional gear of their own.
So remember to check in with your partner before you shell out hundreds on a rack. Even if neither of you has a complete trad climbing rack yet, you may very well have one when you combine gear!
On that note, don’t forget to mark your gear in some way (colored tape is a common method) so that you can distinguish your kit from your partner’s at the end of a trip.
Don’t Jump the Gun
Lots of folks jump the gun on trad climbing. Are you sure you want to buy a trad rack? If you’re just getting into climbing, it’s worth spending a few seasons building up your leading skills on bolted routes before worrying about trad.
Even once you have decided you’re interested in traditional climbing, remember that learning to place gear and build anchors isn’t something you can just read about and go try on your own. You’ll need a mentor or class of some kind to teach you the basics of gear placement and anchor building.
So try to find friends or mentors who already have a rack, and accompany them on some traditional climbs, first following, then leading, so that you can become comfortable with placing gear and the principles of traditional climbing. Don’t worry about building your own trad rack until you’ve done this.
Used Gear?
Unlike soft gear (ropes, harnesses, slings, etc.), climbing hardware is generally quite durable, and many choose to buy used trad gear. The issue is that it’s hard to distinguish reliable gear from damaged gear as a new climber.
If you aren’t familiar with how a piece of trad gear should look, you won’t know how to judge a used example. Be careful. Ask lots of questions, examine photos, and try to buy from a reputable source (i.e. someone on Mountain Project with lots of post karma, not a random Craigslist account). Look for frayed wires, visual wear, and deformity, and always replace any soft goods (slings) that come with the hardware you buy used.
In general, it’s not recommended to buy used gear as a beginning climber. If taken care of properly, nuts and cams can last for a lifetime, and if you’re planning to become a trad climber, you’ll likely feel you got your money’s worth within a single season of climbing, not to mention the years to come.