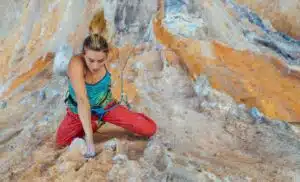
Top rope may not be the most glamorous form of rock climbing, but it’s the first step in the journey for most folks who start climbing. In short, top roping is the safest and simplest way for a new climber to experience the basics of rock climbing. You don’t have to worry about taking falls or clipping bolts, you can simply focus on the climb and let your belayer do the rest.
(That doesn’t mean top roping is 100% safe though. Like all rock climbing disciplines, there are risks. You still need to build a safe anchor, keep good communication with your belayer, and tie in properly, among other things.)
But I’m getting ahead of myself. Let’s start with the basics. In this guide, we’ll cover everything you need to know about top roping, including what it is, the climbing gear you need, tips and tricks, and the difference between top rope and lead climbing.
What is Top Rope Climbing?
Top rope climbing is a method of roped climbing that involves running the rope through a single, fixed, and pre-placed anchor point atop the wall. During a top rope, the belayer and climber both stand on the ground. (In certain situations, such as a rappel-in climb like a sea cliff, or when the top roping a follower up a multi pitch route, the belayer may be above the climber, but for most top rope situations both party members are on the ground.)
As the climber ascends, their belayer removes rope slack from the system, locking off and holding the climber in place with their belay device in the event of a fall. When the climber reaches the top of the route (or quits) the belayer lowers the climber to the ground. That’s that.
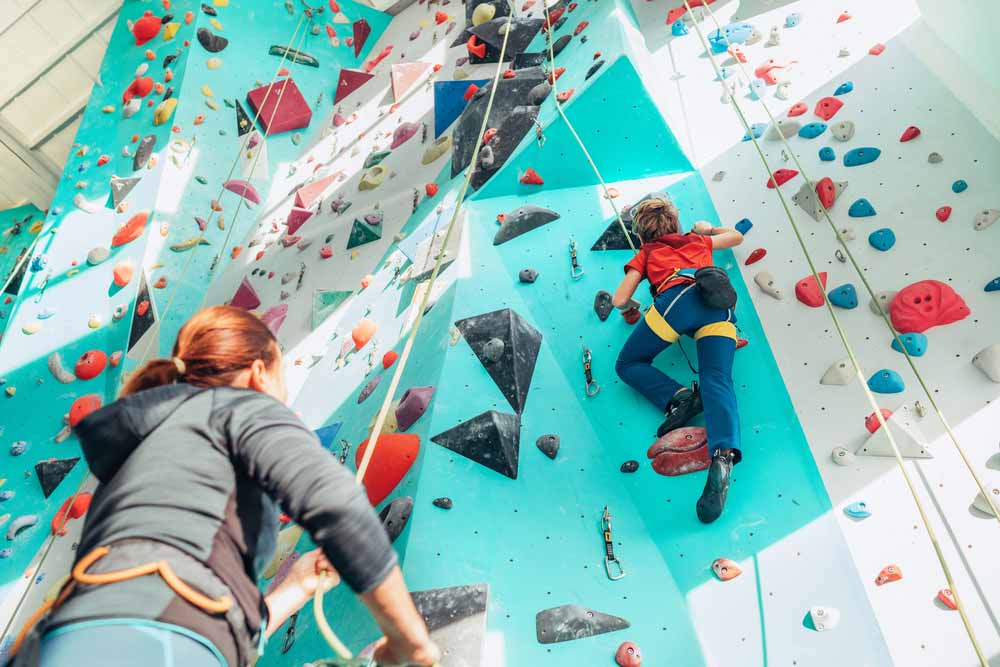
Top rope climbing can be used both for rock climbing, ice climbing, and gym climbing, and is the most popular way to train on a route in advance of a lead attempt.
What Do I Need for Top Rope Climbing?
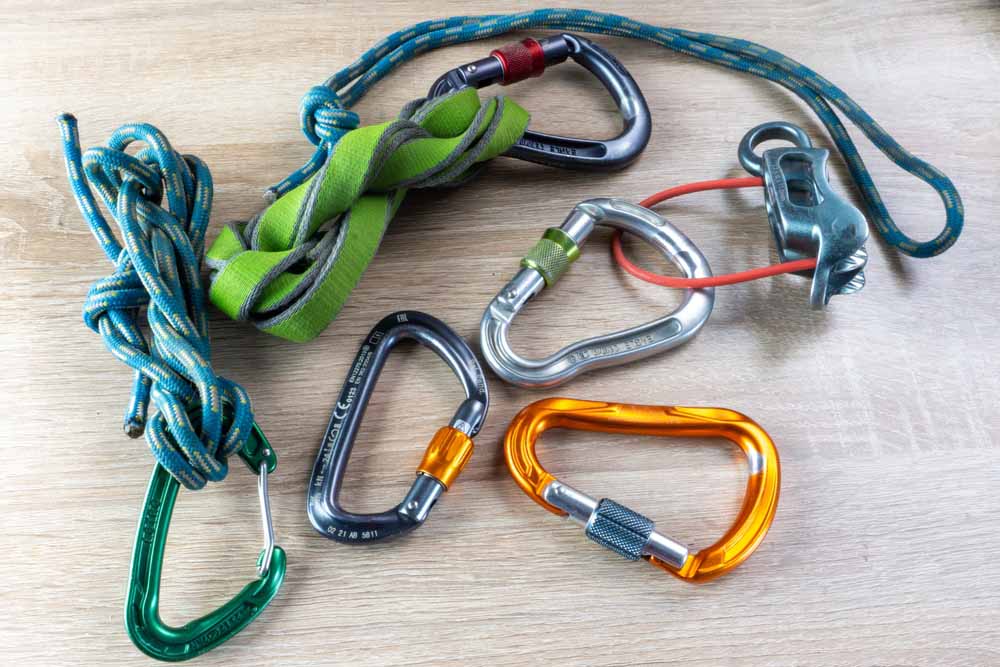
As a top rope climber, you’ll need both personal gear and system gear. Personal gear is the gear you’ll use as a climber and belayer. System gear is the gear you’ll need to set up your top rope system.
System gear depends on the route you’re climbing. Some routes will have fixed anchors at the top (closed rings, Mussy hooks, maillons, permadraws, etc.) Others will have a tree, horn, or other natural anchor point.
It’s worth mentioning that in most cases, it is considered bad form to top rope directly out of existing rings or other anchor points, as this contributes to undue wear on the system. Instead, you’ll attach your own draws or carabiners and run your rope through them, using the permanent gear only to lower or rappel at the end of your sessions.
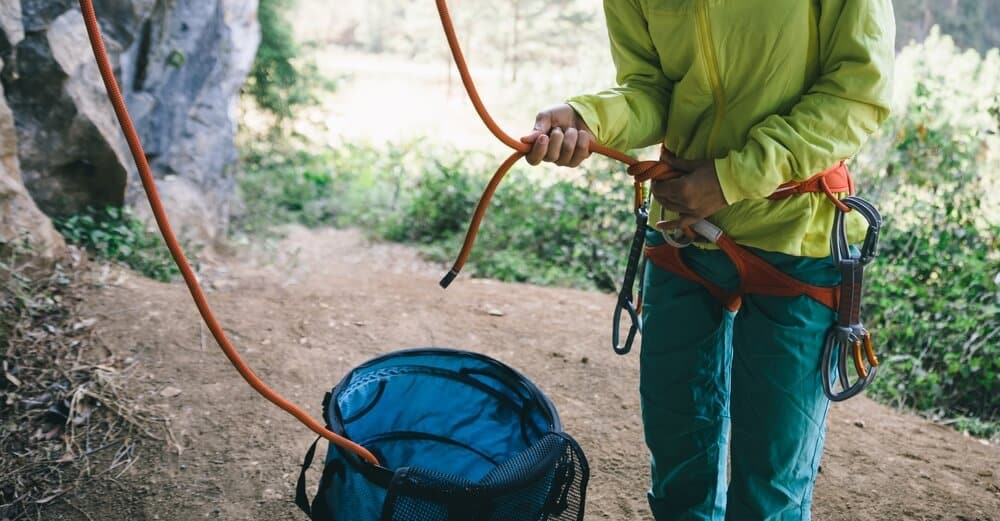
Personal Gear
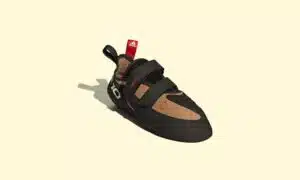
- Climbing shoes
- Harness w/ belay loop
- Locking carabiner
- Belay device (ATC, GriGri, etc.)
- Helmet
- Chalk bag (optional)
-
PAS or other personal anchor system (ex. sling and locker)
System Gear
- Static climbing rope (top roping is possible on both static and dynamic rope, but static line is always better, if available)
- Nylon or Dyneema slings (2x)
- Webbing or accessory cord (7mm approx)
- Large locking carabiners (2x)
- Quickdraws (2x)
NOTE: Some of this system gear you could give or take. For example, sometimes you can make a top rope anchor simply using a tree and 11mm static rope. Other times two quickdraws work when paired with two existing closed rings found atop many sport routes. The kit above is a good starting point, though.
Tips and Tricks for Top Roping: Things to Consider
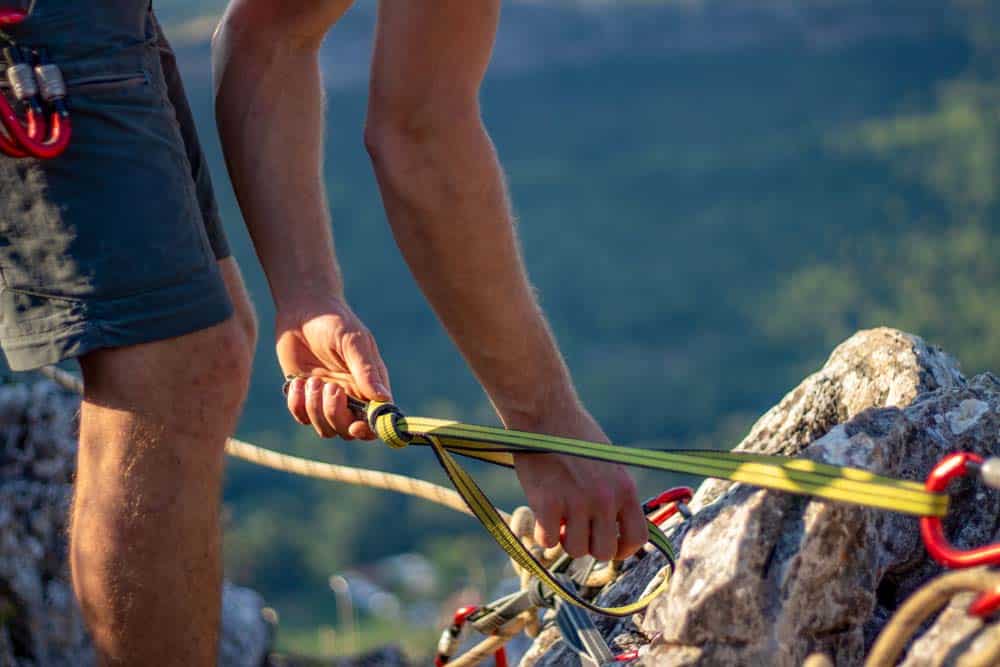
Anchor Building
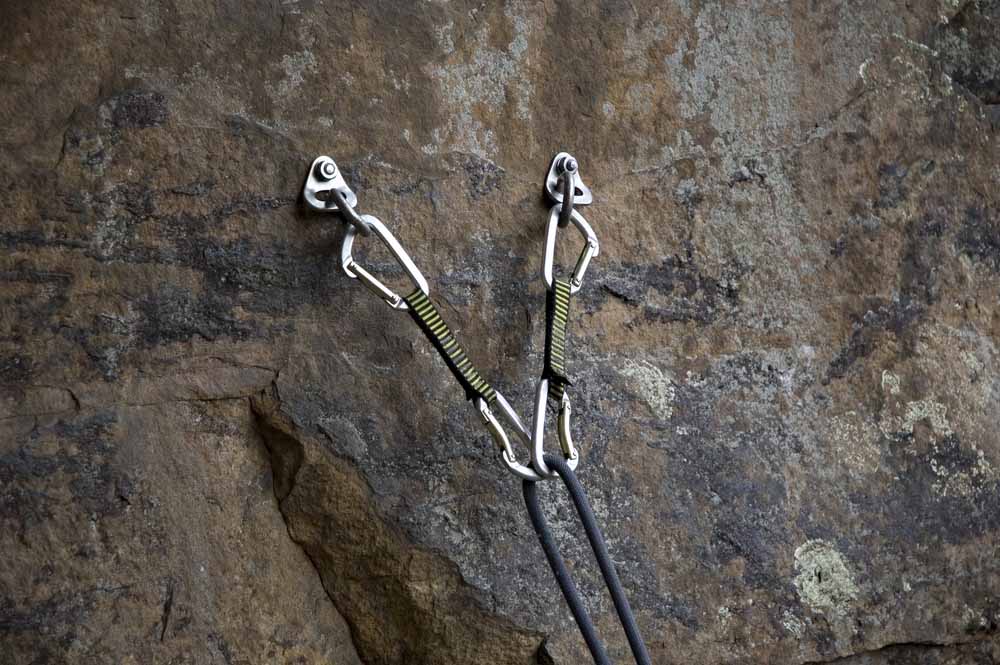
Top roping is extremely safe, but it’s only as safe as the anchor you build. Your anchor point is everything when top roping. You don’t have a series of bolts or gear placements lined below you, like you do when lead climbing.
You’re building your anchor all by yourself, and if it blows, that’s it. So it’s critical to learn how to construct proper top rope anchors (we have a dedicated guide, linked below) and to take your time in doing so. Make them as redundant as possible to minimize blowback in the event of a failure at one point in the system.
Safety Check
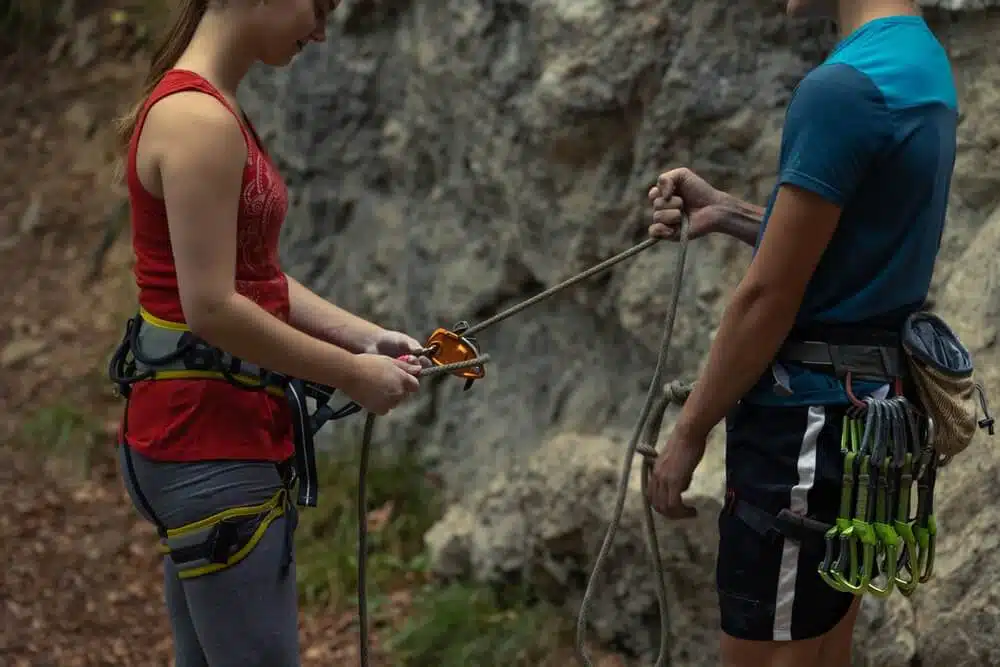
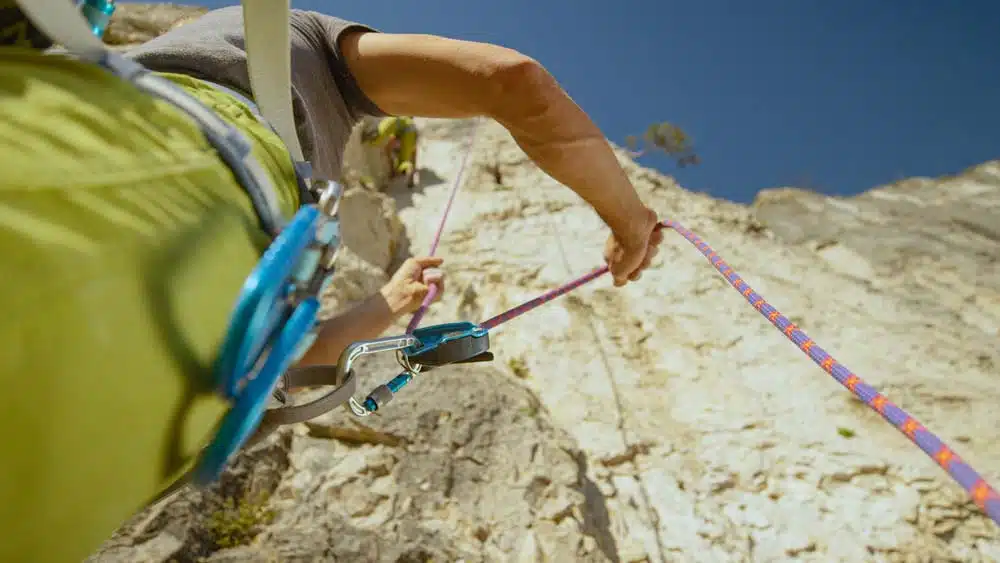
Be sure to check your systems before you launch. That means both you and your climbing partner. A few things to check:
-
Knots: Is your climber’s knot correct (tie in)? Did you tie a stopper knot on the belay end of the rope to close the system?
-
Belay Device: Is it properly attached to the rope? Is the carabiner locked?
-
Harness: Are the climber and belayer’s harnesses tightened, with all the buckles fastened? Ensure straps are doubled back through buckles (unless this is integrated into the design, as on some modern harnesses).
-
Helmet: Are both climber and belayer wearing a helmet? Rockfall is a real thing, and it kills climbers every year, even on top rope routes.
Do Your Research
When sport climbing, it’s fairly easy to check the guidebook and know what you’re in for. How many bolts, the anchors at the top, and so on. The same is often true of trad climbing. But top roping isn’t nearly as common as sport and trad.
The result is that the situation at routes listed as “top rope” on Mountain Project or in guidebooks can vary widely. Some have fixed anchors. Some have reliable natural anchors like trees. Others rely on the climber to place temporary gear, like cams and nuts. Do your research before you show up at a “top rope” route, or avoid this problem by top roping at established, bolted sport climbs.
Access
In order to set up a top rope, you have to access the top of the wall beforehand, either by leading the route or making your way to the top of the cliff edge from another side. This means that many established sport and trad routes aren’t able to be top roped by themselves. You or someone else in your party will have to lead the climb in advance and build the anchor before it can be top roped.
Anchor Breakdown
Except in cases where you can walk off the back of the rock climb, when you’re finished with a top rope route, you have to break down your anchor, retrieve your gear, and then either lower or rappel off the two bolts or other fixed anchor points in the wall. That means you need to secure yourself to the anchor via a personal anchor system and then either run the rope through the existing anchor points and re-tie in (a process called “changing over”), or find the midpoint of the rope, attach it to the anchor (or run it through) drop the ends, and do a double-line rappel.
This can be a complex process for beginners, and it’s a scenario where serious accidents can easily happen. Just a few weeks ago I wrote an article about a young novice climber who died while taking down a top rope anchor. Make sure you’re familiar with the processes of changing over before you head out, or ask a more experienced member of your party to take down the anchor.
Knots
Top rope climbing and establishing anchor points requires some knowledge of basic climbing knots. I won’t pretend to stuff a full-fledged knot tying guide into this article, but the following are a few knots you should know before you head out top roping.


Top Rope vs. Lead Climbing
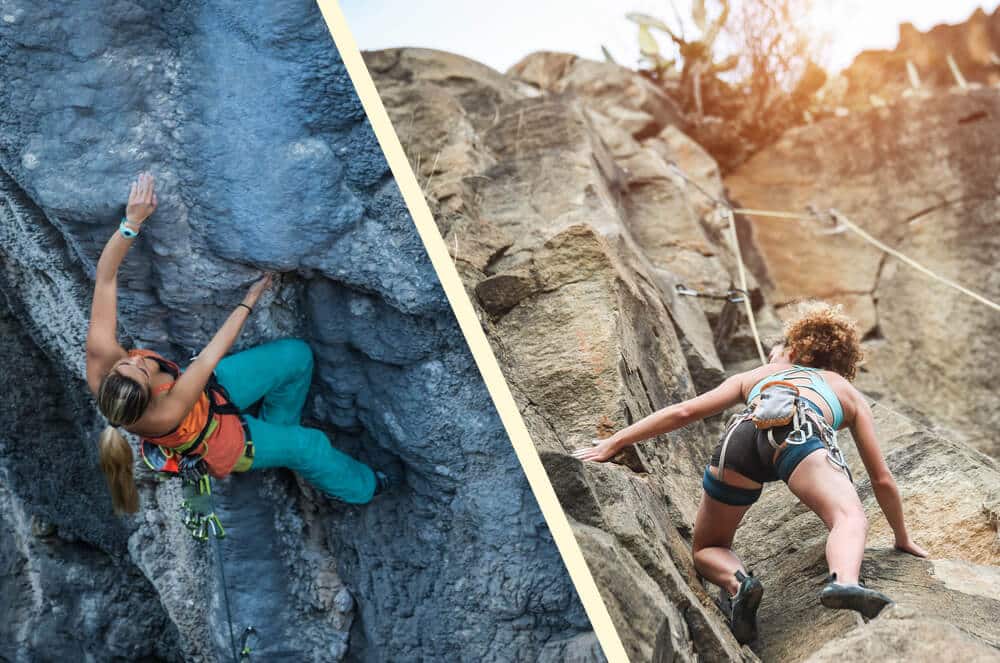
The difference between top rope climbing and lead climbing is that in the former, the climber is ascending with the rope already secured above them at a top anchor. In the latter, the climber is ascending with the rope trailing behind, clipping their climbing rope into protection points as they move upwards. In top roping, a belayer takes slack out of the system. In lead climbing, the belayer gives slack to the climber as they move upward.
Top roping is significantly safer than lead climbing, because the climber is secured at all times and there is no significant fall risk unless the entire system fails. In top roping, the only true risk lies in improper anchor construction and break down. This is where 90% of all top rope accidents occur. Beyond this, so long as the climber is properly tied in, the belayer is attentive, and rockfall doesn’t occur… a top rope climber is highly unlikely to experience any sort of accident.
Lead climbing, on the other hand, can entail significant falls, depending on how far the climber is from their last piece of protection. This is because a lead climber will fall double the distance to their last piece of pro, assuming their belayer locks off).
Pros and Cons of Top Roping
PROS
-
Fixed Position: The climber can work moves over and over without losing place on the wall in the event of a fall. Top roping is excellent for projecting a climb in advance of a redpoint attempt.
-
Safety: Climber falls are essentially nonexistent, but if they do occur, they are short and controlled. Top rope climbing is ideal for guided first time climbers.
-
Simplicity: The climber does not need to place gear mid-climb and can focus solely on movement.
CONS
-
Access: Your party must have access to the top of the route to established anchor before climbing, either via leading the route or accessing the area from another side.
-
Time: Unlike a sport route, where you can simply clip into the established draws or change over at the top of the route and lower, when you’re top roping, you have to take down your anchor and retrieve your gear before rappelling or lowering off the climb. This takes a bit more time and is a process that can result in an accident if the climber doesn’t know what they’re doing.
-
Style: Climbing a route on top rope isn’t technically considered a “send.” You’ll have to come back on lead if you want to trull say you’ve climbed the route.