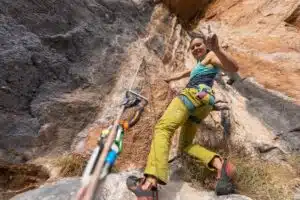
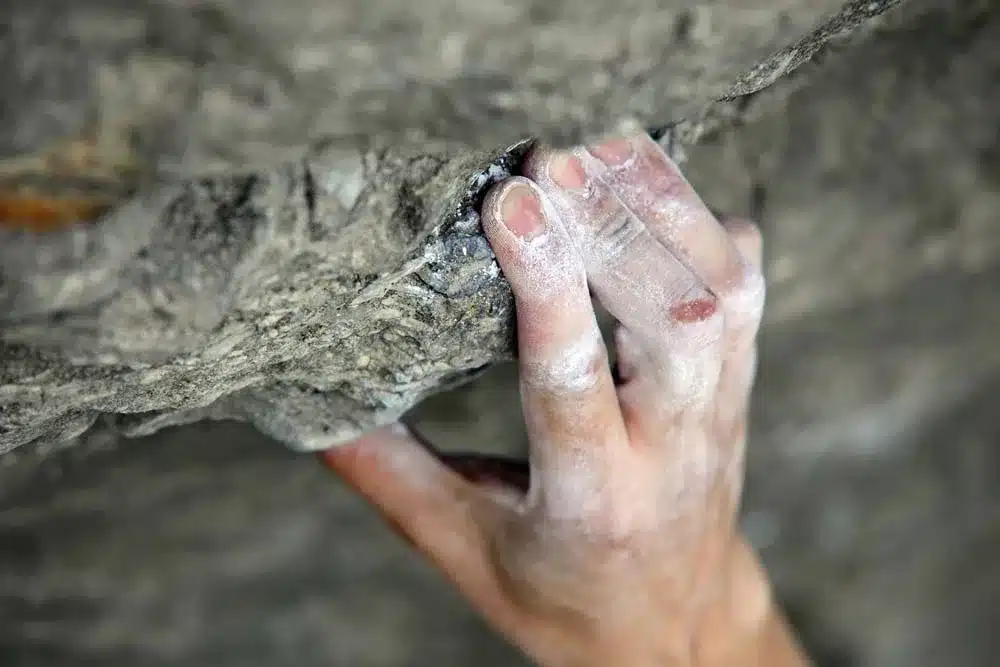
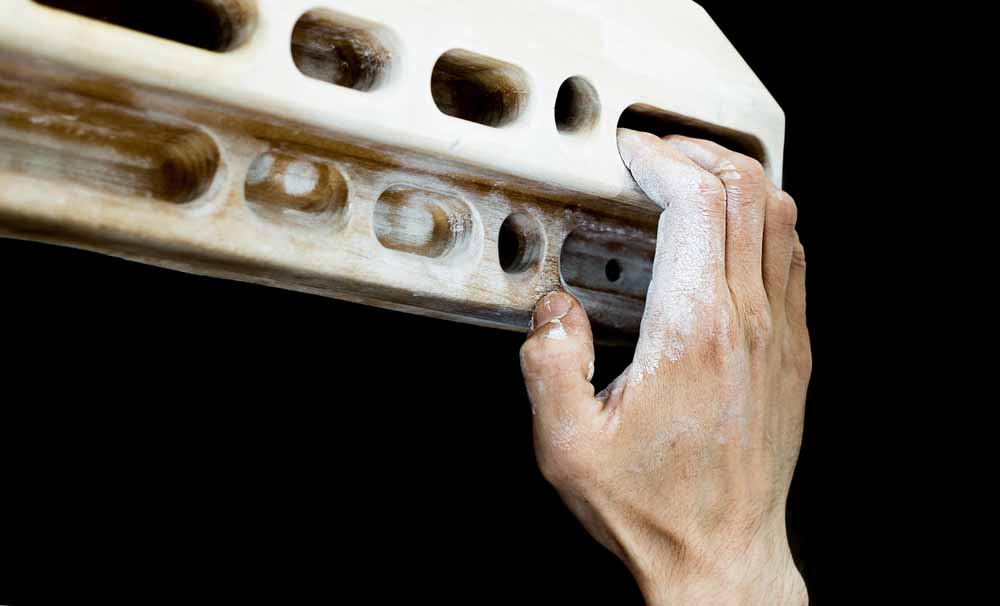
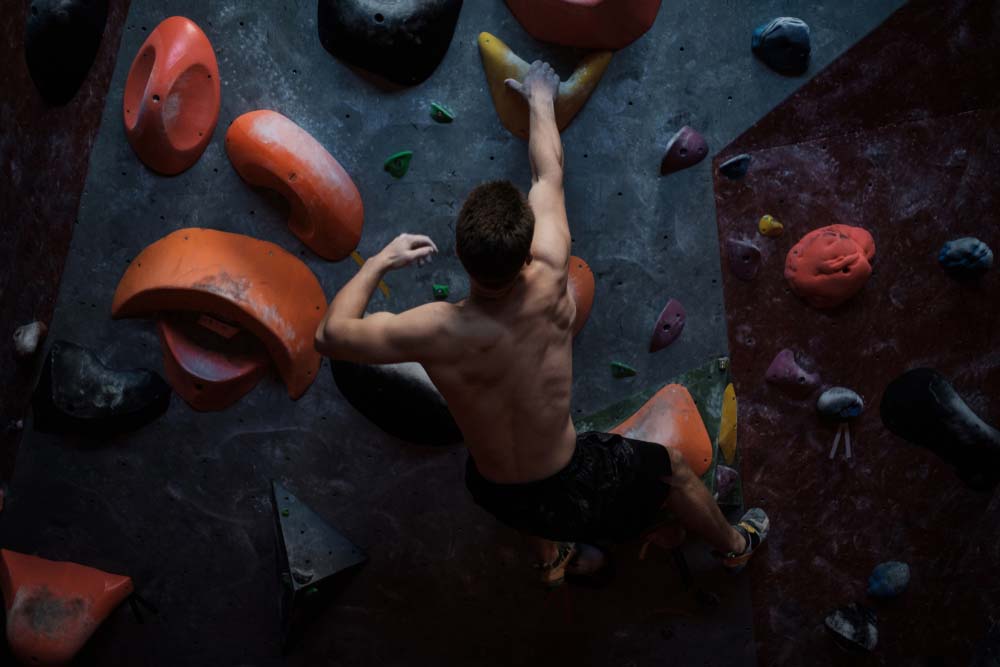
A climber’s two hands, specifically their ten fingers (or 9.5 if you are Tommy Caldwell), are their direct contact with the stone and their body. Yes, you use your feet when rock climbing, but most of the climbing ability comes from your fingers.
Therefore, climbers are obsessed with their fingers. In particular, they’re obsessed with strengthening their fingers via finger strength training exercises.
So, let’s take a brief look at training finger strength and discuss some different ways to train fingers and avoid injury while doing it.
What Can Finger Strength Training Improve?
“Finger strength training” is sort of a board topic. Contrary to popular belief, improving your finger and grip strength for rock climbing isn’t purely about making your fingers more powerful. Other types of climbing-related finger strength are important besides sheer power.
- Contact strength: your ability to grip a hold with the maximum amount of strength on contact.
- Strength and power: the stronger you can be, the less you have to work to hold on.
- Power endurance: your ability to string together a longer sequence of powerful moves one after the other without resting.
-
Long endurance: refers to your ability to hang on for a long time while managing the pump and climbing below your maximum limit.
5 Exercises for Finger Strength Gains
Everyone trains fingers in different ways.
The exercise you choose will depend on your training goals, your strengths and weaknesses, and what your project demands of you.
Nonetheless, I want to share five of my favourite exercises that you can easily add to your own training.
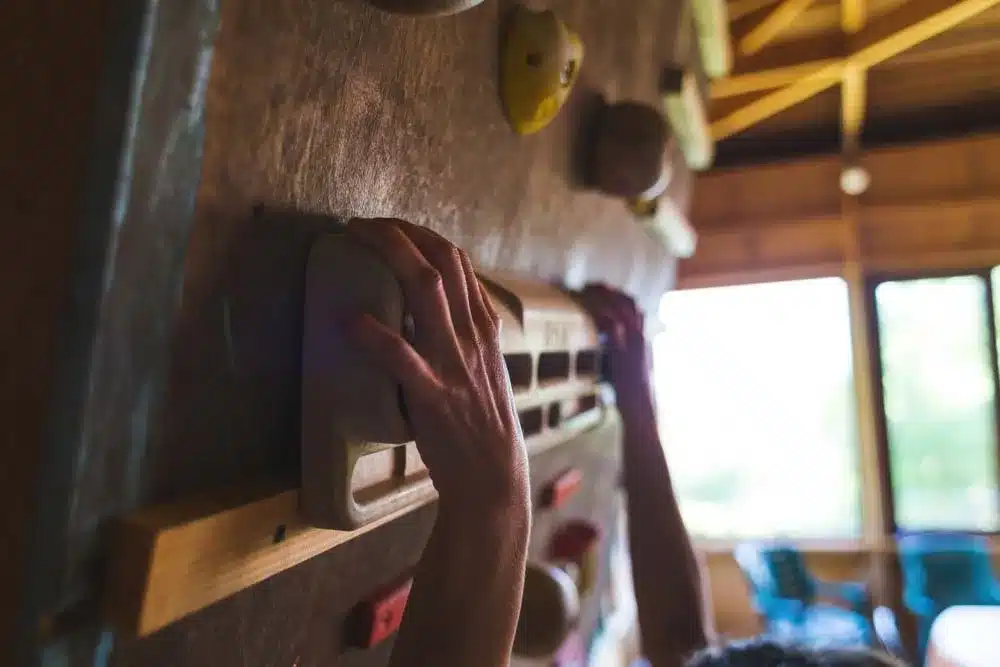
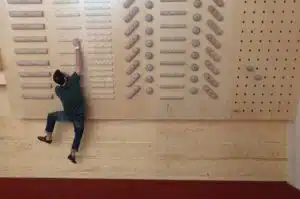
Campus Boarding
The best way to train contact strength is with campus boarding. Campus boards are the ideal tool for mimicking the sensation your fingers feel as you climb through a powerful sequence where gripping and holding the handhold the first time is critical to staying on the wall.
Example Campus Protocol
When campusing, start with a matched pair of holds you can easily use. Then, select a target held about 12 to 18 inches higher.
- Begin by reaching up with your left hand catching the target hold.
- Then return to the start hold. Repeat the move 5-7 times.
- Then step down to rest. After resting, repeat the same number of reps on the right hand.
-
Work both the left and right sides for 2 to 3 sets.
As you get stronger, you can adjust your campus workout to be harder by using smaller edges or reaching for farther target holds.
Max Weight Hangs
Max weight hangs are an effective way to build sheer strength and power. They are great because you can crank up the intensity of the workout by adding weight without needing to use smaller holds and risking injury.
When you are new to max weight hangs, it’s best to have an edge between 20 to 23mm. Then, as you get stronger, you can decrease the edge size.
You can use a weight belt or weight vest to add resistance. However, using an old climbing harness with free-weight plates is the most convenient and works great for me.
Example Max Weight Hang Protocol
- Do a 10-second hang using an edge you can barely hold for 15 seconds with maximum effort.
- Rest for three minutes.
- Do four more hangs for a complete set of 5; each hang should be near maximal output but not lead to failure.
- After a set of 5 hangs, rest for at least 5 minutes.
- Switch grip types and repeat the protocol.
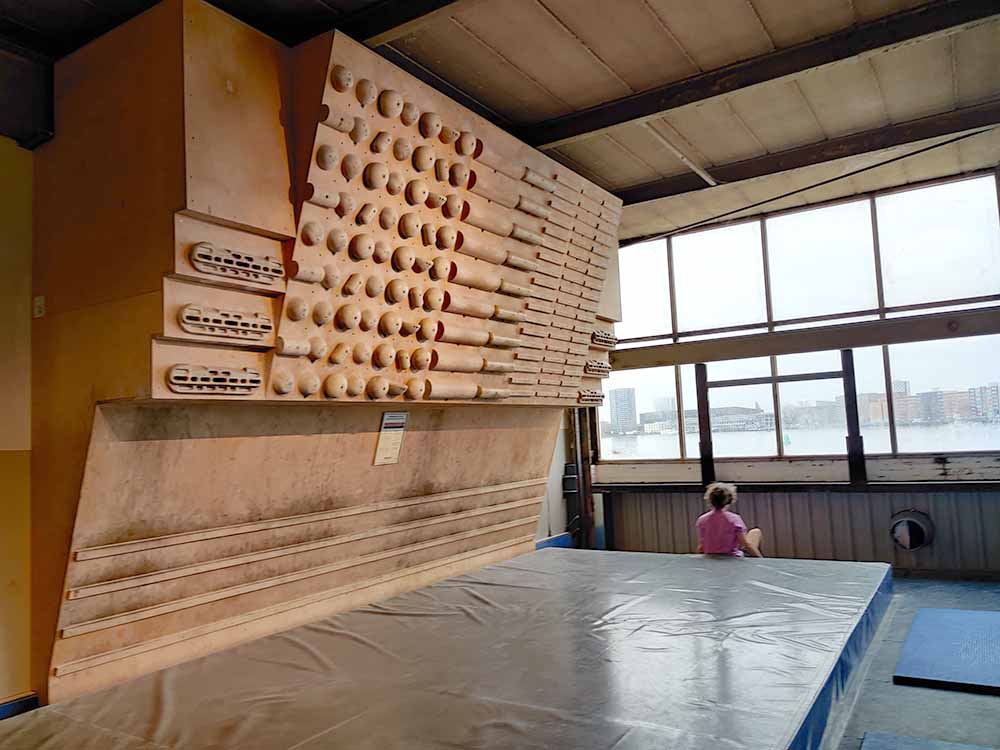
Repeating Hangs

Repeaters are ideal for training power endurance and long endurance. Repeaters are completed as back-to-back repetitions with a short rest in between efforts.
The best place for repeater exercises is on a hangboard. However, you can also perform repeaters on campus rungs or system boards.
Traditional repeater protocol:
- Hang for 7 seconds.
- Rest for at least 3 seconds.
- Complete at least 2 more repetitions to complete a set.
- Perform 3 to 5 complete sets.
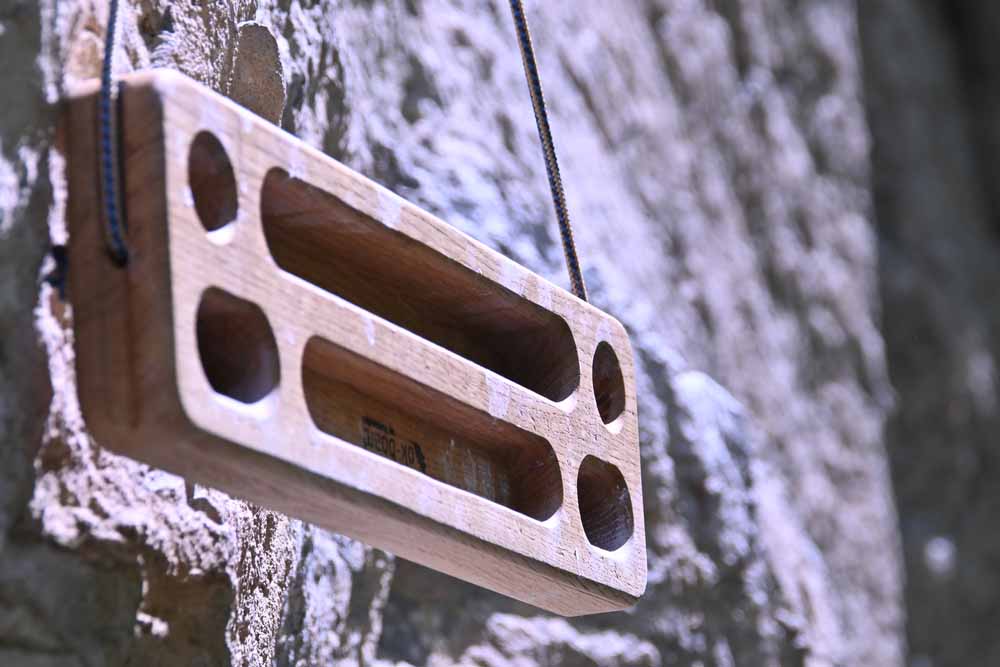
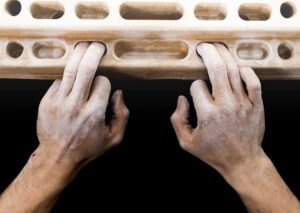
Minimum Edge Hangs

Minimum edge hangs involve slowly decreasing the size of the edge you use over time. When doing minimum edge hangs, you should be using the half crimp or open-hand crimp. As you get stronger, you can use smaller edges or fewer fingers.

Example Minimum Edge Hang Protocol
- 12-second hang using an edge you can barely hold for 15 seconds with maximum effort.
- Rest for 3 minutes.
- Perform 4 more hangs to make a set of 5 hangs.
- After a set of 5 hangs, rest for 5 to 10 minutes.
- Switch grip types and repeat the protocol.
Offset Hangs
Offset hangs are a nice way to train inconsistencies or irregularities between your two hands. In other words, if one hand is stronger than the other with a certain grip type or on a specific size hold, you can use offset hangs to find an equilibrium.
Offset hangs are also a nice exercise to slowly build strength on smaller edges one hand at a time.
For example, if the 13mm edge is too hard to hold with both hands, you can offset your hands with one gripping the 13mm edge and the other on the 20mm edge.
Just remember, when training offset edges or grip types, make sure to do everything evenly on both sides so you don’t create or worsen inconsistencies.
Grip Positions to Train Finger Strength
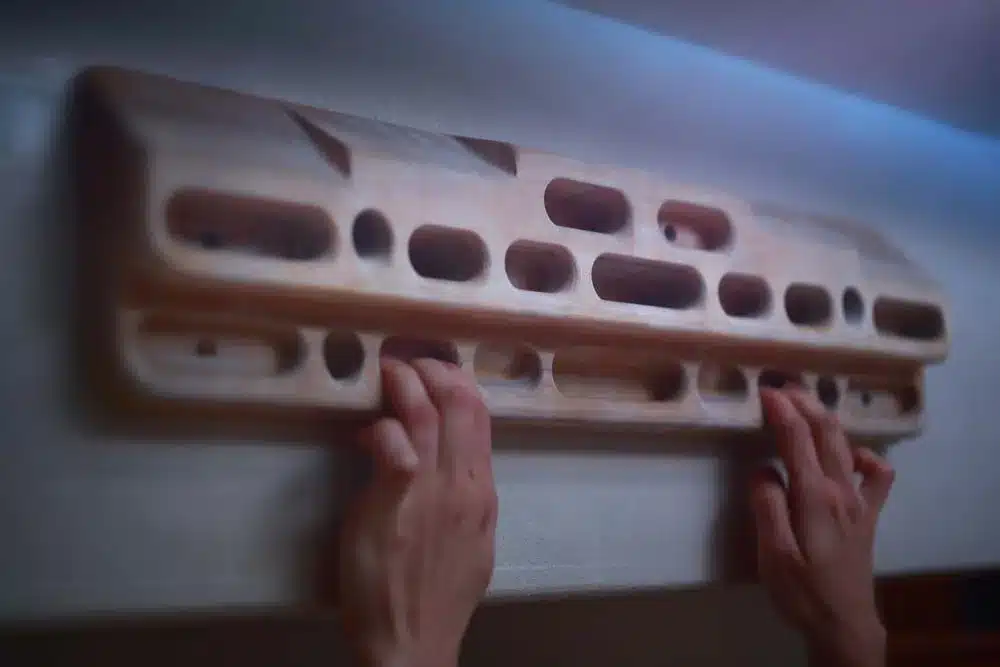
One of the keys to training finger strength is grip type diversity. In general, as the fingers remain quite static once you’ve grabbed a hold, you want to train all the different grip types using some of these grip exercises.
In particular, you want to focus on training your weakest grip position instead of building on your strongest.
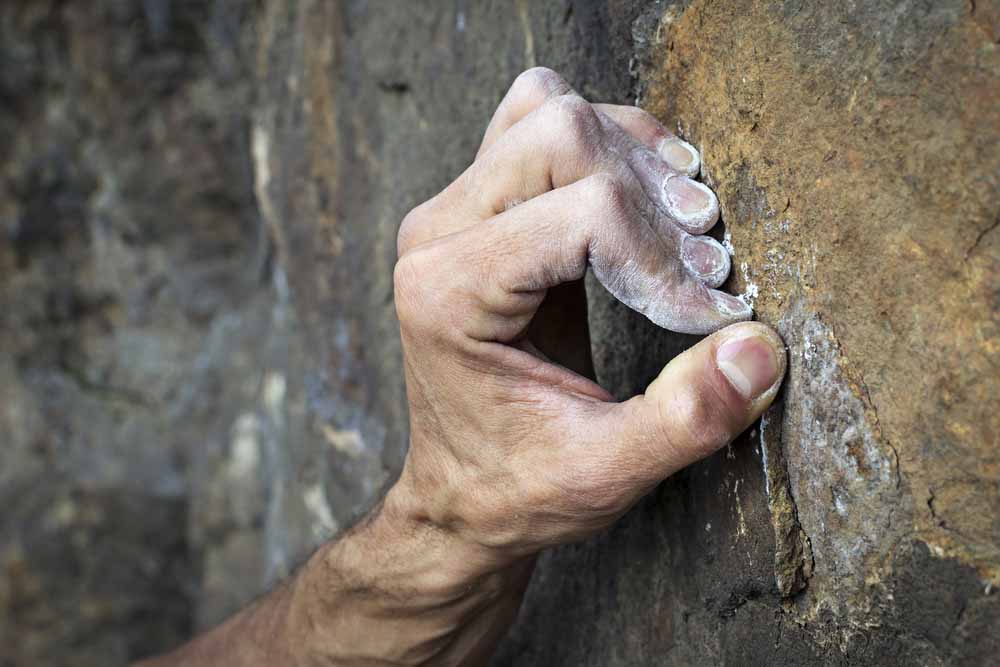
There are three grip types worth considering.
- Four-finger half crimp
- Three-finger drag
- Full crimp
Avoiding Injury While Training Finger Strength

When you train finger strength you admittedly put yourself in a position to obtain a finger injury if you’re not careful. Simple warm-up’s such as body weight movements, dead hangs and light pull ups can contribute to increased blood flow, warming up the fingers and help prevent injury.
Other than incorrectly warming up beforehand, overtraining or failing to recover fully after your training sessions, can all let you run the risk of injury. Or, if you manipulate too many variables at one time, you expose yourself to overloading that could cause injury.
Focusing on the concept of progressive overloading can help you avoid injury.
Progressive Overloading
A progressive overload is the methodical addition of a training load over time (days, weeks, months, or years). To safely and progressively overload your training, you must focus on managing intensity, volume, and frequency.
- Intensity: increasing the weight while completing a hang while maintaining the number of reps and sets.
- Volume: increasing the number of reps or sets (total time) while maintaining intensity.
- Frequency: increasing the number of overall sessions while maintaining intensity and volume.
On the grand scheme, the goal of progressive overloading is to perform a protocol of training finger strength and then give your body time to adapt. After adaptation, you can progressively increase the load again, followed by a period of adaptation.

Final Thoughts: The More Finger Strength, the Better
It’s true that the stronger your fingers are, the harder you can climb. However, at a certain point, more finger strength alone cannot function as the panacea for the training plateau you are stuck on.
Equally important to being a well-rounded climber are things like climbing movement technique, flexibility and mobility, core strength, endurance training, critical thinking, and effective decision-making.
So, by all means– try out some of the finger strength training exercises from above, but don’t forget to combine them with other essential climbing-related training protocols to improve your overall climbing performance.