In my work as a climbing guide, I frequently offer introduction courses for leading trad.
The following article is a short and snappy synopsis of some of the strategies I teach my clients.
These strategies are just an introduction and barely skim the surface of the deep well of experience a climber requires to skillfully and somewhat safely lead a trad climb. Nonetheless, I have found the strategies to be great jumping-off points for more in-depth learning.
Place Gear Early and Often
“Early and often” is a good mantra to keep in mind while you are learning to lead climb on gear. Placing gear early and often will help mitigate the risk of a ground fall, regardless of whether it’s your first trad lead or your 100th.
Practice in Ground School
When you are new to rock climbing, the ground is your friend. This is especially true for trad climbing. What I mean is that you can learn a ton without exposing yourself to vertical terrain. On the ground, or in “ground school,” you can learn skills like placing gear, building traditional anchors, and clipping.
Take Practice Falls
Learning to trust your gear is a skill. Without honing the skill, you’ll climb with a nagging and questioning fear that the gear you placed won’t hold you if you fall.
So, after you’ve spent time perfecting your placements in ground school and performing mock leads on the route, try falling on your gear in controlled scenarios. The experience of watching your trad gear catch you in a fall is mega confidence-inspiring. Remember, when starting out, always take practice falls with a backup top rope.
Let Comfortable Body Positions Trigger Gear Placements
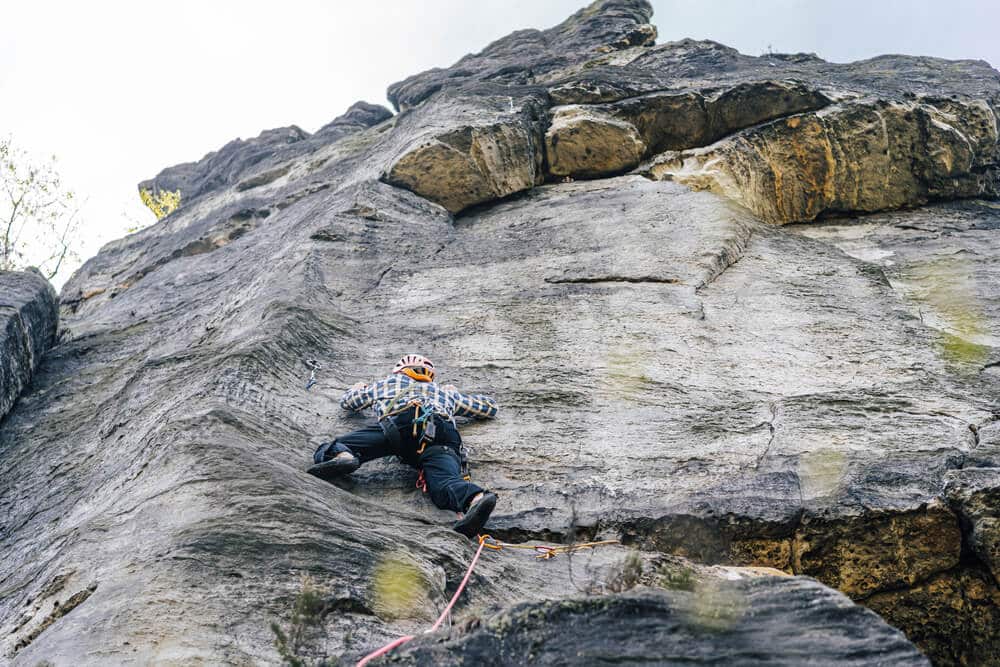
When you are on the sharp end, let the terrain be your guide regarding when to place gear. In other words, when the terrain allows you into a comfortable or restful body position, use that time to place gear.
Size Up the Placement
Learning to rapidly eyeball crack sizes and identify an appropriate piece from your rack is a skill that takes practice to learn. Even after years of rock climbing, I sometimes pull the wrong-sized piece off my harness.
When you are starting out, it can be helpful to size up placements using your fingers and hands. This allows you to think of crack sizes in generic categories like “fingertips,” “fingers,” “hands,” and “fists” and then match the best piece from your rack to the size of the crack.
- Fingertips: .00 through .2
- Fingers: .3 through .75
- Hands: 1 through 2
- Fists: 3 through 4
For example, once you identify a crack as finger-sized, then you automatically know you’re in the .3-.75 range of cams. Remember, crack sizes and corresponding cams will vary based on your specific size of fingers and hands.
Consider the Consequence
When you start trad climbing, you expose yourself to larger fall consequences compared to sport climbing. That’s because the runouts between placements on a trad route are longer than on grid-bolted sport climbs. This can be true even for “safe” or “protectable” trad climbs with ample options for placing gear.
So, as a new leader getting into trad climbing, it’s important to fully understand the physics of falling, fall factors, and the specific consequences of a fall on the route you are climbing.
The goal is to be able to look down and assess your fall potential and let your analysis inform your gear placements and empower your climbing instead of letting it stricken you in fear.
Burying Cams May Enhance Security But Detract from Retrievability
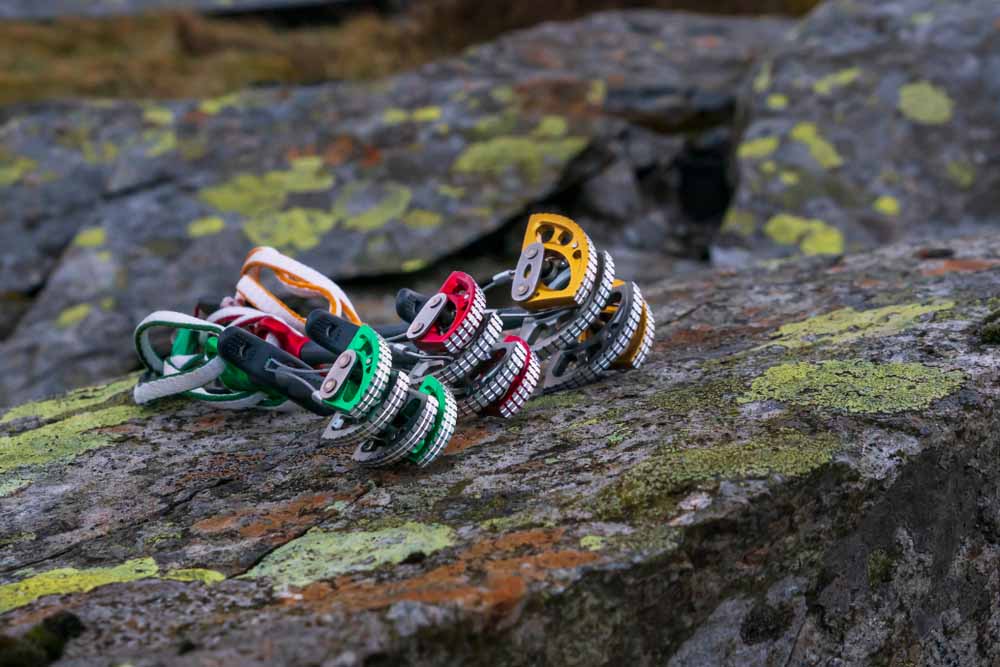
Some climbers on their first trad lead opt for burying their cams up to the hilt because they think it enhances the placement’s security. In some cases, this may be true. For example, in soft rock-like sandstone, a deeper placement is more reliable than one placed at the edge of a crack.
However, burying cams may not always be necessary. In fact, it may be unwarranted because burying a cam makes it harder to retrieve. Burying cams could even make the cam impossible to retrieve.
Overprotecting The Entire Pitch is a Sign You’re in Over Your Head
There is a thin line between adequately overprotecting and overprotecting a trad route.
If you are overprotecting or “sewing up the route,” it may be a sign you’re stressed out and uncomfortable on lead. It happens to all of us, especially around crux sequences, but if you buried the whole rack into a pitch of climbing, you may want to seek out an easier route for more practice.
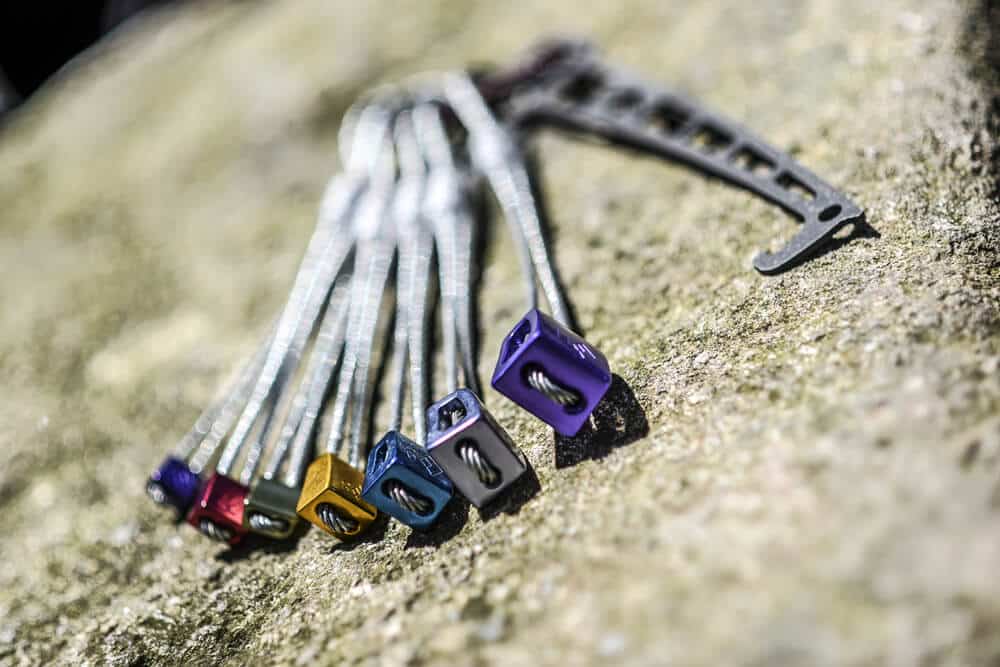
Master Placing Nuts
Modern climbers leading trad are obsessed with active protection like spring-loaded camming devices. I agree, they’re awesome! But you’ve got to master placing nuts (also known as stoppers).
Learning to quickly identify and place bomber stoppers is a highly valuable skill because sometimes it’s the best piece for a given section of climbing. Plus, placing good stoppers allows you to save your precious cams for critical placements higher up.
Unlock the Different Wonders of a Nut Tool
A tool is not only for cleaning stoppers. You can also use tools for cleaning stuck cams. The tool can function as an extension of your fingers to reach the triggers if they are buried. Plus, you can use the tool to poke and prod pesky cam lobes. Not to mention, you can use it to eat lunch when you forget your spoon!
Take The Rack You Need, Not What the Route Beta Calls For
Many guidebooks and Mountain Project descriptions share information for the recommended specific routes. As a new leader, this is helpful information regarding imagining what options for protection you might encounter on route. However, they are recommendations and not requirements.
As a new leader, it’s best practice to bring the rack you require to feel confident and comfortable while climbing. Then, as you improve your skills or become acquainted with the route over time, you can slim down superfluous pieces of protection.
Keep Track of Your Rack
One of the most common mistakes I observe new leaders make is losing track of their rack while climbing. I don’t mean dropping gear, although I have seen that also. What I mean is not paying attention to what they’ve placed.
Typically, this manifests when a climber has double cams and places the same-sized cam one after the next. This eliminates the possibility of using the cam higher up or for building an anchor at the top. Sometimes, burning two cams like that doesn’t impact your lead. Other times, you get hosed higher on the route or at the anchors because you don’t have the size cam you need.
Check for Spacing and Rope Drag Management
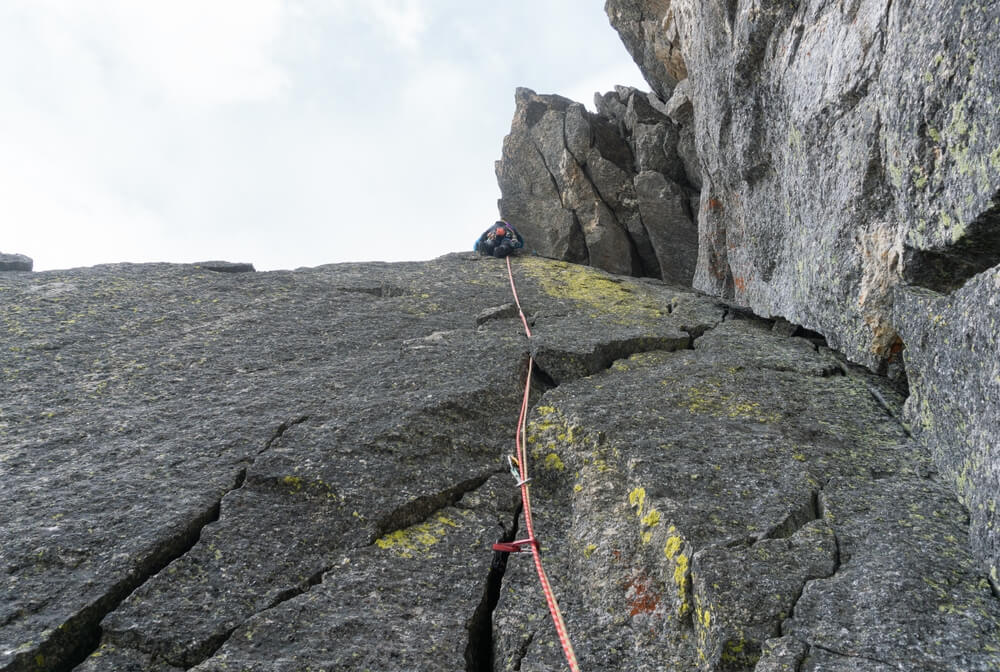
Learning to lead trad in a single-pitch setting is advantageous because you can get lots of repetitions, and you can examine your route critically to see what you can improve. For example, check out the spacing of your placements.
- Were there runouts? If so, why?
- What would the fall consequence have looked like?
Also, examine how you managed your rope.
- How is the rope line?
- Did you extend your gear placements? Why or why not?