It’s natural to fear falling—it’s one of the few inborn, intuitive fears we all share, a protective mechanism meant to keep human beings from wandering off cliffs.
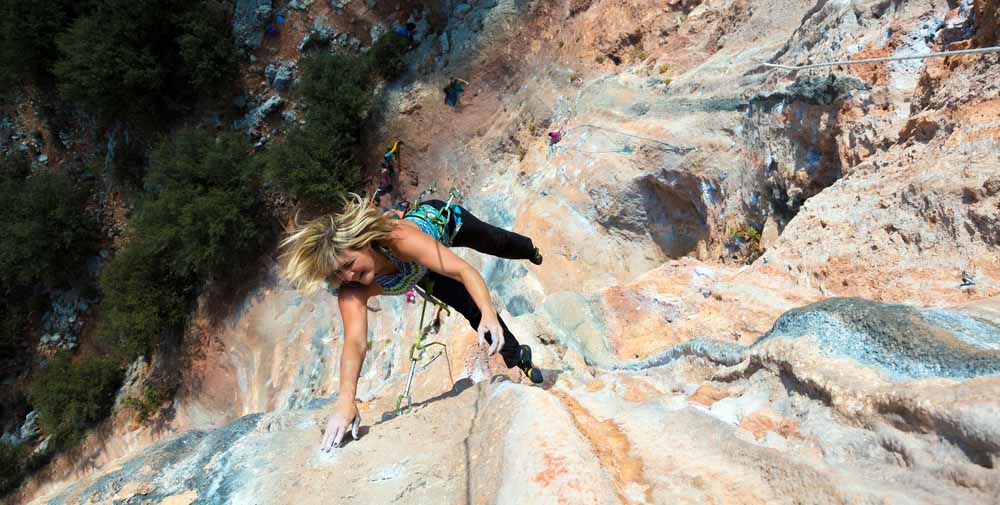
The problem in rock climbing is that, if you want to push yourself, you must also be willing to take falls on those cliffs, and to become practiced and even casual about it. But if you devote all your mental energy to worrying about falls, you’ll climb poorly and fearfully, overgripping the holds and making jerky, tenuous movements, all of which (ironically) makes you more likely to fall!
In other words, you will never truly climb at your limit until you address your fear of falling. Doing so lets you climb calmly, fluidly, and with maximum effort—falling becomes no big deal, something to be accepted, a thought pushed to the back of your mind.
For some climbers, this work is easy. For others, the prospect of even a short practice fall on toprope is terrifying. I seem to land somewhere in the middle, and for me it takes ongoing maintenance to be “fall ready” for my projects.
This article will help, but there are also some great, in-depth resources if you want to dive deeper:
- Arno Ilgner’s groundbreaking book The Rock Warrior’s Way, published over 20 years ago, is still the bible on how to master our fear of falling, plus he and his team offer coaching and courses.
- Don McGrath and Jeff Ellison’s Vertical Mind is another excellent book on mental training, and draws on cutting-edge research in brain science and psychology to offer skills and drills for climbers.
- The professional climber Hazel Findlay, who has done some of the scariest and most difficult traditoinal climbs on the planet, offers mental coaching through her business Strong Mind.
In the meantime, here are five steps you can take on your own to tame your fear of falling and climb your hardest. They should be done in the order below—each step builds on the previous; they should be considered part of an onging practice; and they most certainly will overlap. It’s all about making a paradigm shift in how you view failure and falling, and then habituating your nervous system to the sensation of being airborne.
1. Stop Logging Ticks, and Accept Failure as Inevitable
Ilgner goes deeper into this topic in his book, but briefly, much of our fear of falling is tied to our fear of failure, which is the result of outcome-oriented thinking and not process-oriented thinking.
In other words, we get so focused on the tick—on clipping the chains—that we forget to enjoy the process, which takes us out of the moment and creates anxiety about some future outcome (“Will I send? I need to send!”). But all there ever is, is the present moment—the rock under our fingers, our breath in the mountain air, the lactic acid in our muscles, the birds circling overhead. This is why we climb.
I began climbing in the 1980s, way before the internet and scorecards and Instagram and apps.
But then, like all of us, I got caught up with the new tools, and began religiously logging and sharing my ticks. However, the more I did so, the more I noticed my anxiety at the rock increasing. I was climbing solely for the tick, and the quicker I did a route, the greater my “success.” This left little room for failure, and so I found myself caught up in a paradox, because if you’re climbing at your limit, you will be failing most of the time.
Accepting failure is integral to moving into process-oriented thinking. Like a complex gymnastics routine, climbs at your limit require rehearsal, beta refinement, and lots of attempts before you succeed.
Once you understand that this is the process, and that a climb will take as long as it takes, you can let go and just climb. When I need a reminder, I’ll just tell myself, “Screw it, who cares?” before I pull onto the rock—for me, this simple mantra is the anxiety killer.

2. Only Climb with People You Trust
As a rule, and especially with fall practice, only climb with people you vibe with (friends) and whom you trust.
When used correctly, the protection system itself—harness, ropes, bolts, draws—is reliable, but your belayer is the wild card, and a huge percentage of fall-related accidents can be chalked up to belayer inattentiveness, poor positioning of the belay stance, misuse of the device, and so on. If your belayer seems spacey or inattentive or dismissive of your needs as a climbing partner, then don’t climb with them.
Years ago, my sister-in-law was leading at a gym in London, England, when her belayer—a random guy she’d partnered up with—dropped her 35 feet to the floor. She survived with only minor physical injuries, but not all are so luckily. Meanwhile, a decade later, Sonja is still working on getting her lead head back all because of one, single sketchy belayer.
3. Practice, Practice, Practice
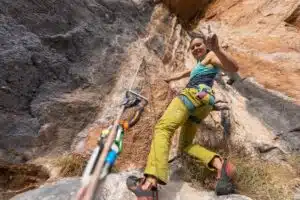
Having shifted your mindset and now with a belayer you trust, it’s time to take practice falls.
The best approach is a slow one—this is classic exposure therapy, and if you ask too much of yourself early on, you may just create more fear. Take the time to do fall practice right—don’t just rush through it to “get it over with,” but instead treat it just as seriously and methodically as you would any other training program like hangboarding.


Level 3: Take a short (6–12 inch) “toprope-lead” fall—in other words, lead the route, but take a short toprope fall with a bolt clipped overhead.
Level 4: Now take a slightly longer (2–3 feet) toprope-lead fall, having your belayer give you extra slack.
Level 5: Take a lead fall with the bolt at your waist.
Level 6: Take a lead fall with the bolt at your knees.
Level 7: Take a lead fall with the bolt at your feet.
Level 8: Take a lead fall with the bolt below your feet.
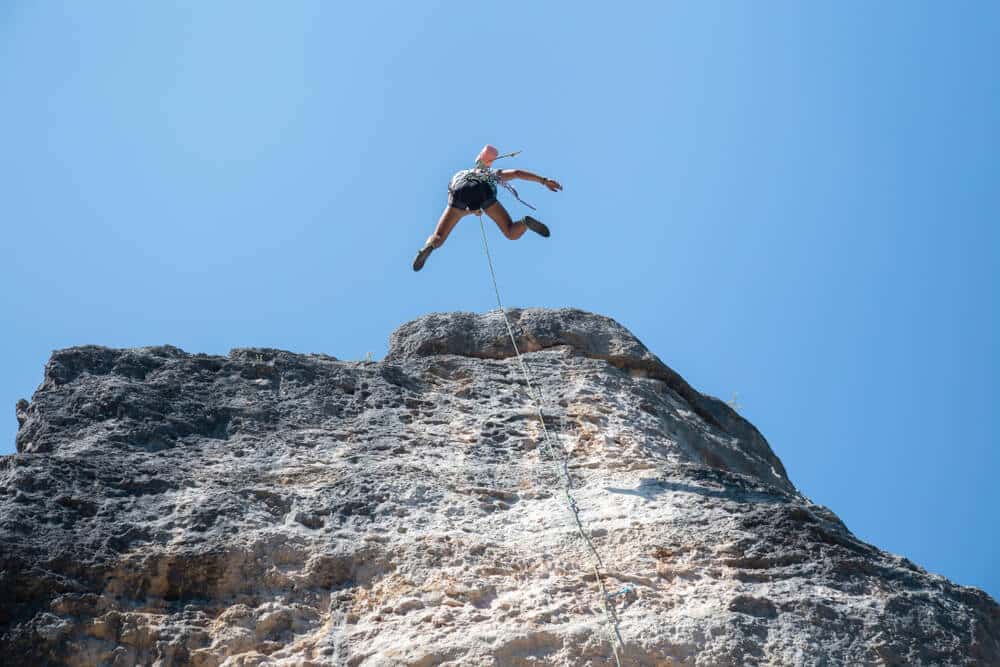
Level 9: Skip a bolt and fall (make sure you’re high up).
Level 10: Fall while clipping—pull out an armload of slack and then fall. Be very sure you are well above the ground for this larger, less predictable fall.
Once you’re comfortable with all 10 levels of falling, you can level up again by having your belayer call out “Fall!” at random spots on a route, forcing you to let go and take the ride. This removes control from your hands and simulates limit climbing, where you could fall at any point.
4. Start Each Day with a Practice Fall

I usually do a “fall clinic” like the one described above a few times a year; I need the tuneup, or I slip back into my semi-timid default mode. I’ll also, on the first warmup or two of each climbing day, take a quick whipper at the top of the route just to get my body used to the physical sensation.
5. Stop Saying “Take”—Climb Until You Fall

The final step—the one that ties the four previous steps together—is simply never saying “Take,” as long as the fall is safe.
Every time you tie in, climb until you either send or fall, which conditions you to always try your hardest, focusing on the climbing, not the whipping.
When I shifted into this mindset a year or two ago, I honestly shocked myself with how many things I sent when I was sure it wasn’t going to happen, when I was sure I could not make another move. This showed me both where my true limit was and how I’d been cheating myself by not pushing up against this limit.
How many sends did I miss out on when I gave up well before I should have, because I didn’t want to risk a fall? I’ll probably never know!