“What came first, the chicken or the egg?” is a timeless metaphor to describe the ambiguity between two separate events and deciding which took place first. In terms of poultry, I’m going with the egg. In terms of rock climbing, I’m not so sure what came first.
All I know is that rock climbing had to start somewhere. And near the beginning of the timeline, sometime shortly after the uncontrollable human urge to stand on top of high places had to have been aid climbing.
In this article, I will talk about aid climbing– in particular, what it is, where it came from, and what makes it unique.
What is Aid Climbing?
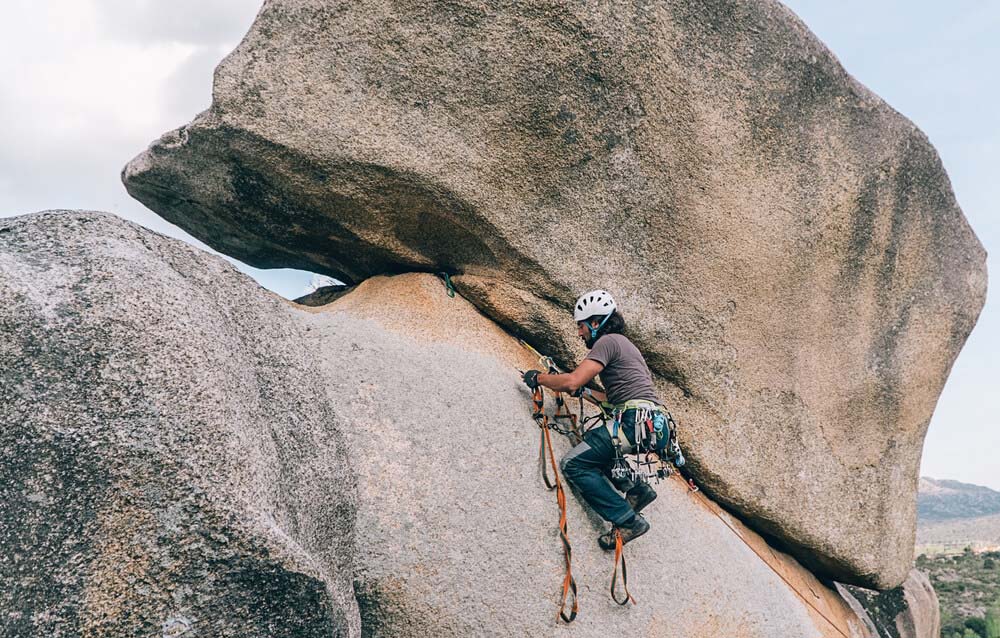
Aid climbing is a sub-discipline of rock climbing whereby the leader using artificial aids to assist them in gaining and maintaining upward progress.
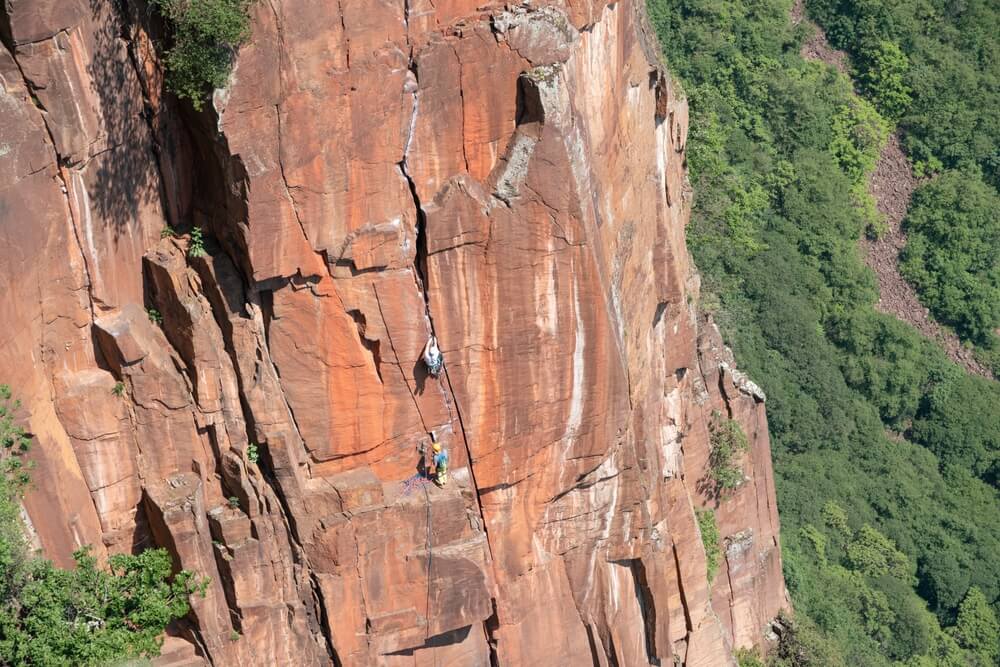
Aid climbing techniques are often deployed as a means for ascending very long, sometimes multi-day, rock climbing routes called big walls.
Before modern free climbing, all of the hardest big wall climbs were completed entirely using aiding techniques. Nowadays, portions of a big wall climb can be climbed for free. However, aid climbing techniques are used to pass sections of seemingly featureless rock.
In particularly extraordinary circumstances, every single pitch of previously aided routes are attempted free, like Tommy Caldwell and Kevin Jorgenson’s ascents of the Dawn Wall in Yosemite National Park.
The Aid Climbing Workflow
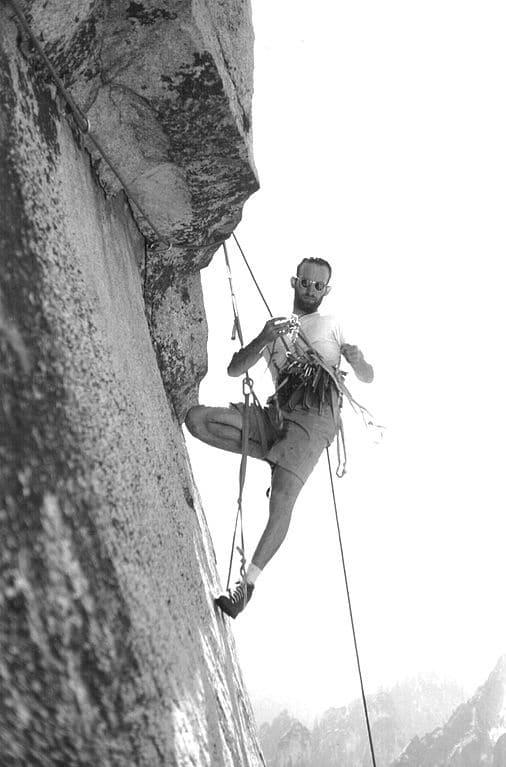
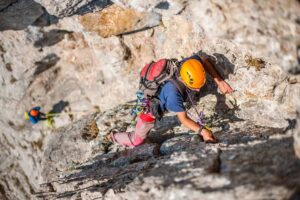
In modern aid climbing, a lead climber places hooks, wedges, and other hardware into cracks in the rock to function as anchor points. After placing a piece of gear, the leader deploys a ladder made of webbing commonly referred to as an “aider” to step into and gain enough height for another placement.
After placing a piece and stepping on it to climb upwards, the leader repeats the aid climbing process until they pass through the unclimbable section of rock or until they reach the top of the pitch.
After aiding the pitch, a second in the rope team would ascend the rope and clean the pitch. If lead rope-soloing, the leader would then rappel the line, clean the gear, and reascend to their high point.
Aid Climbing is Not Free Climbing
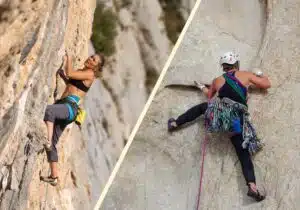
Aid climbing is the direct opposite of free climbing. That’s because aid climbing techniques rely on artificial aids to assist in upward progress. On the other hand, while free climbing, the leader uses only their hands, feet, and body to make upward progress.
The Evolution of Aid Climbing Over Time
Back in the good old days, rock climbers sought out the easiest way possible to the tops of rock formations they were obsessed about. After the obvious lines were established, a natural progression brought rock climbers to try harder stuff. Limited by their boldness and equipment, climbers deployed as many tricks as possible to allow them passage, such as using ladders and installing fixed gear.
What was once considered “outsmarting the rock” or a “whatever means possible” strategy to successfully top out developed into aid climbing. In other words, the usage of artificial means was an acceptable style of climbing. Especially in big wall climbing. As a result, big wall climbing was the absolute cutting edge of the sport throughout the 20th century, especially in places like the European Alps and Yosemite Valley, where getting to the top was the only thing that mattered.
However, over time, aid climbing gradually grew out of style. In the place of the aid climber and bold first ascents was trad climbing. Then eventually sport climbing. In general, the common thread that took rock climbing by storm was not sacrificing style for summit, which led to free climbing, especially in the late 1980s and 90s and even more first ascents.
Climbers no longer wanted to “lower the rock” to their level by aiding. Instead, they wanted to rise to the occasion, which meant getting stronger and braver. Simultaneously ushering the shift towards free climbing were also huge improvements in trad and sport climbing equipment. With better gear, climbers could try harder and free big-wall routes that previously were thought impossible.
Nowadays, aid climbing is not forgotten; in today’s modern meta of big wall climbing, aiding techniques are still highly valued and necessary, but for a much smaller population of climbers climbing very specific types of big wall routes. Most modern climbers are getting involved with other sub-disciplines like trad climbing, sport, or bouldering.
Grade V, 5.11, A3– What the Hell Does That Mean?
When you see an aid route’s grade, typically it looks like this– Grade V, 5.11, A3. Let me break that down.
Commitment Grades
The first Roman numeral reflects the commitment grade of the route. Typically, commitment grades scale upwards with the time you must commit to finish the route. In other words, routes with lower commitment grades can be finished in less time. In this examp,e, grade V dictates the route normally take more than one day.
The Yosemite Decimal System
The second value in an aid climbing grade reflects the maximum difficulty of the hardest pitch of free climbing. In North America, free climbing difficulties are often graded using the Yosemite Decimal System, which is displayed in the example. Like aid grades, the higher the number, the harder the climb.
Aid Climbing Grades
The last value in the difficulty rating of an aid climb reflects the difficulty of the hardest aid pitch. The discipline of aid climbing is graded on a scale of A1 to A5. The smaller the number, the easier the aid climb.
Aid Climbing Grades are Highly Theoretical
Like all climbing grades, those attached to aid routes should be taken with a grain of salt. Or with a handful.
Aid climbing routes are historically graded based on the danger of the route. Unlike free climbing grades, aid climbing grades say nothing about the physical difficulty of climbing. And on the “harder” side of the aid climbing spectrum (like A3 and up), aid grades become a measure of fear. And everyone fears differently.
Another nuance is that aid routes typically get “easier” over time rather than harder (or maintain). That’s because the scars left behind from placing and removing pitons get bigger and become more reliable for gear placements like cams and stoppers. Decimated copperheads become fixed, and additional bolts or rivets are added over time.
The Mythological A5 Difficulty
In a discussion about aid climbing grades, I would be remiss not to talk about the mythological A5 difficulty. According to my table from above, which I gained from generally agreed-upon descriptions for aid difficulties, A5 reflects a route that is extreme, has zero quality placements, and whereby a fall would most certainly result in fatality.
However, how do we know? Hypothetically, a grade of A5 could only be confirmed if someone falls. And no climber is bold enough to test thier horrendous placements. Therefore, is a route with an A5 grade really A5? Or is it A4?
For a legendary and comedic take on aid climbing grades, I recommend the classic “Aid Climbing Rant” video featuring none other than Chris Kalous.
Traditional Aid Climbing vs.Clean Aiding
Traditional aid climbing routes are graded on the A-Scale I mentioned above. A-grades are attached to aid routes that require a hammer to ascend. On classic A-rated routes, a hammer is used to pound in pitons into cracks and smash copperheads into sketchy seams.
On the other hand, C-grades are attached to routes that can be aided without using a hammer and, therefore, without placing protection lie pitons and copperheads.
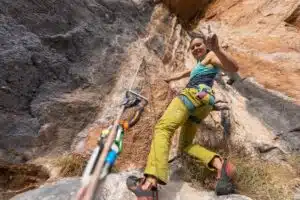
Instead of resorting to hammering protection into the rock, aid climbers who want to climb cleanly only place removable equipment that does not deface the rock, such as spring-loaded camming devices.
Therefore, refraining from placing gear like pitons and copperheads is considered a “clean” ascent style, hence the letter “C.” Clean aiding became more popular over the years adjacent to the prioritization of free ascents. It was, and generally still is, considered a “better” style of climbing because it leaves fewer negative impacts like pin scars.
Typical Aid Climbing Equipment
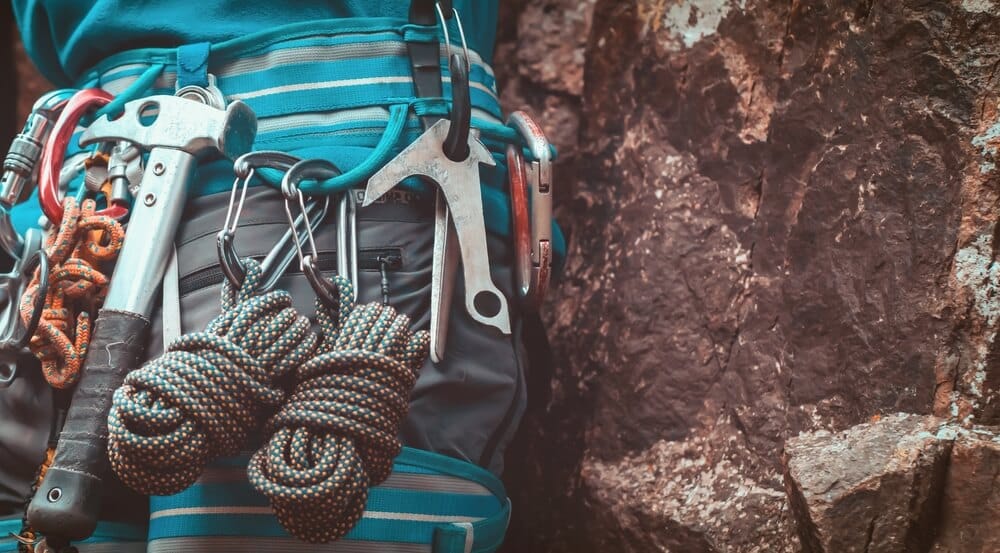
If you thought trad climbing required a lot of gear. Then wait until you see the amount of faff an aid climber attaches to their harness (and supplemental chest harness).
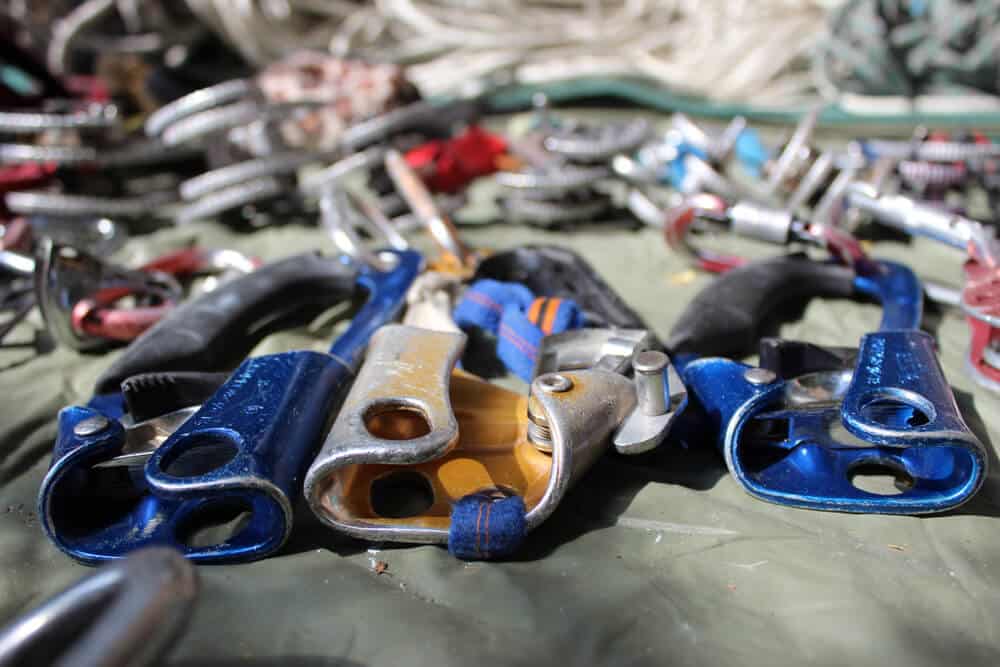
Essentially, aid climbing requires everything trad climbing does, and then some. But to avoid getting into the minutia of aid racks, I just want to mention some of the discipline’s most recognizable pieces of equipment.
Aiders
Also known as etriers, or ladders, aiders are nylon ladders that climbers use to step on when there are no features on the rock to rely on.
Typically, leaders use two aid ladders, transitioning from one to the other as they make gear placements and upward progress. Common ladder systems are the Yates Big Wall Ladder or Black Diamond Step Up.
Hammers
The hammer is an aid climber’s skeleton key to the cliff. Hammers are used in aid climbing to place protection like pitons and copperheads. They are also used for cleaning and removing previously placed gear.
Adjustable Tethers
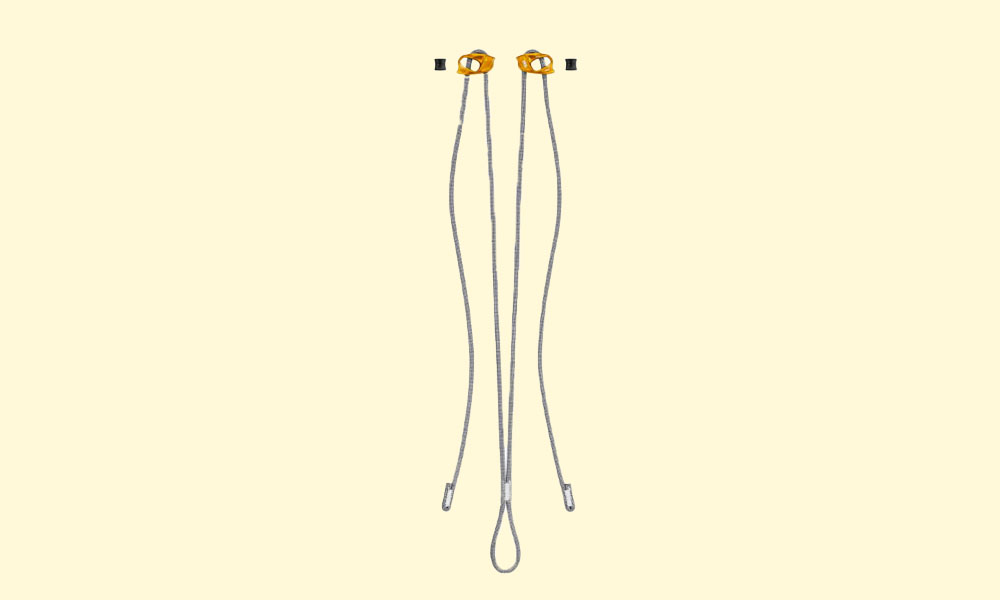
Throughout the aid climbing workflow, a leader must directly attach themselves to each piece that they place. Oftentimes, this is the easiest using adjustable tethers. In many cases, the tethers are integrated with the aiders. Common tethering systems are the Petzl Evolv Adjust or the Yates Adjustable Daisy Strap.
Active and Passive Protection
The largest portion of an aid climber’s rack is their active and passive protection. The specific equipment a rope team brings up the wall will depend on the specific climb. Nonetheless, here are some examples.
-
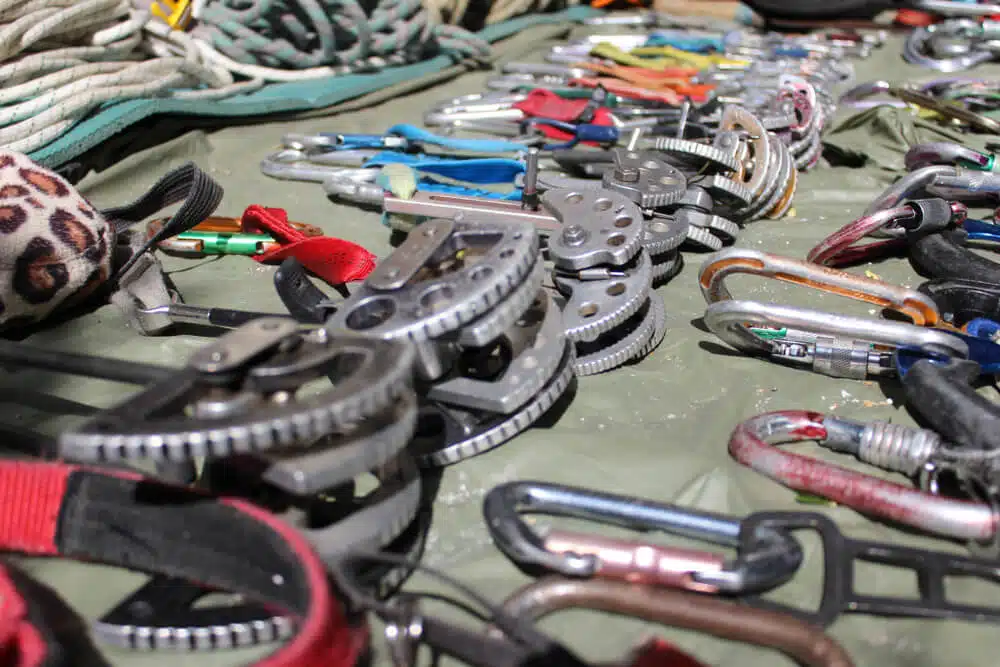
Spring-loaded camming devices: mechanical devices that are placed in cracks, exerting outward pressure on the interior of the crack, like Black Diamond Camalots and Metolious TCUs
-
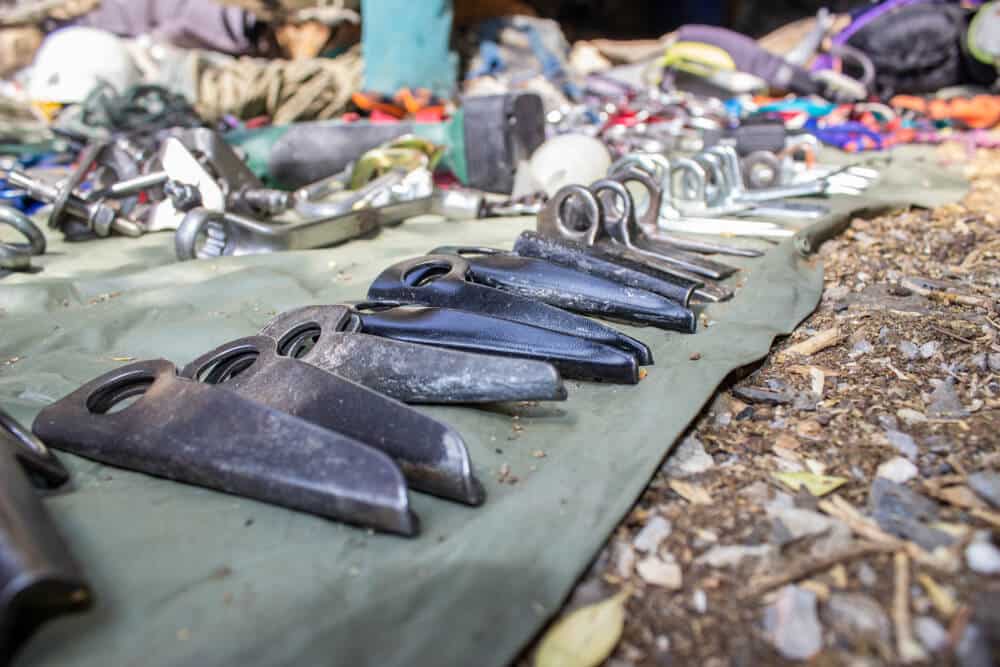
Pitons: nail, knife, or arrow-shaped pieces of steel that are hammered into cracks.
-
Sky Hooks: talon-shaped hooks that grip the rock when pulled in a downward direction.
-
Copperheads: malleable pieces of copper (or aluminum) that can be shaped into the rock using a hammer.
-
RPs: small wired brass stoppers that can be placed into crack constrictions
-
Beaks: a type of piton that can be hammered into extremely thin placements (or placed by hand).
Other Aid Climbing Gear
And the list goes on…
-
Belay and rappel device: in today’s modern world of assisted-braking devices, many aid climbers are equipped with multi-use belay and rappel devices like the Petzl Grigri.
-
Ascenders: handle-shaped mechanical rope-grabbing devices that allow you to ascend ropes instead of rocks.
-
Haul bag: a big wall climb often requires tons of gear and multiple days of climbing, meaning you also need food, water, and seeping equipment, all of which are carried up the wall on haul bags
-
Rope-grabbing devices: similar to ascenders, also known as progress-captures, rope-grabbers are mechanical devices deployed in hauling systems.
Iconic Areas to Aid Climb
Technically speaking, you can aid climb wherever you want, especially in climbing areas with an old, rich heritage of aid and free climbing.
For example, you can practice clean aid techniques at your local trad crag. But if you are going to practice aid in traditional free climbing zones, it’s best practice to stay off the classic and avoid busy times.
After you’ve practiced and gotten your aiding workflow and hauling systems somewhat dialed, you can cast off into the vertical world at your own risk.
Yosemite National Park
Yosemite Valley is, without a shadow of a doubt, ground zero for aid climbing in North America. The big walls of the Valley have beckoned rock climbers since the early 1950s. Back then, all of the iconic El Cap ascents were bold displays of cutting-edge aid climbing.
Nowadays, many climbers go to the Valley to free climb. However, unless you’re freakishly strong, you’ll need to deploy myriad aid climbing techniques to top out some of the classic climbs.
Zion National Park
Zion National Park has some of the best splitter sandstone multi-pitch crack climbing in Utah. But it also has numerous classic clean aid climbs that provide passage to many of the Park’s impressive rock formations. For example, The Touchstone Wall (Grade V, 5.10 a/b, C2) and The Moonlight Buttress (Grade V, 5.9, C1).
The Fisher Towers Area
The Fisher Towers zone is one of Utah’s oldest aid climbing destinations, so long as you like climbing on soft mud-like sandstone rock. If lose rock doesn’t bother you, cam hooks in glorified mud don’t make you quiver, and you can accept the risk of serious injury after a fall, or perhaps worse, summiting one of the Fisher Towers, like the Titan, will surely sit high on your hard aid accomplishment list.
Should You Learn to Aid Climb?
If you love trad climbing and have route objectives with pitches you’re not strong enough to free climb, or are an aspiring alpine climber, but you don’t want your lack of strength to dissuade you from summiting something, then yes, maybe you should try to aid climb.
But if you generally don’t have a gear-centric mindset when it comes to climbing gear, or really just enjoy the simplicity that comes with finding a flow state while free climbing like bouldering or sport climbing, then maybe aid climbing is not for you.
If you find yourself on the aid-curious side of the spectrum, I recommend you take your time learning. Practice close to the ground, seek out professional instruction, and start with easy aid. If all goes well, and trusting all your weight on beaks or the cam hooks don’t scare you away, maybe one day you’ll be ready to tackle a big wall.


