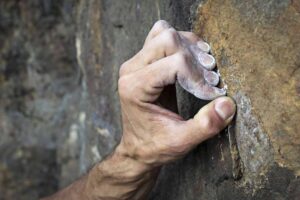
There’s no two ways about it… pinches are tough. But they’re an integral part of climbing, and you’ll never improve your pinch strength by avoiding pinches altogether. Of course, the best training for climbing is climbing, and if you’re struggling with pinches, the first strategy you should employ is simply to project tons of climbs with pinches!
That said, if you find yourself plateauing and have a serious deficit in your pinch ability compared to the rest of your climbing skills, then there are a variety of methods you can use to improve your pinch grip.
Improving your pinch technique will enhance your climbing skills overall, regardless of the climbing style you prefer. Regular practice and training are crucial for mastering pinches. Let’s learn more.
Building Stronger Pinch Strength: Technique Tips
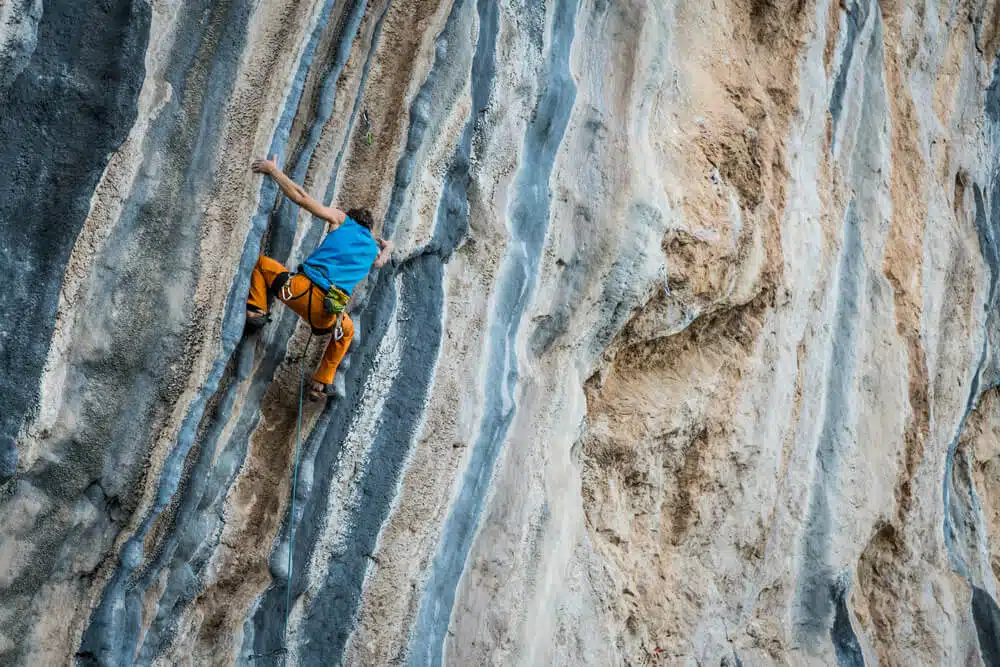
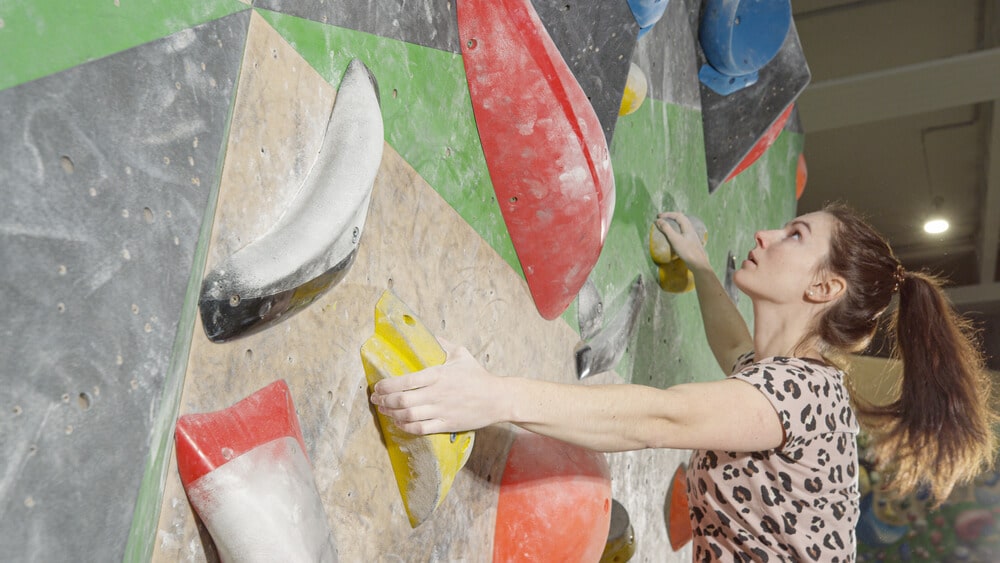
Many climbers find pinches challenging, but avoiding them only makes it harder. Even though pinches may seem less frequent in granite or limestone climbing, they are particularly essential in indoor climbing.
Remember that when pinching, your thumb strength plays as big of a role as your finger strength. In a true vertical pinch, your thumb is putting in 50% of the power, while all your other fingers combined are making up the other 50%. So weak thumbs make for a weak pinch grip!
So when facing difficulties with pinches, experiment with thumb placement. A slight adjustment can significantly improve your grip.
Beyond this, consider, altering finger positions. For narrow to medium pinches, a half-crimped position with the index, middle, and ring fingers is common. For larger sloping pinches, an open-hand grip works best. Remember to be inventive, and scan any available pockets or pebbles creatively.
One key strategy in all scenarios is to avoid a direct, front-on approach when looking at a pinch. Choose footholds that allow a sideways, layback position to reduce the reliance on your thumb and boost reliance on your fingers.
Training: What are Pinch Blocks?
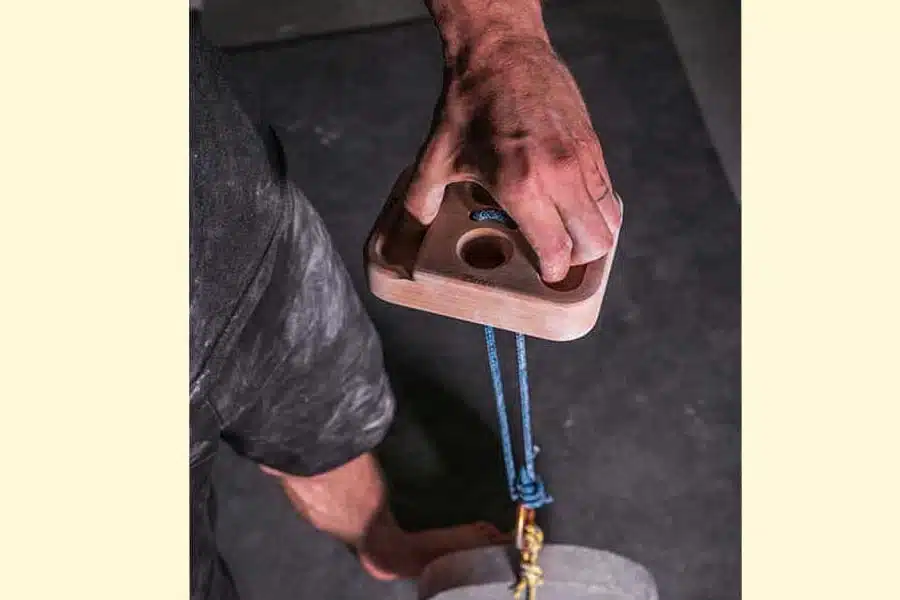
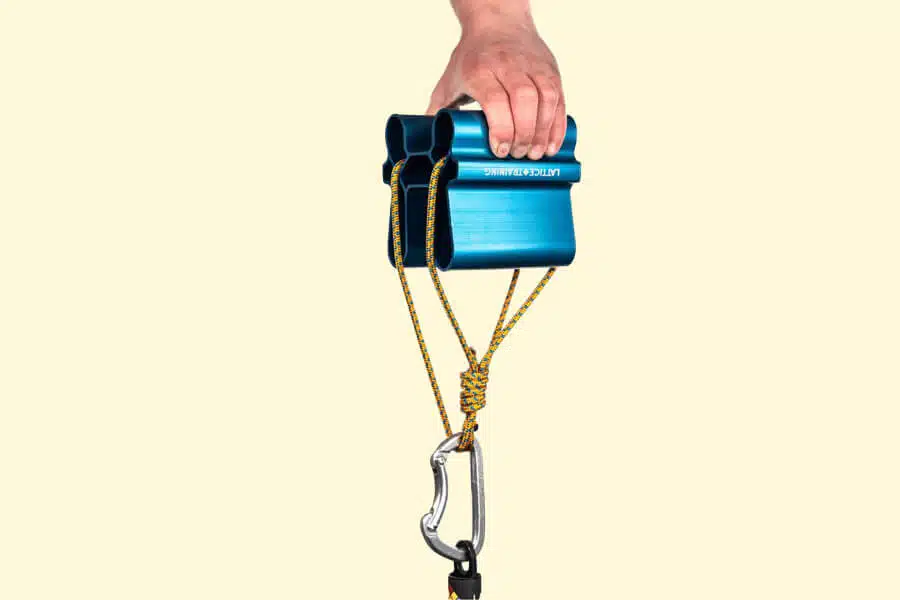
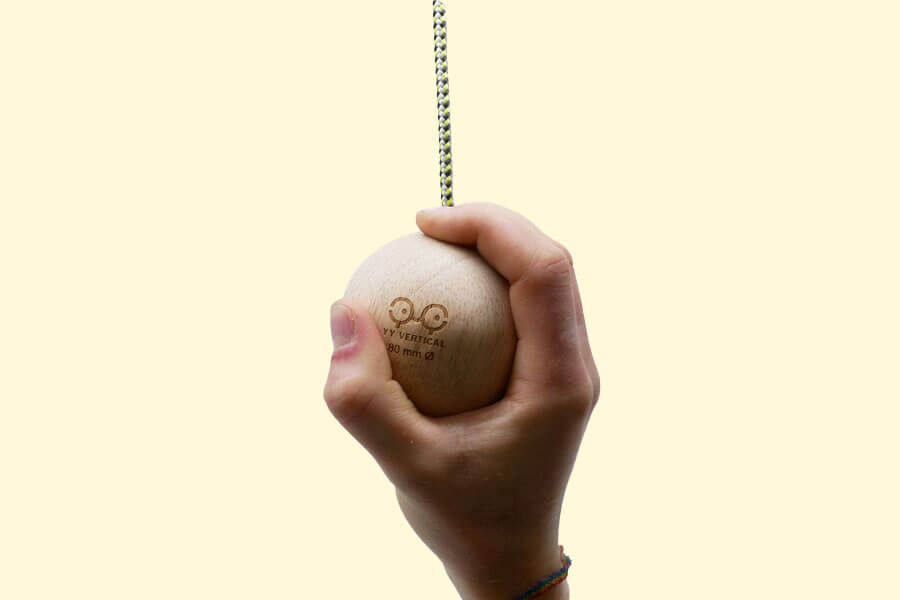
A pinch block is a specially-made tool designed to train grip strength on pinches. The typical pinch block is a wooden rectangular block, sometimes with a few different grips, and an eye bolt attached to the opposite side to hang. There are also pinch balls (it’s literally a ball), which can reduce wrist strain. Tension’s THE BLOCK is a good example of a classic pinch block. You can use this one for both pinches and traditional pullup training for crimps and jugs.
A pinch block can either be hanging (pull up) or has weights hanging from it (pull down). In the case of the former, they are used like a campus board or rock rings. You grip the pinches and perform hangs, pullups, and other exercises, usually with weight assistance.
In the case of the latter (more common), weights are attached to the bottom via a carabiner and sling or cord. You’ll squat, with your back straight, and grab the pinch. Then, lifting with your legs and keeping your elbows only slightly bent, you’ll stand up from your squat, lifting the pinch block and the attached weight off the ground.
Most of the training here comes from maintaining this hold, not the lift itself. This movement will isolate your fingers, wrist, and forearm, preventing your biceps, back, or other muscles from doing any work.
What to Consider When Buying Pinch Blocks
Shape and Size
Blocks to train pinches come in various shapes and sizes. Some are narrow, others wide, requiring nearly the entire width of your hand. Some are uniform, others are irregular in width. As mentioned above, there are also spherical “pinch balls,” which can reduce strain on your wrist.
(If you want to train pinch strength with pinch balls, just be careful that you’re actually pinching the balls instead of wrapping your entire hand around them. The latter will train style more suited for a sloper.)
Materials
Blocks are usually made of wood or resin, like most climbing training tools. Some blocks may be made of other materials like stone or metal. Wood is smoother and easier on the hands, fostering better form and technique. Resin is cheaper and easier to grip.
Attachment Method
Pinch blocks are usually designed to be suspended from a rope or a sling. They’ll either hang freely from above or be used to pinch and pull weights up from below. The latter is more common.
Versatility
Some blocks are adjustable, feature a variety of different size crimps, pockets, and edges. They may come in sets with varying widths and textures. To start, don’t worry too much about versatility in grips. Focus on sets, time, form, and weight with a basic pinch block.
A good starting goal is to be able to hold half of your body weight for a 10-second pinch.
Basic Pinch Block Training Workout
Step 1: Warm up!
Step 2: Find a weight that you can hold for a maximum of around 7 to 10 seconds. Increase weight incrementally until you find this target weight, bumping up 2 to 3 pounds at a time. Take it slow until you find that 7-10 second weight.
Step 3: After you have your target weight, complete 3 to 6 sets of lifts and holds on each arm, holding for 7-10 seconds. Rest for 3 to 4 minutes in between each set.
Step 4: Complete this exercise three days a week, separating every training day with at least one rest day.
Step 5: After three or four sessions, incrementally add some weight. Take your time!
Other Ways to Train for Pinches
Remember, pinch strength involves not just the thumb and fingers, but also wrists and forearms.

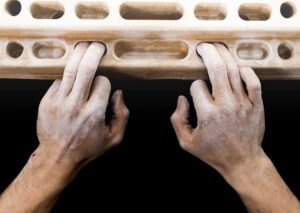
Bouldering and Board Climbing
Many indoor boulder problems incorporate pinches. 40-degree training boards are particularly well-suited for pinch training. When training, keep your hips parallel to the wall, forcing yourself to use holds as pinches instead of side-pulls.
Remember to balance hard burns with adequate rest to avoid injury. It’s much easier to inadvertently injure yourself on a board or boulder problem than it is with an isolated exercise like a pinch block pull.
Wrist Curls (Static & Dynamic)
Wrist strength is vital for pinching, and wrist curls with dumbbells can also improve pinch strength. Focus on various positions to develop comprehensive wrist strength. Combine isometric holds at different angles with dynamic repetitions, but avoid overtraining. A few sets a couple of times per week are sufficient, either on rest days or post-climbing.
Frequently Asked Questions
What are pinch blocks and how are they used in climbing training?
Pinch blocks are training tools used by climbers to improve their pinch strength. They are typically small, portable blocks or balls made of wood or plastic that can be gripped in a pinching motion.
Climbers attach weights to these blocks and lift them to train the specific muscles used in pinching. This targeted exercise helps in developing grip strength, forearm muscles, and thumb opposition strength, which are crucial for handling pinch holds on climbing routes.
Why is training with pinch blocks important for climbers?
Training with pinch blocks is important because pinch strength is a key component of a climber’s overall ability.
Pinch holds are common in both indoor and outdoor climbing routes (especially the former), and they often present a challenge due to their heavy reliance on thumb power and their unique grip, which is quite different from many other climbing holds. By using pinch blocks, climbers isolate and strengthen the muscles involved in pinching, enhancing their performance.